Imaging Made Simple – Task Creation
The next step is to create a Task. A task in short is what you will run to deploy the OS, Drivers and Packages.
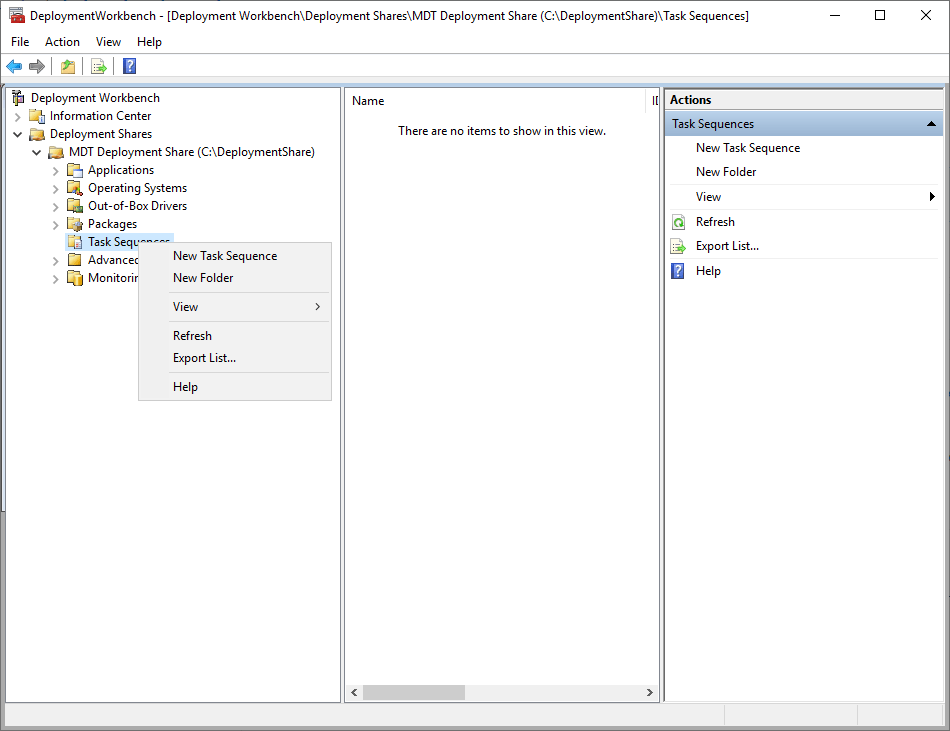
Right Click on Task Sequence and click New Task Sequence
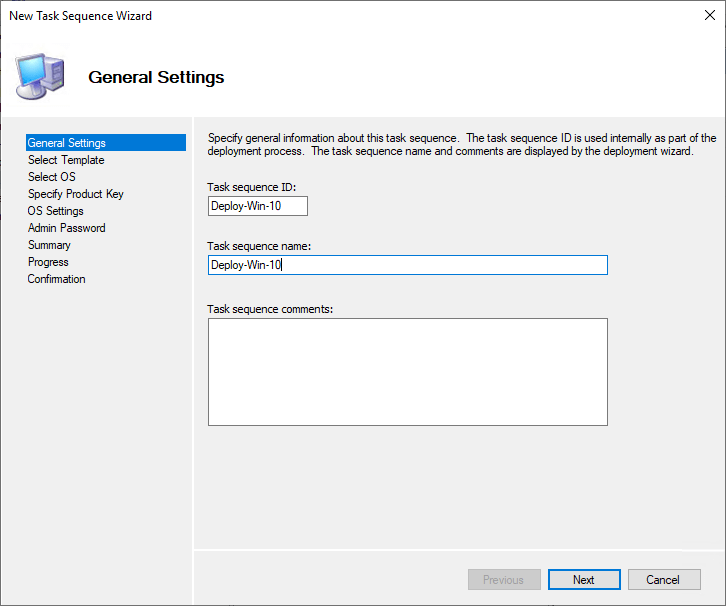
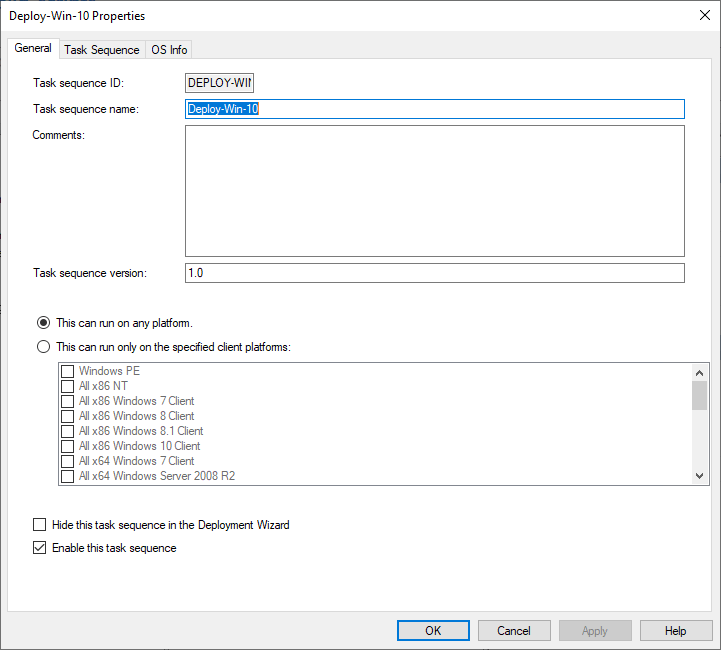
Fill in the Task Sequence ID and the Task Sequence Name. I usually name them the same. Click Next
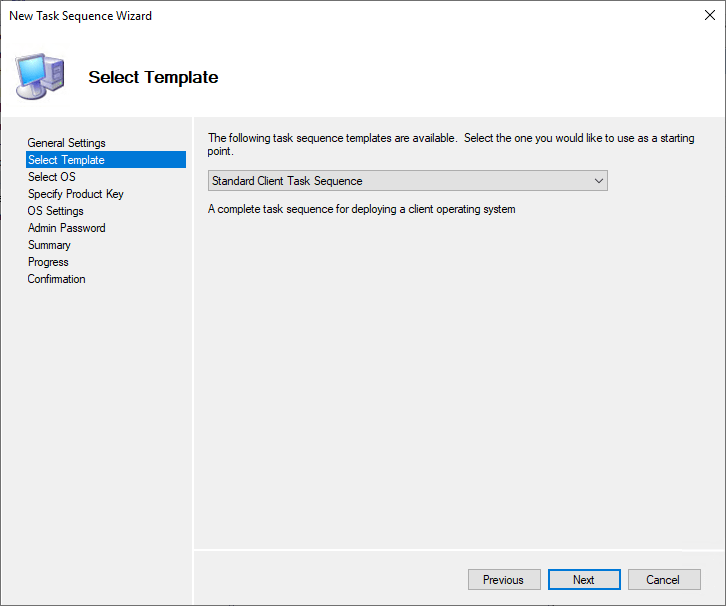
In this example we are going to do a Standard Client Task Sequence. You have other options, check them out sometime. Click Next
Select the OS you wish to deploy then click Next

At this stage I do not specify key, I let my KMS server to deal with that. Click Next

This information is not important. I normally put in my company information on the first 2 lines then my companies website. Click Next

Next step you can put in the Local Admin Password. I prefer not to do this. One of the main reasons is if you set it on the Task you cannot edit this. The only way to change it, is to create a new task. I supply this setting in the Customsetttings.ini file. Click Next

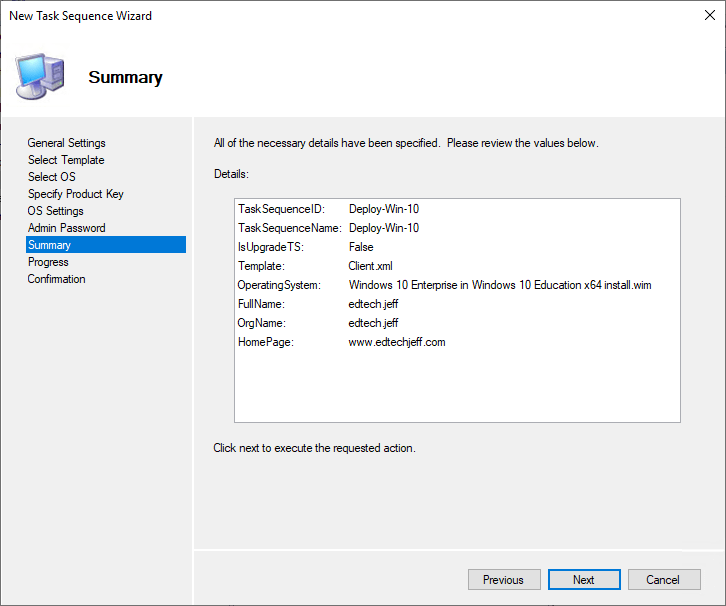
On the summary page click Next
Click Finish
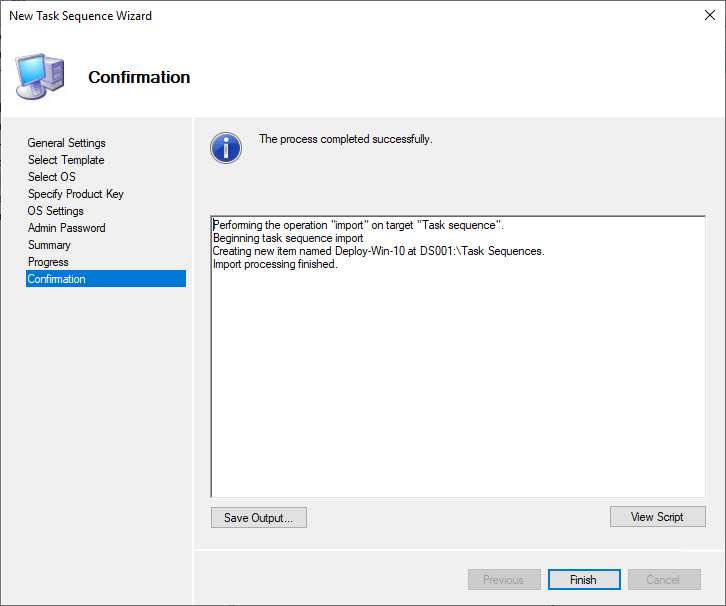
You now have your first task sequence. You are not done yet, now we need to edit the task sequence to include Driver Selection Profiles. Right click on the task and click Properties
Click on the Task Sequence Tab
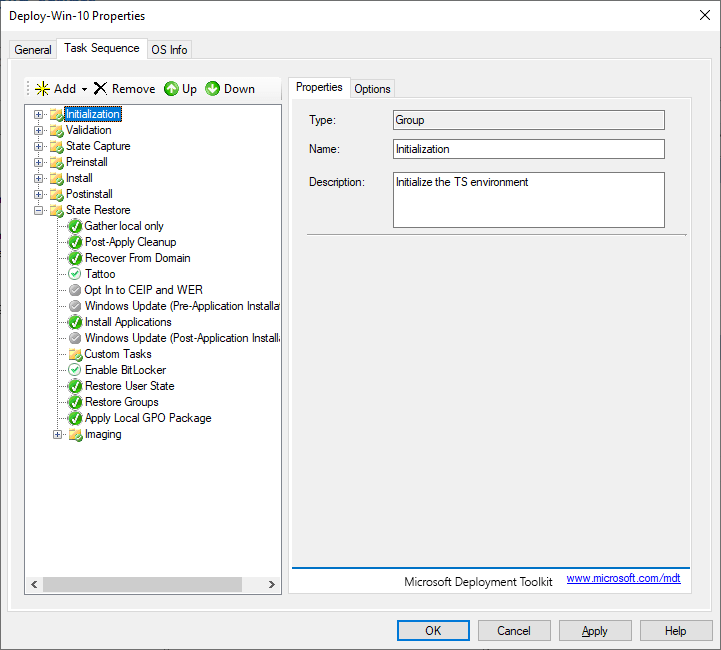
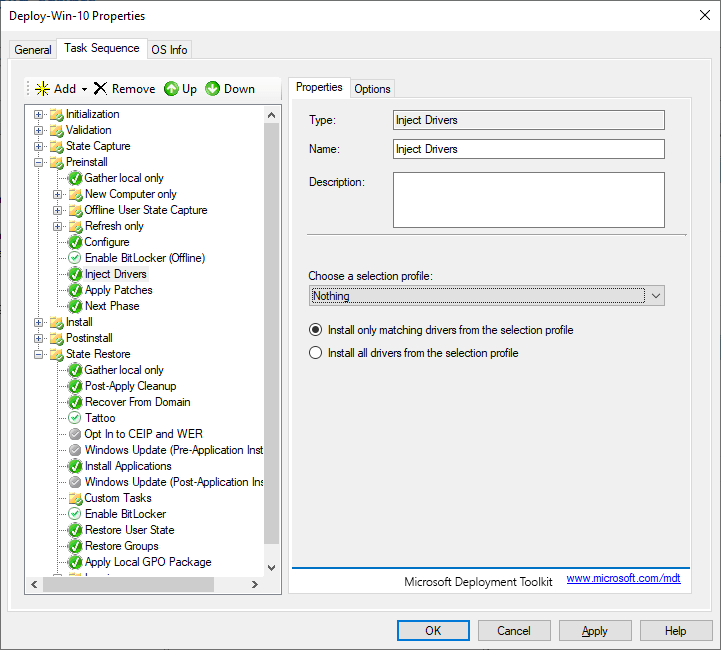
Expand the Preinstall Folder

Click on Inject Drivers and on the selection profile change it to Nothing
Click on the Preinstall folder then click on the Add, click General, Set Task Sequence Variable
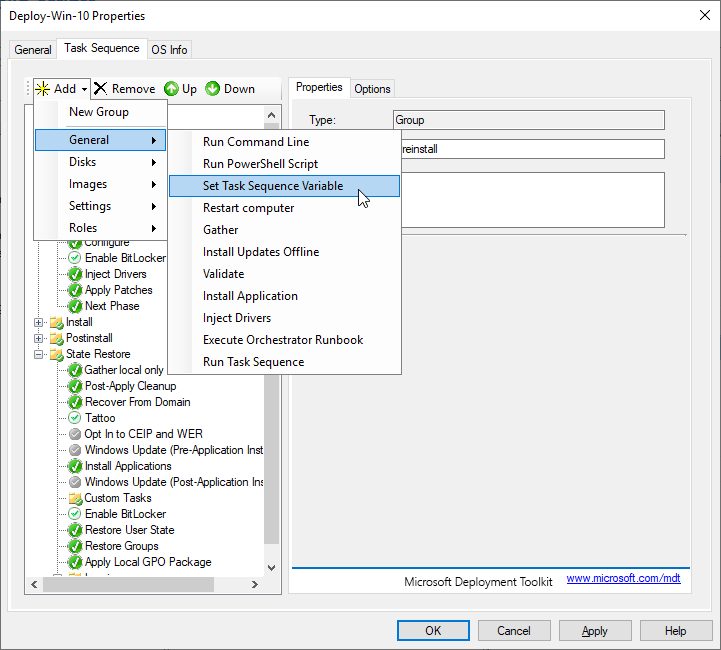
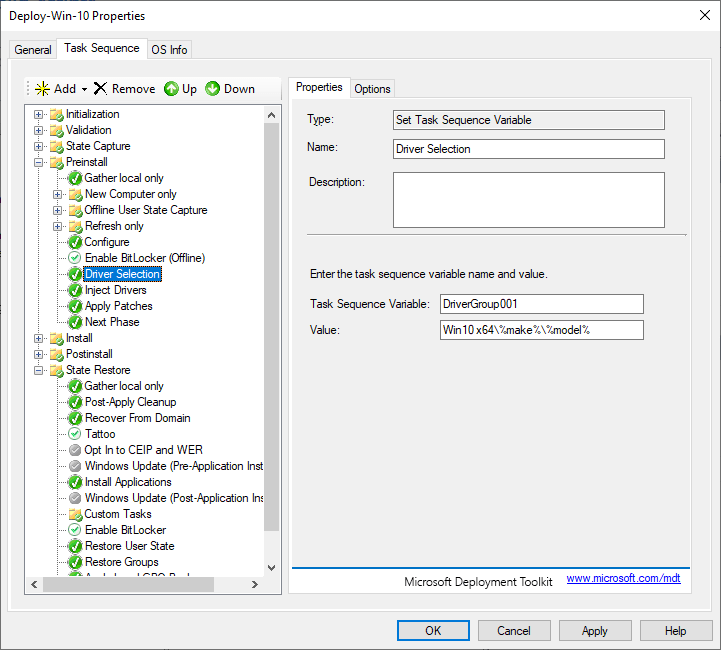
Name the task sequence: “Driver Selection”
Task Sequence Variable: “DriverGroup001“
Value: “Win10 x64\%make%\%model%
Move the newly created sequence before the Inject Drivers Task using the UP Arrow
At this point we have almost all the pieces and parts ready for deployment. Next post will cover how to configure WDS – see you in the next post
