Imaging Made Simple – Drivers
Couple of items we need to discuss. With MDT you can create profiles to auto inject drivers in order to do this you need to do some prep work. On a test machine you need the make and model of the device you do that by opening up a command prompt and type wmic csproduct get name,vendor

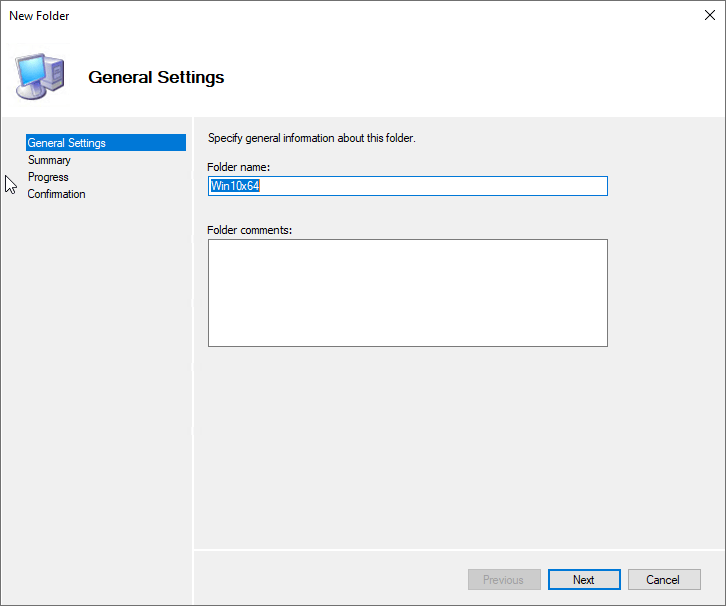
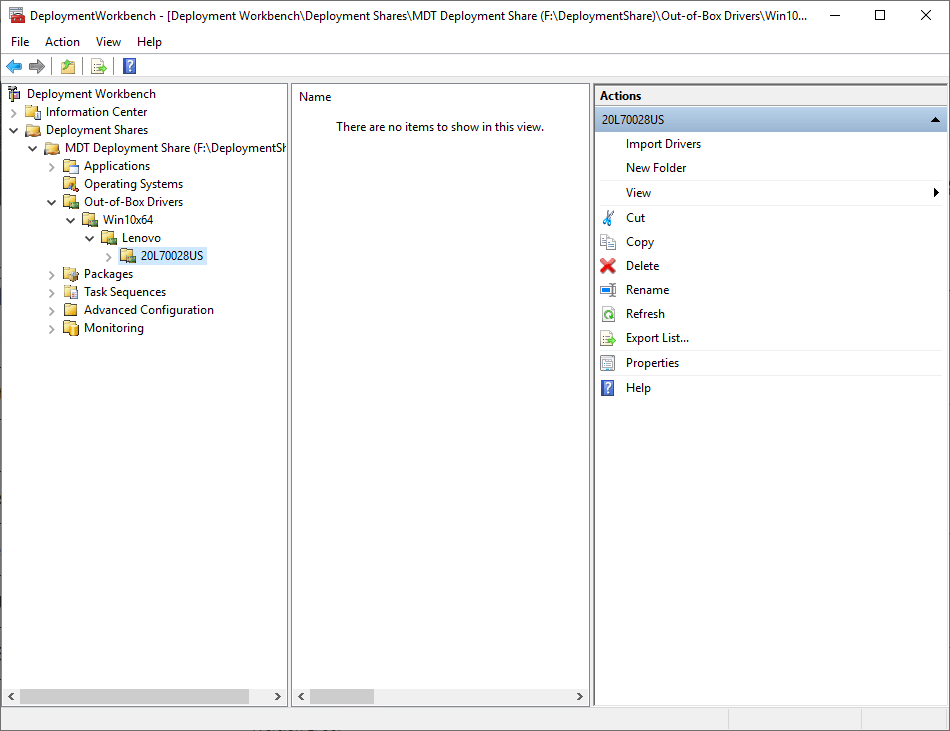
Now that we have a machine make and model lets make a folder structure based on the above command. Right click on Out-of-Box Drivers and click on New Folder

Name the top folder Win10x64. This will make sense by the time you get done with the post
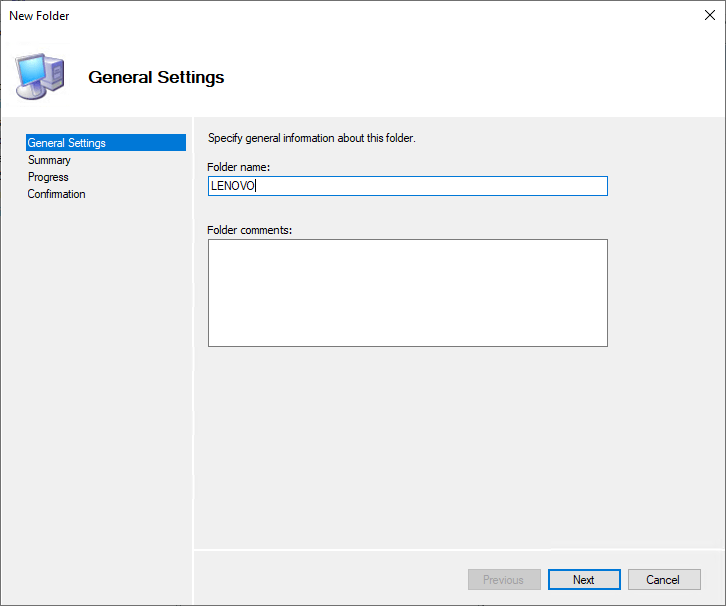
Make another folder underneath the previous folder name it LENOVO, click NEXT
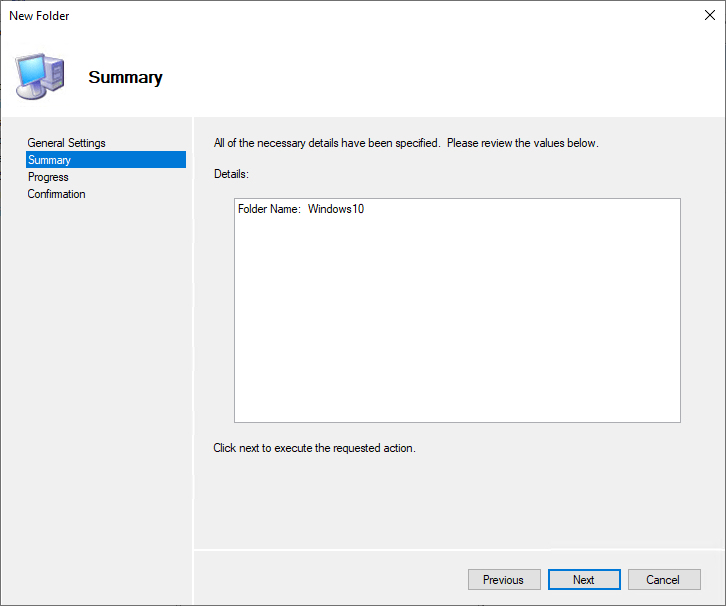
Click NEXT
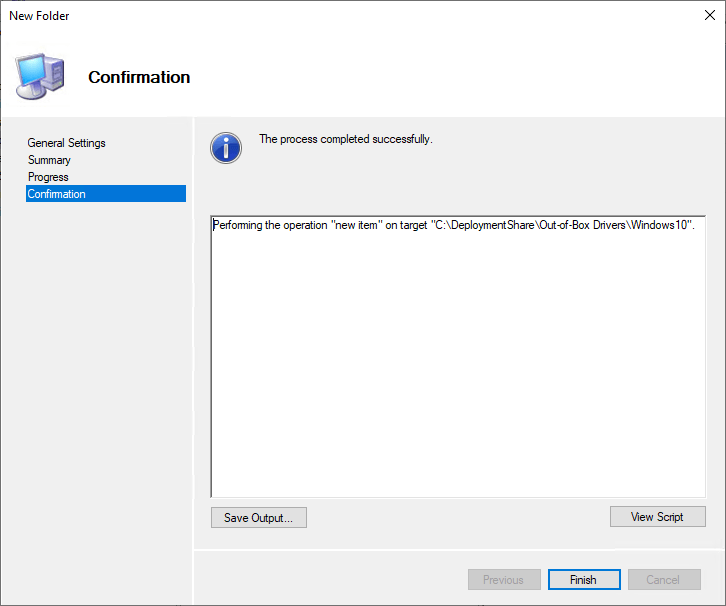
Click FINISH
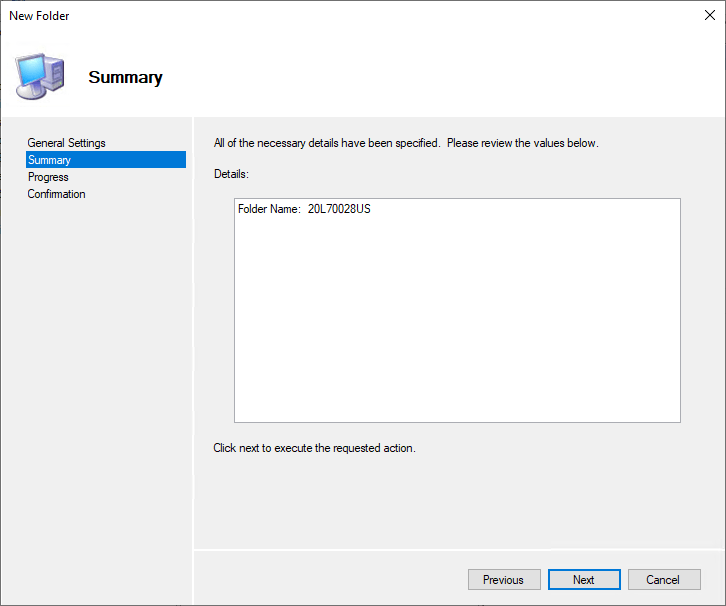
Under the newly created folder create another folder with the model name and click NEXT

Click NEXT
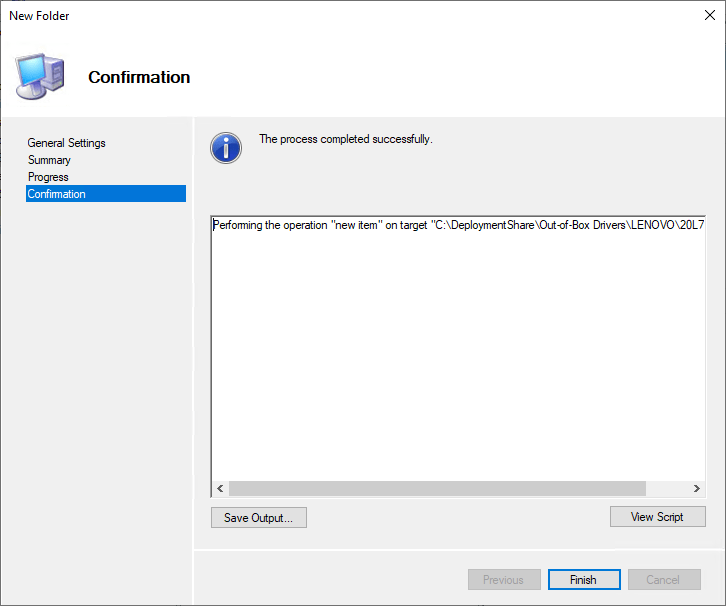
Click Finish
Next step we need to we need to get the drivers. I have found this great tool that can be used in SCCM to download the drivers. It can be found here. I did have an issue with Lenovo and I downloaded the driver pack for the device. Most manufactures have this and so either way will work.
Rightclick on the folder that you created for the model and click Import Drivers
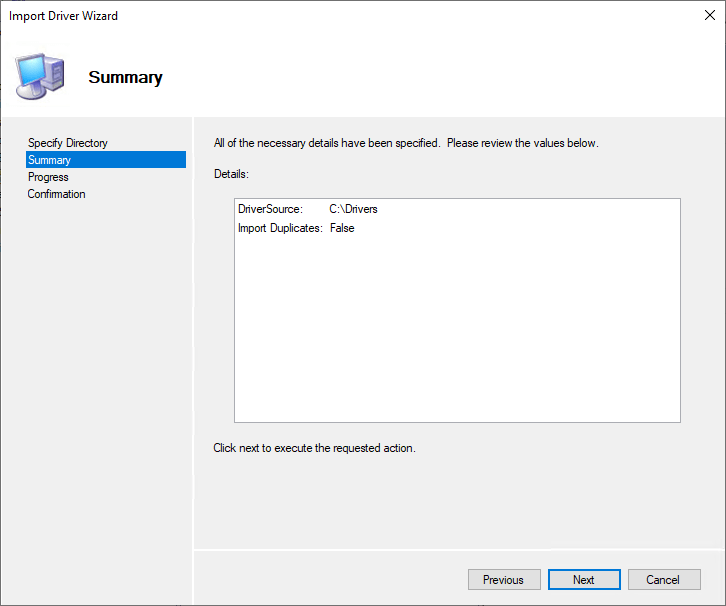
Browse to the folder that you just extracted, click NEXT
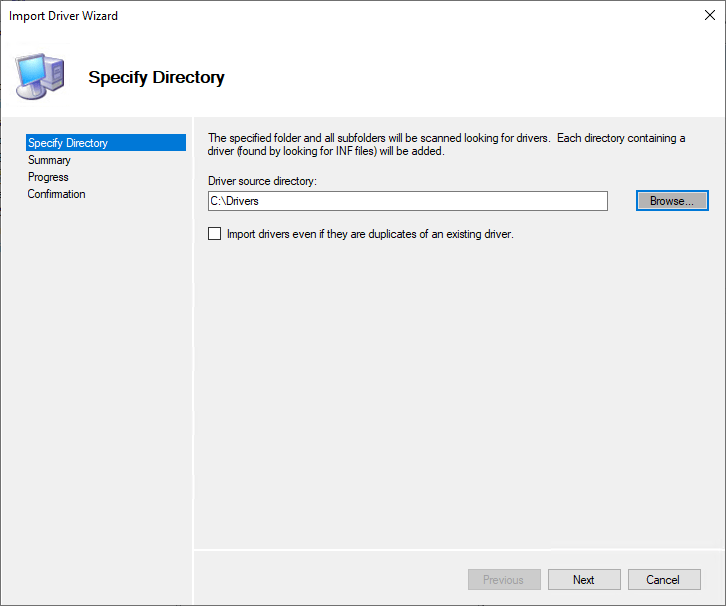
Click Next
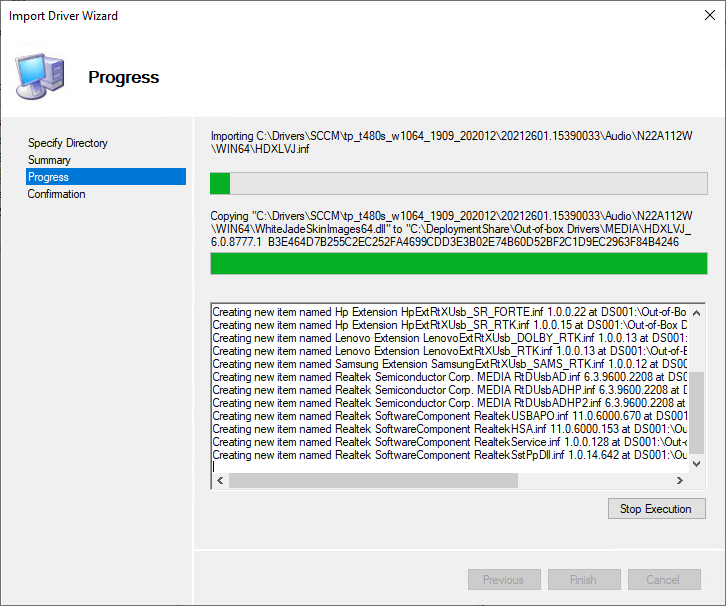
It will start the process of importing Drivers. This could take sometime depending on the amount of drivers to be imported.
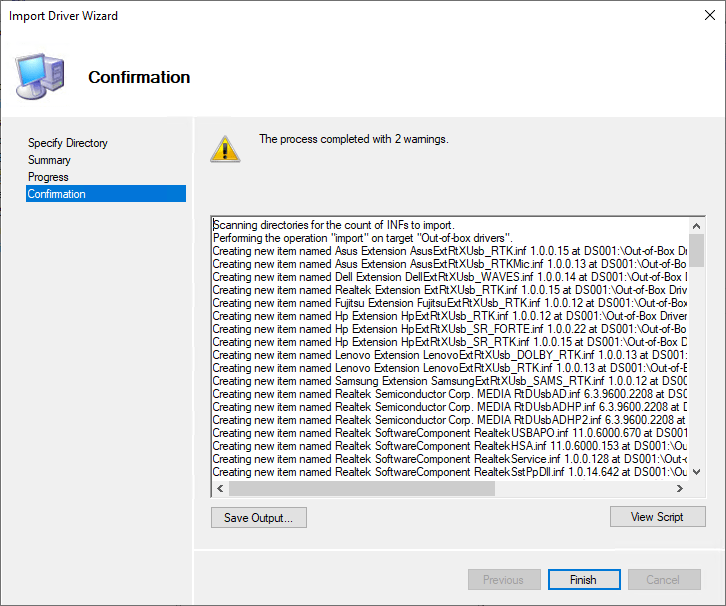
You might receive messages about not compatible. In this example I am only doing x64. Click Finish
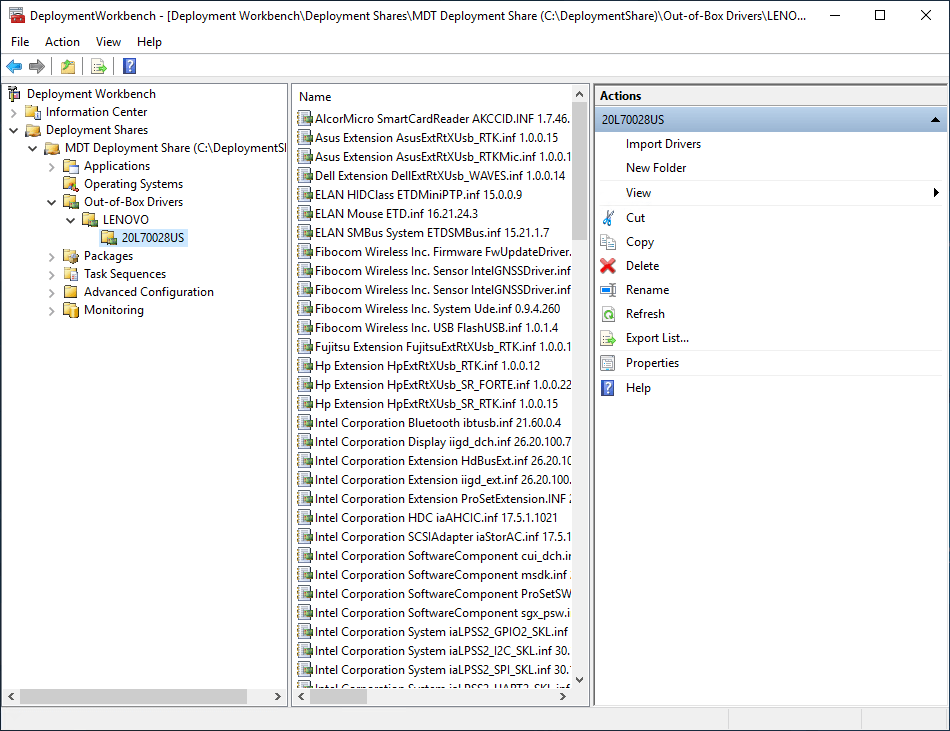
You will see drivers for that model now
In the next segment I will cover how to create and configure the Task Sequence
