Imaging Made Easy
Before we get started, its best to create a Service Account that can join a machine to the domain. I find it best this way then its not a Domain Admin but has security permissions on joining the domain
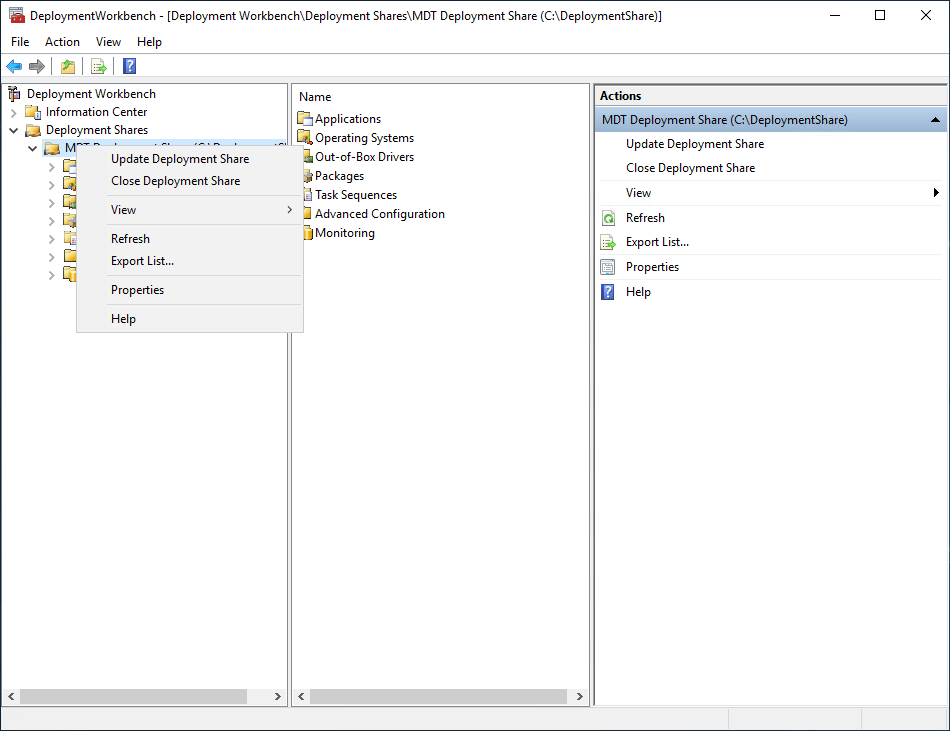
The first thing you need to do is configure the CustomSettings.INI file Right click on the deployment share and click Properties
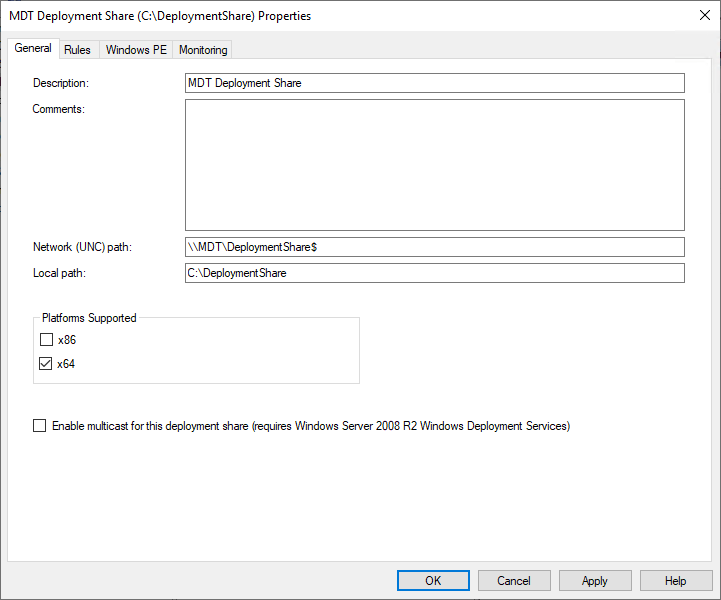
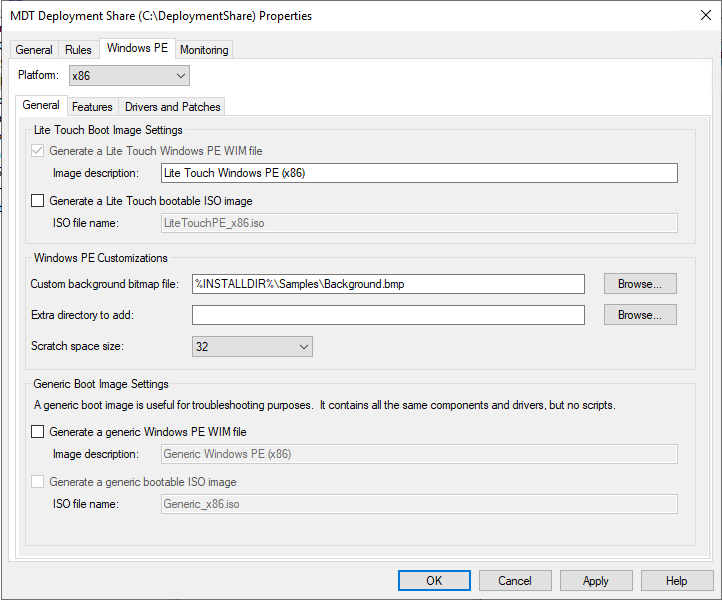
On the general tab if you are not going to deploy any x86 images uncheck the box
Click on the Rules Tab, you will notice there is not much there. That will change in a moment.
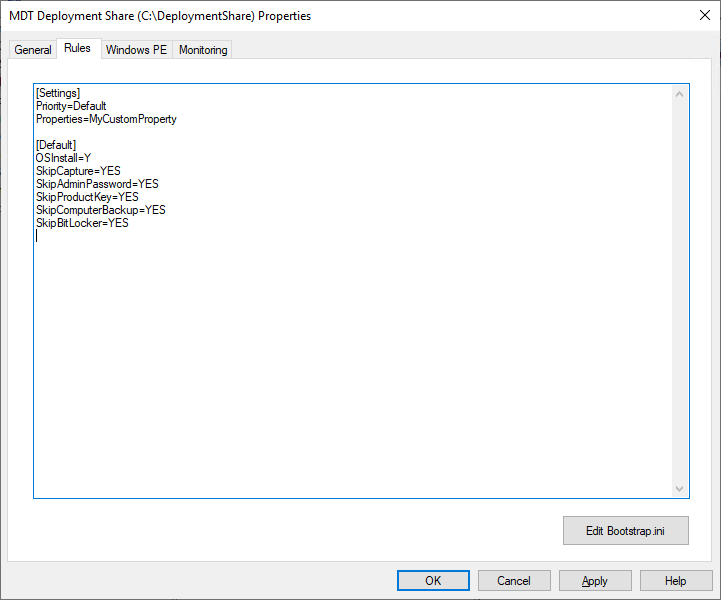
Here is my pretty much default config. The first line is to to pull the last known computer name from the registry. More to come on that later in the post. There are more settings that you can set, refer to MDT Documentation.
[Settings]
Priority=Default
Properties=MyCustomProperty

[Default]
_SMSTSOrgName=Running %TaskSequenceID% on %OSDComputername%
UserExit=ZTIGrabOldCompName.vbs
OSDComputerName=#fGrabOldCompName("MDT")#
OSInstall=Y
SkipCapture=YES
SkipAdminPassword=YES
AdminPassword=LOCAL-ADMIN-PASSWORD
SkipProductKey=YES
SkipComputerBackup=YES
SkipBitLocker=YES

SkipLocaleSelection=YES
SkipComputerName=NO
SkipDomainMembership=YES
;JoinWorkGroup=WORKGROUP
JoinDomain=DOMAIN-NAME
DomainAdmin=SERVICE-ACCOUNT-NAME-THAT-CAN-JOIN-MACHINE-TO-DOMAIN
DomainAdminDomain=DOMAIN-NAME
DomainAdminPassword=PASSWORD-OF-SERVICE-ACCOUNT
SkipTaskSequence=NO
TaskSequenceID=DEPLOY
SkipDeploymentType=YES
SkipUserData=YES
SkipLocaleSelection=YES
UserLocale=en-US
SystemLocale=en-US
KeyboardLocale=en-US
UserLocale=en-US
UILanguage=en-US
SkipTimeZone=Yes
TimeZone=035
TimeZoneName=Eastern Standard Time (CHANGE FOR YOUR TIMEZONE)
SkipSummary=YES
SkipFinalSummary=YES
BitsPerPel=32
VRefresh=60
XResolution=1
YResolution=1
DoNotCreateExtraPartition=YES
SLShare=\\SERVER-NAME\Deploymentshare$\Logs\SLShare
SLShareDynamicLogging=\\SERVER-NAME\Deploymentshare$\Logs\SLShareDL\%serialnumber%
After you add this, click Apply, then click Edit Bootstrap.ini. Use the following file.
[Settings]
Priority=Default
[Default]
DeployRoot=\\SERVERNAME\DeploymentShare$
UserID=JOIN-DOMAIN-SERVICE-ACCOUNT
UserDomain=DOMAIN-NAME
UserPassword=JOIN-DOMAIN-SERVICE-ACCOUNT
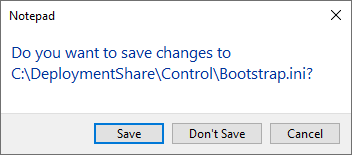
SkipBDDWelcome=YESClose the file and click save
Click the Window PE Tab, I generally un-check the Generate a Lite Touch bootable ISO image. Click OK
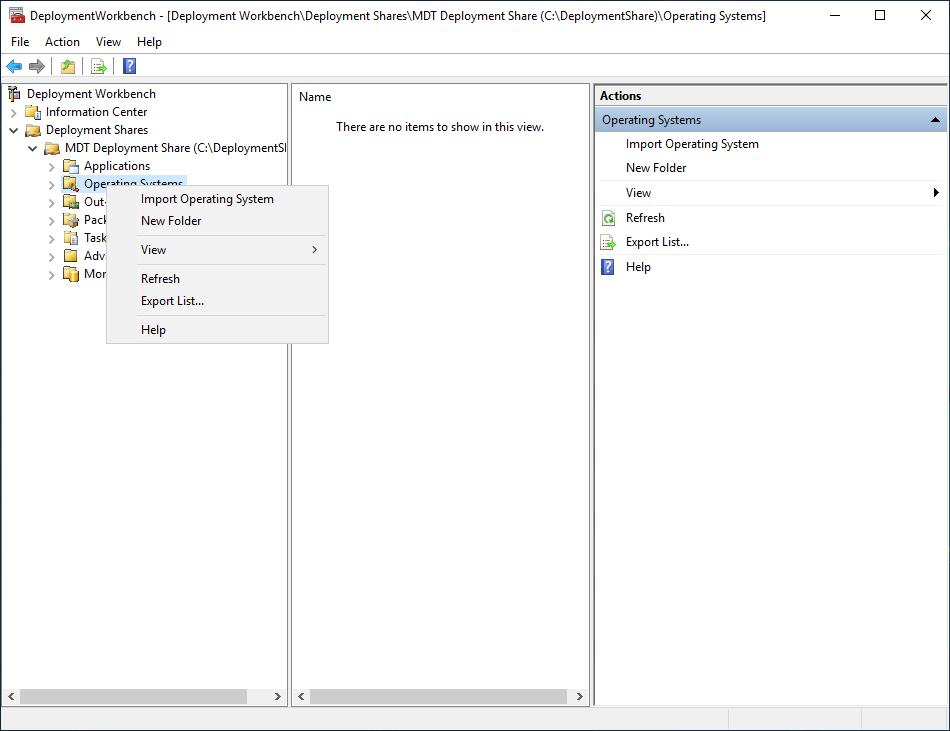
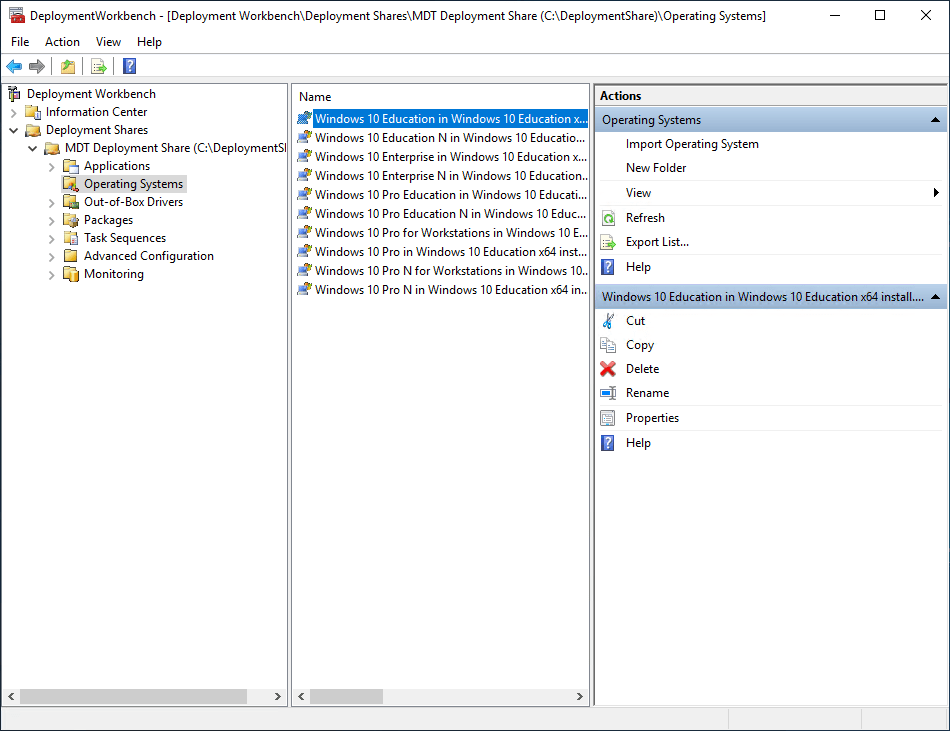
Next Step import OS. Right Click on Operating Systems and then click Import Operating System
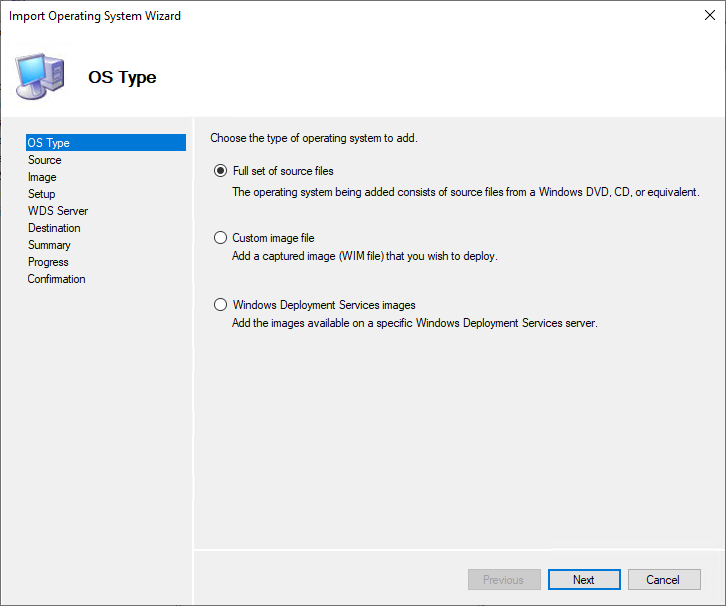
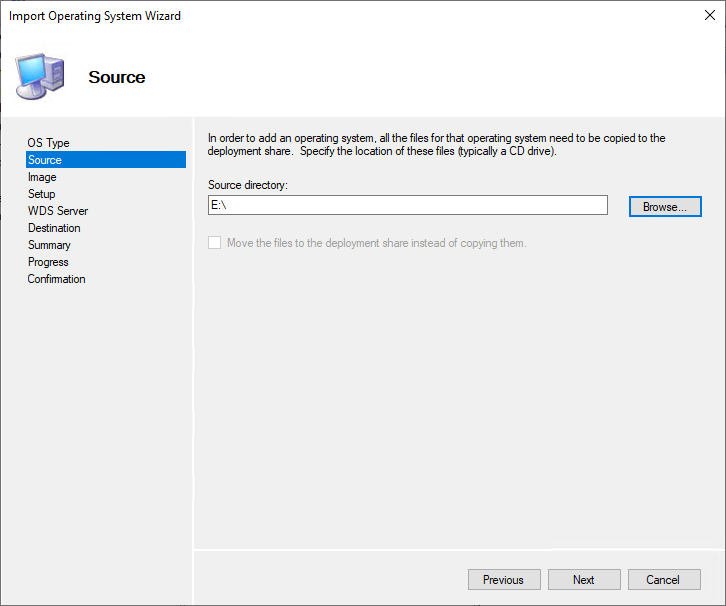
If you are importing an ISO from Microsoft just click Next
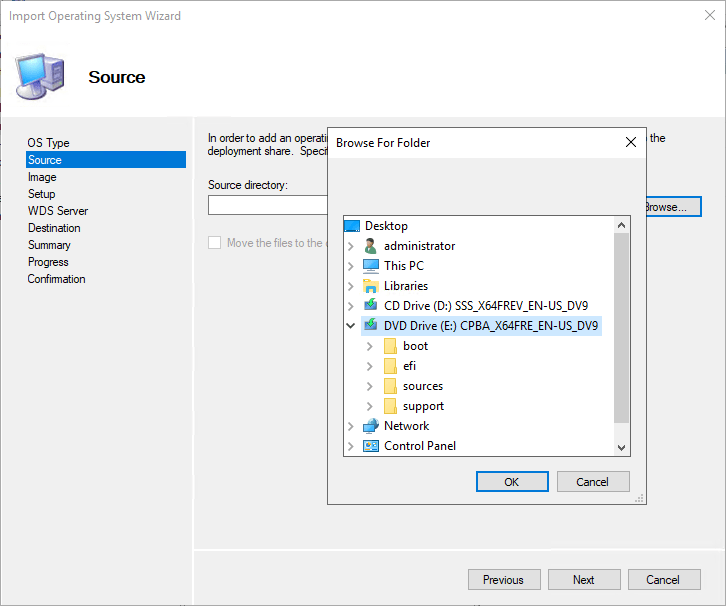
Before you click on browse, you will need to mount the ISO. Browse to the ISO and then click OK
Click NEXT
Verify that is the correct ISO and click NEXT
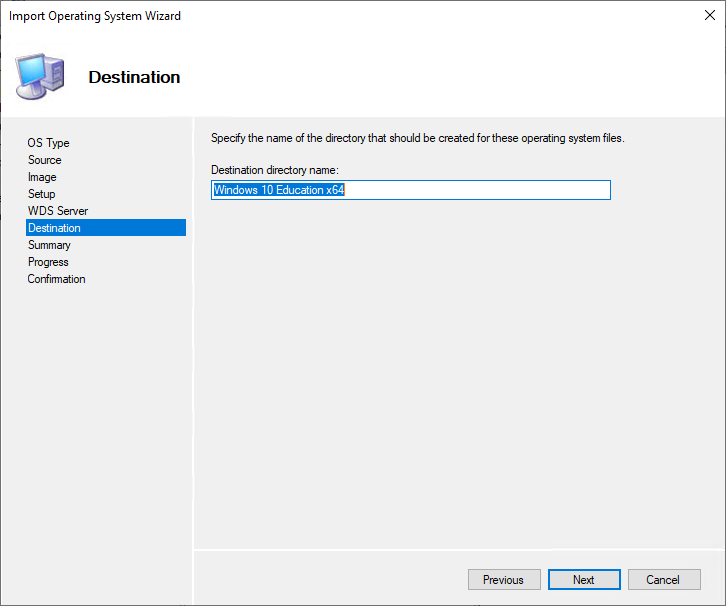
Click NEXT

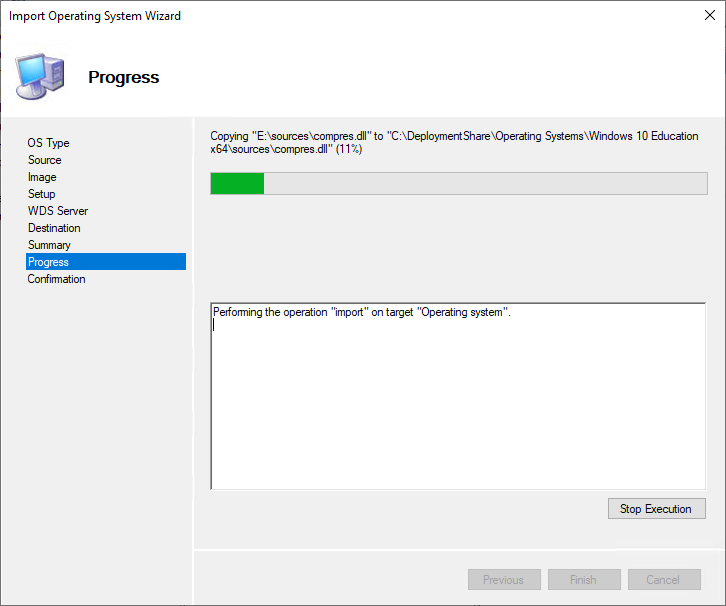
Import will progress
Import has finished now click Finish
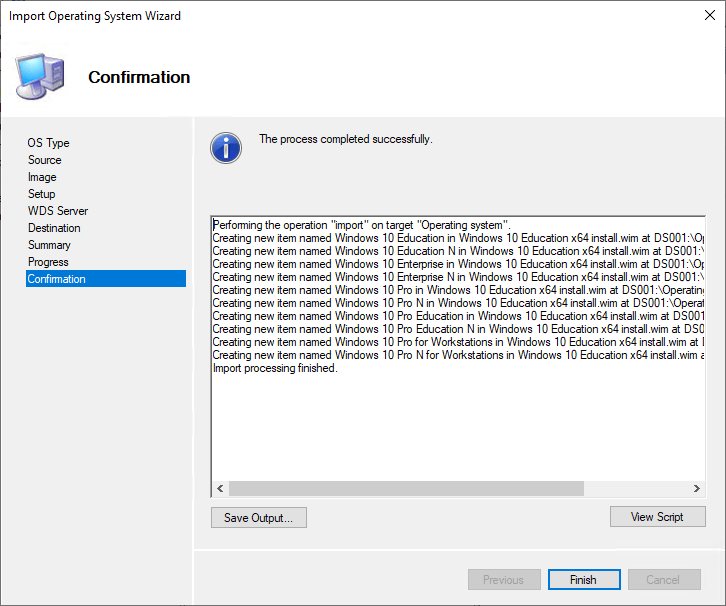
Notice now that you will have OS Imported
Next section we will discuss drivers
