Imaging Made Simple – Tie it all together
We are now at a point where we can get imaging working but before we do we need to do some house cleaning.
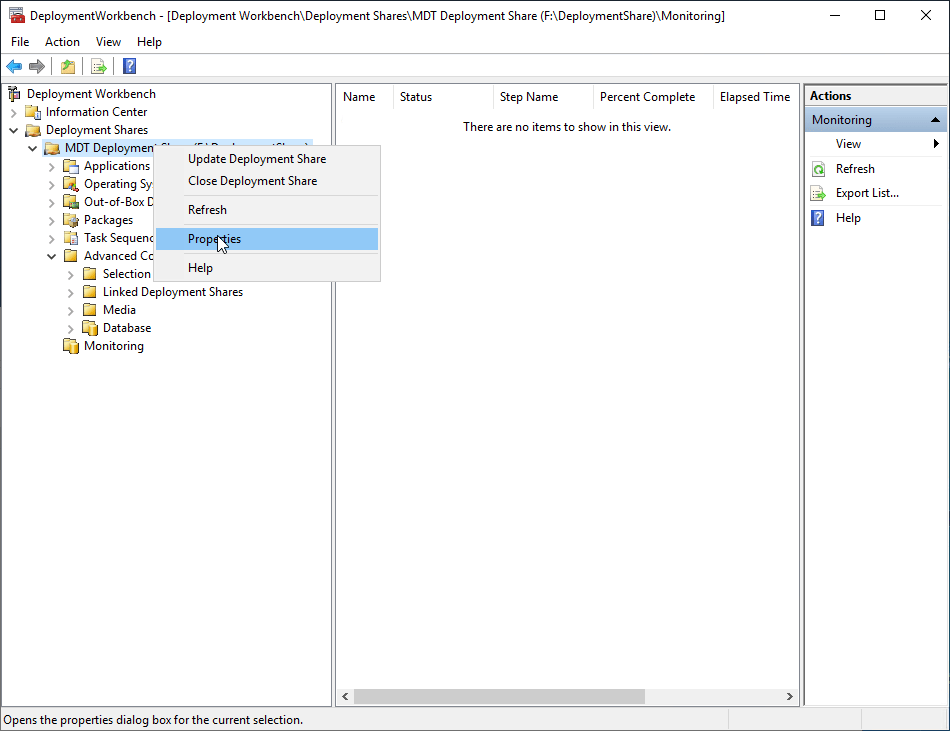
Open up the deployment workbench and, right click and click properties
Click on the rules tab and we need to do some work here first line under defaults of the custom settings file a VB script is called out. If you do not want to use that you can remove the line.
_SMSTSOrgName=Running %TaskSequenceID% on %OSDComputername%
UserExit=ZTIGrabOldCompName.vbs
If you do want to use it, you will need to put the following VB script in the scripts folder of the deployment share. You will need to name the file ZTIGrabOldCompName.vbs. I cannot take credit for this file, I found this years ago and have used it and works great.
' // ***************************************************************************
' //
' // Copyright (c) Microsoft Corporation.  All rights reserved.
' //
' // Microsoft Deployment Toolkit Solution Accelerator
' //
' // File:      ZTIGrabOldCompName.vbs
' //
' // Purpose:   Grabs old CompName if avail. and returns to CS.INI.
' //
' // ***************************************************************************
Function UserExit(sType, sWhen, sDetail, bSkip)
	UserExit=Success
End Function

Function fGrabOldCompName(sDefaultName)
	Dim sOldCompName, sLocalSWHiveFilePath
	oLogging.CreateEntry "UserExit:Pulling computername from local registry.", LogTypeInfo

	If oFSO.FileExists("C:\WINDOWS\system32\config\system") Then
		sLocalSWHiveFilePath = "C:\WINDOWS\system32\config\system"
	ElseIf oFSO.FileExists("D:\WINDOWS\system32\config\system") Then
		sLocalSWHiveFilePath = "D:\WINDOWS\system32\config\system"
	ElseIf oFSO.FileExists("E:\WINDOWS\system32\config\system") Then
		sLocalSWHiveFilePath = "E:\WINDOWS\system32\config\system"
	Else
		sLocalSWHiveFilePath = "FALSE"
	End If
	oLogging.CreateEntry "UserExit:Local system hive location set to: " & sLocalSWHiveFilePath, LogTypeInfo

	If sLocalSWHiveFilePath <> "FALSE" Then
		oShell.Run "reg load HKLM\sysimport " & sLocalSWHiveFilePath, 1, True
		sOldCompName = oShell.RegRead("HKLM\sysimport\ControlSet001\Control\ComputerName\ComputerName\ComputerName")
		oShell.Run "reg unload HKLM\sysimport", 1, True
		fGrabOldCompName = sOldCompName
		oLogging.CreateEntry "UserExit:Setting OSDComputerName variable to: " & sOldCompName, LogTypeInfo
	Else
		fGrabOldCompName = sDefaultName
		oLogging.CreateEntry "UserExit:Error locating old computername.  Setting computername to default value: " & sDefaultName, LogTypeError
	End If
End Function
The next line I have setup under defaults is the default name if the VB script fails to retrieve the name. You can edit the line at the end in the example I have MDT so any new machine will begin called MDT. You could use this and change it to the company name. IE EDTECHJEFF-.
OSDComputerName=#fGrabOldCompName("MDT")#Next line you need to edit is the Task SequenceID. If you have been following along I named my task sequence DeployWin10 so if I do not wish to pick my task sequence then this is a method to accomplish this. In the real world you will have more than just one task sequence to pick from so this setting will not apply to that. You can edit this line out by putting an apostrophe before it
TaskSequenceID=DeployWin10Other lines you will need to edit are the time zone to fit your area. After you have made those changes you will need to update your deployment share.
Important
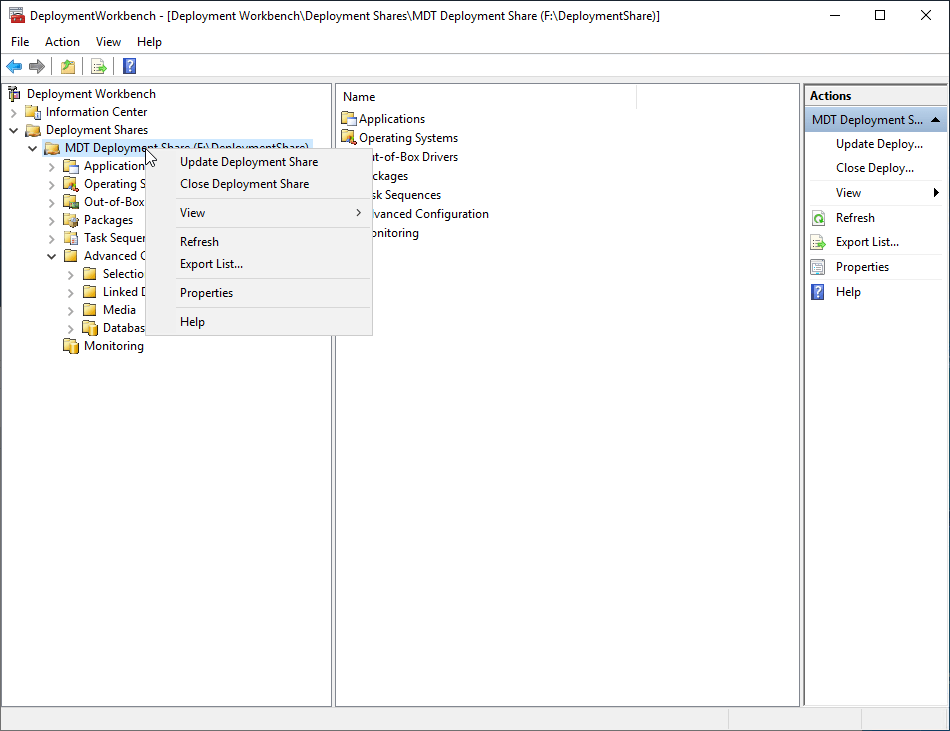
Please note that anytime you make changes to the deployment share you need to update your deployment share especially if you add network drivers.
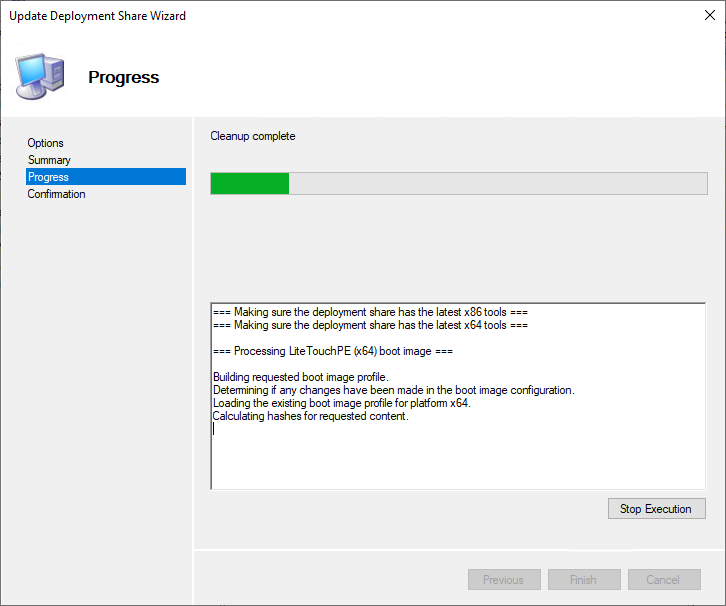
Right click on the deployment share and click Update Deployment Share
You have a couple of options but in general I just click next. Sometimes I have had to click the box that says Completely regenerate the boot images. Reason you will might need to do this if your boot WIM file gets corrupted for some reason.
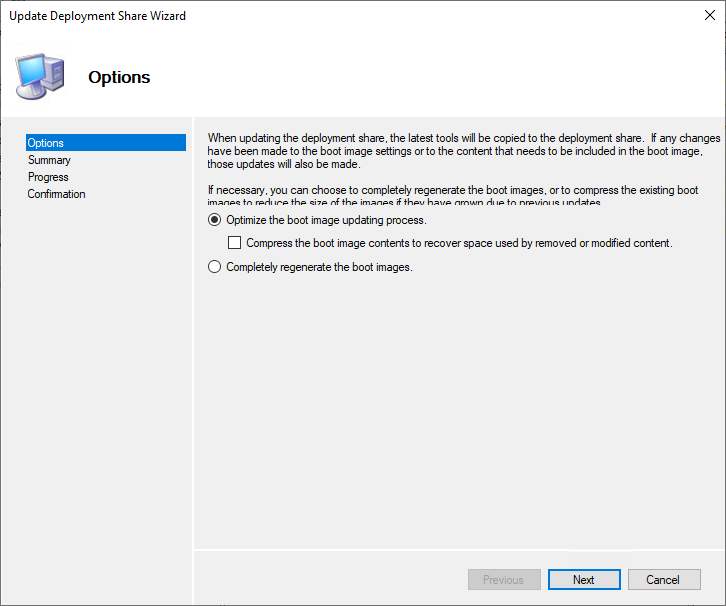
Click Next
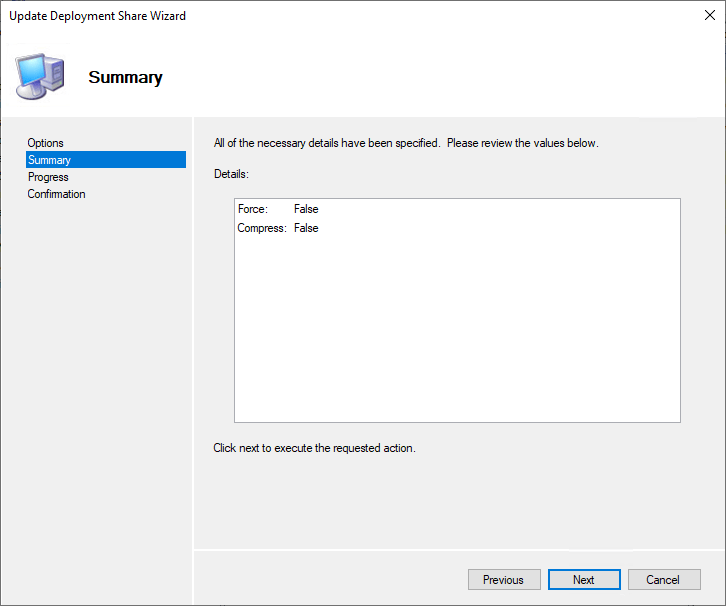
The first time that you run this process depending on how many drivers you imported, will increase the time it takes for this process to complete. Every time you add drivers it will inject those drivers into the BootWIM file that is created. Click Finish
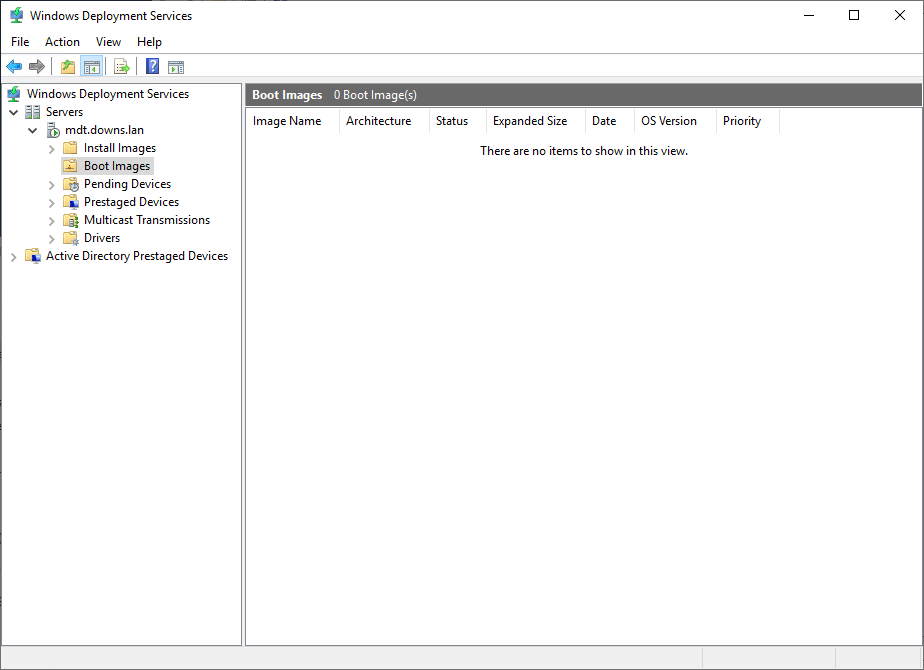
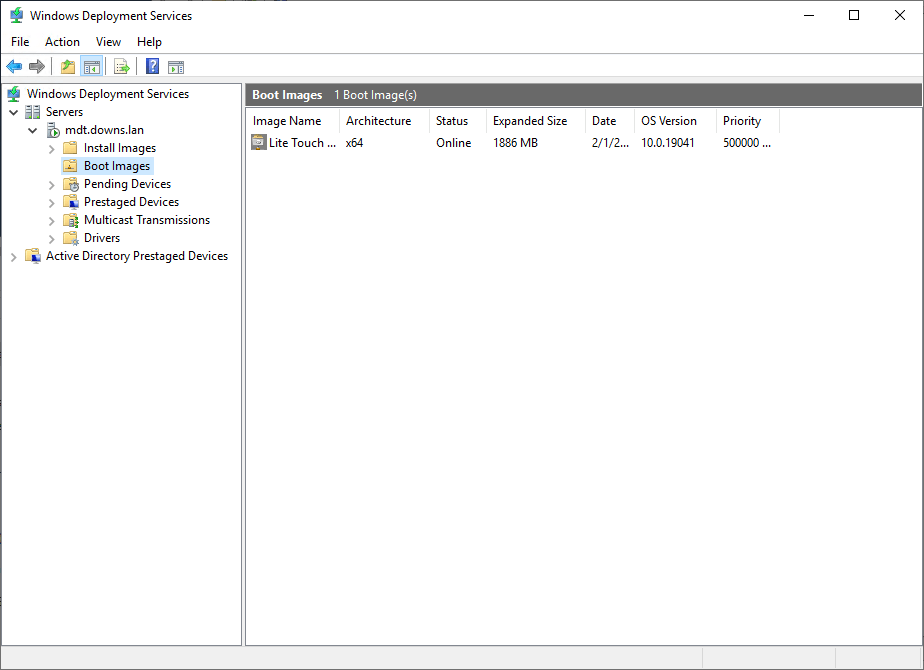
At this point you have setup your Deployment Share and now you need to import the Boot WIM file into WDS. Its important to note that every time that you add drivers to the deployment workbench a new Boot WIM file is created and you need to re-import the boot file.
Next open up WDS, expand the server settings till you see Boot Images
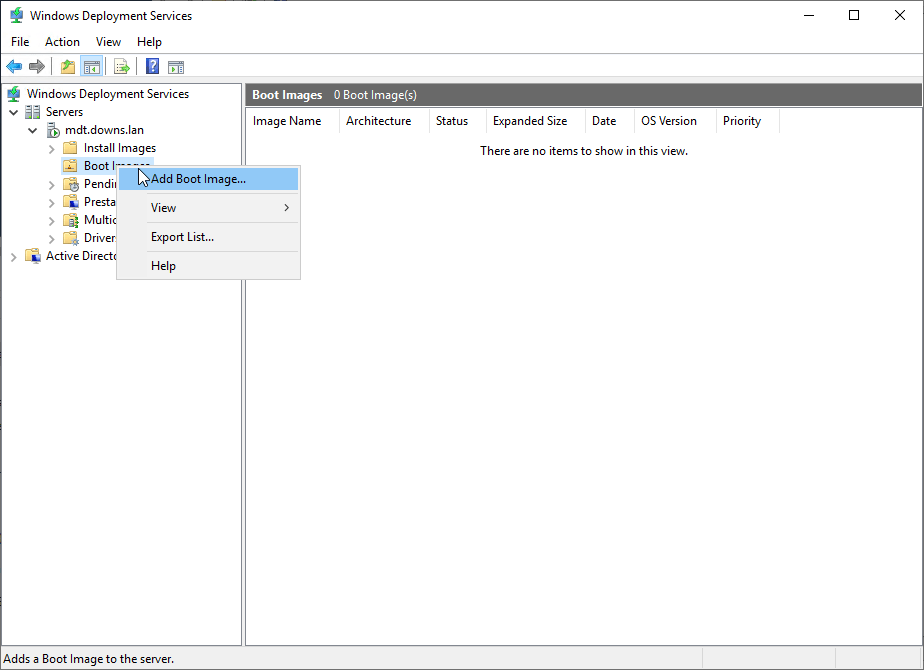
Right click on Boot Images and click on Add Boot Image
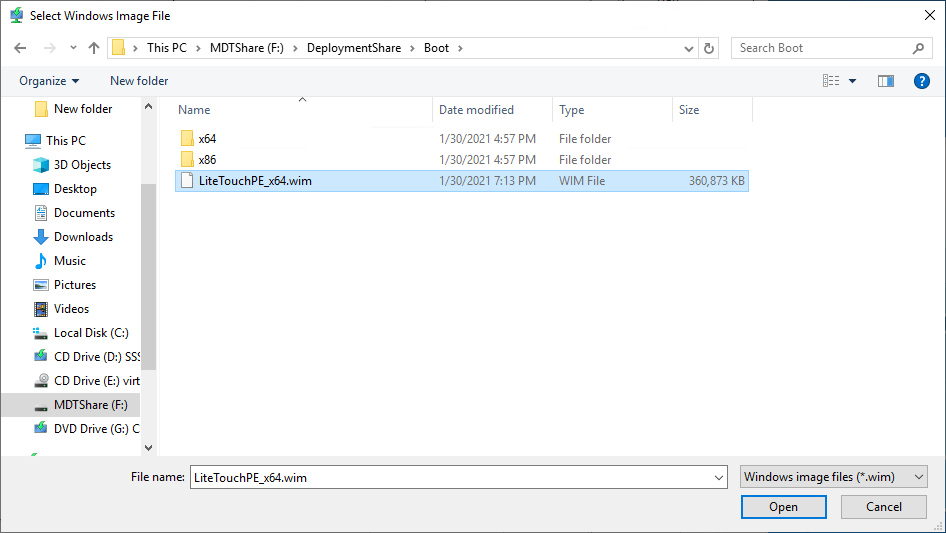
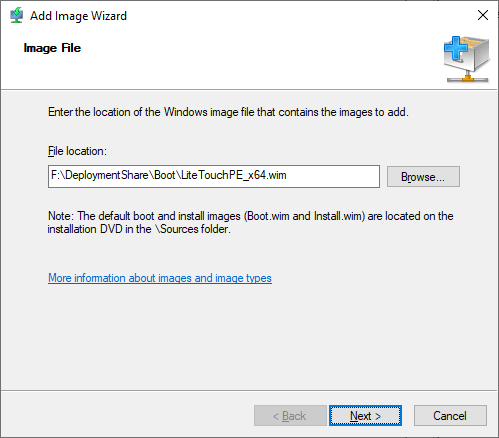
Click the browse button. Browse to the drive that contains the Deployment share and go to the following folder DeploymentShare\Boot
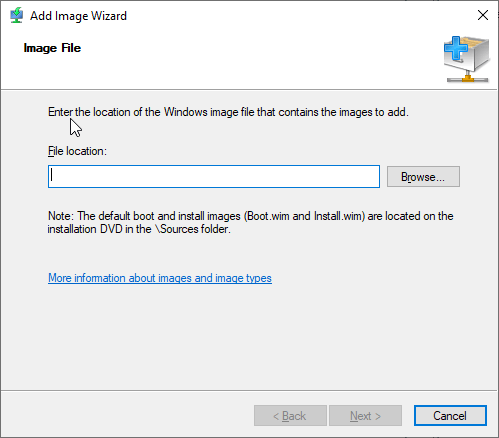
There is a file that is created during the process called LiteTouchPE_x64.wim. In my example I did not have a x86 image created. Click on the file and click Open
Click Next
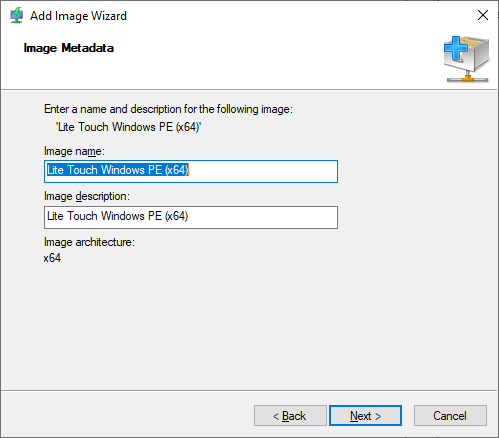
Click Next. You can name the file what ever, I just keep the defaults, Click Next
Click Next
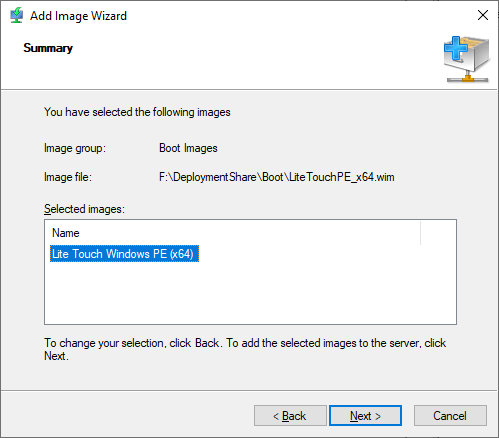
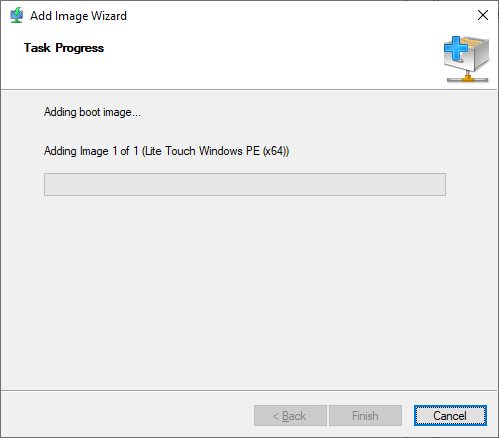
Click Finish when complete
Now you will have the boot file uploaded
At this point you can bring up a device and do a network boot and image the device.
