The following post will not be the most comprehensive but I wanted to share setting up a basic Azure Lighthouse and accessing another instance of Microsoft Sentinel. Azure Lighthouse is intended for MSP providers or any company that might have multiple instances Microsoft Sentinel that they would like to access. If you would like to look at the full documentation here is link. Enough of that, lets get into this.
Before you start the setup its best practice to create security groups in your Azure AD tenant of users that you would like to access the other Tenant\Workspace. My suggestion is to have a couple of groups one for Microsoft Sentinel Contributor, Microsoft Sentinel Responder, Microsoft Sentinel Reader. Depending on the role for your team. Once you get that done we can continue.
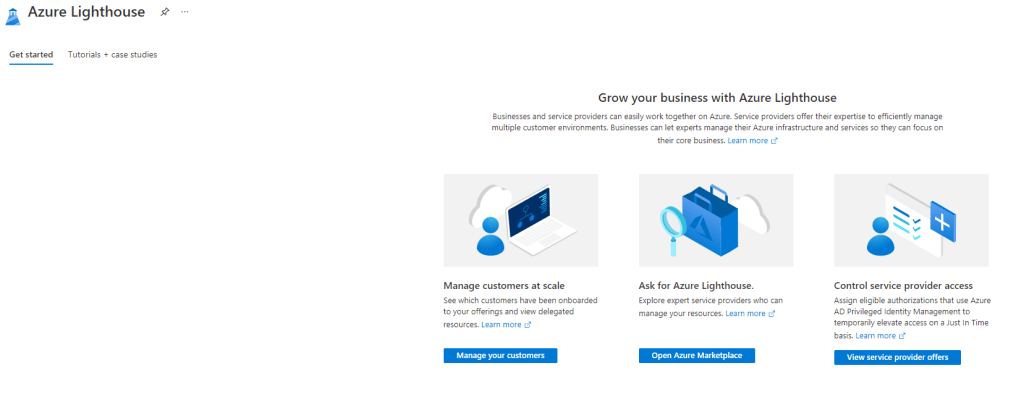
Now that we have finished the security setup side, the first item you will need to do in order to get Azure Lighthouse going is log onto the portal and Search for Azure Lighthouse
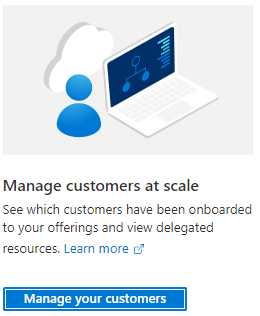
Click on Manage Your Customers
In order to set this up you must have an ARM template. You have two methods. One is create via the portal or two to create via templates. I prefer having the portal do the work for me. If you want to create them manually here is a github repo that has multiple ones for you to use. Here is more documentation on the full process if you would like to take a look.
Next click on the link that says Create ARM Template
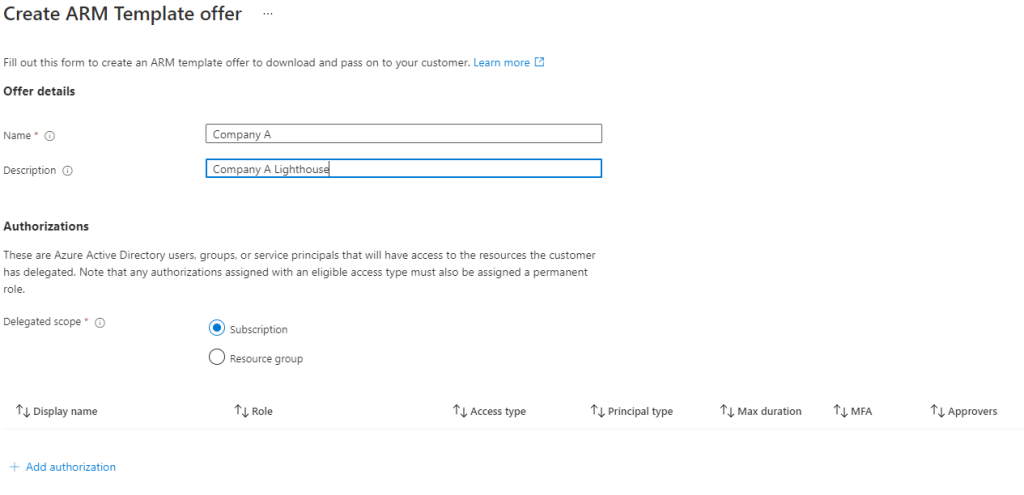
You have a couple of items to fill out. One you need to put in the name of the customer\company in the name and then the description. Next you have pick if you want Subscription or Resource Group. For this we are going to just do Subscription. I have tested using subscription and with choosing the correct RBAC roles users will still only have access to Sentinel.
Next we need to put in the authorization. click on the + Add Authorization

Next fill this out. Change the Principal Type to Group,
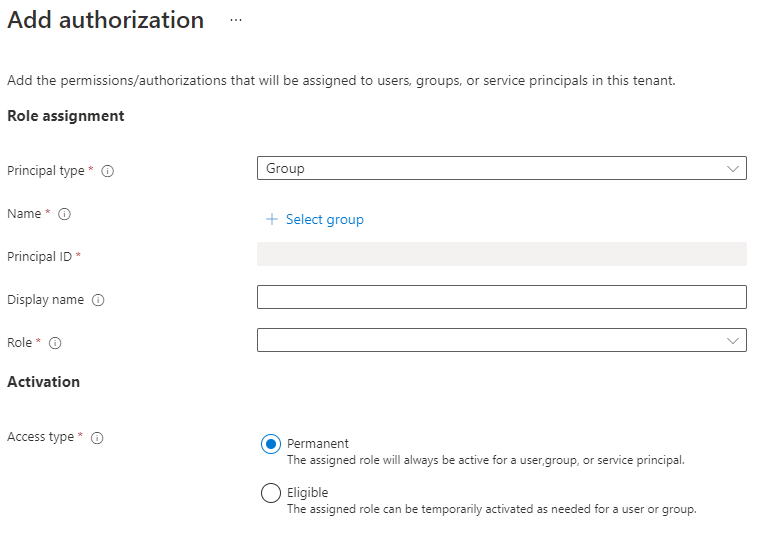
Click on the + Select Group and select the security group that you created. In this example I am going to choose the Sentinel Contributor Group

Next put the role that you would like for this to have.


Click Add
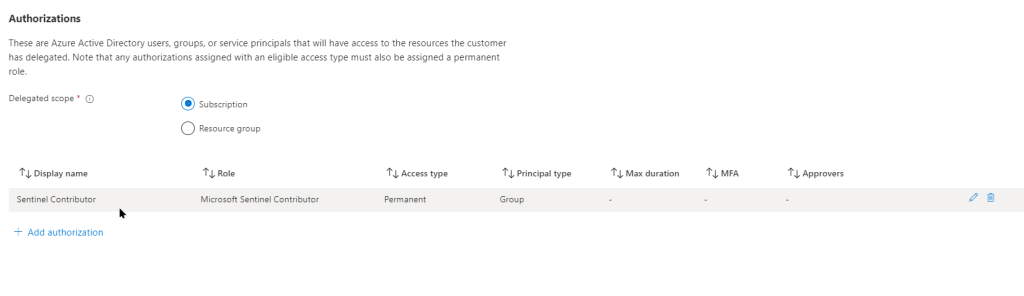
Your Screen should look something like this
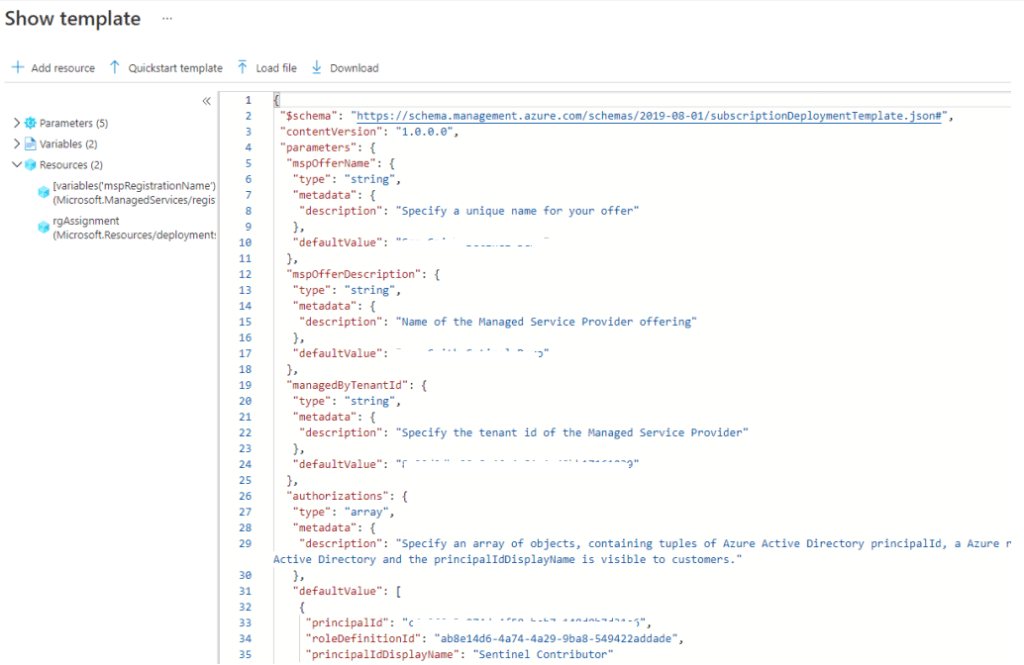
Click on View Template and the file will displayed. All required values are filled in. Next Click Download
Once you have downloaded the file you can send the file to the customer or if you have access run the following procedure for onboarding.
Open up Cloud Shell and switch to powershell
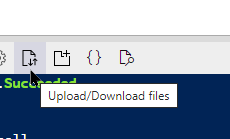
Upload the file via the UI
Once you have uploaded the file verify the file is there

Run the following command
new-azsubscriptiondeployment -location ‘Central US’ -TemplateFile /home/jeff/SentinelContributor.json
If you get no errors then the process is complete. it might take 15 minutes or so for everything to start to work. I have observed that Sentinel functions do not start to work right away but will after letting it sit.
You might ask yourself how do I tell if its really work! you have 2 portals depending on what side you are on. One is the customer side which is called Service Providers. There you can view offers that you have imported.
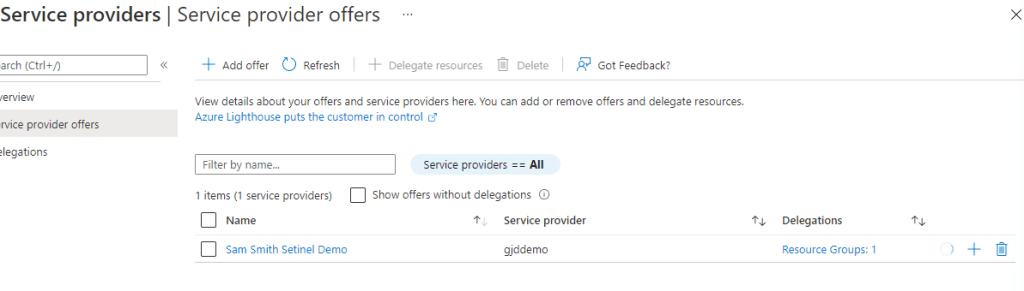
From this screen you can see that you have one offer and its for Resource Groups. If at anytime you can click the trash can and remove the offer.
From the Service Provider side its called My Customers

