Setup Nested Nutanix
CE with VMWare 6.7 Update 1
Note: This is a single node cluster
The basic setup is this
- 4 Core CPU(minimal)
- Expose hardware assisted virtualization to the guest OS
- 16 Gigs of ram
- (Minimal CVM will take 12 gigs of that 16, can be adjusted)
- VM Option
> Advanced > Edit Configuration
- Add Key scsi0:1.virtualSSD
- Add Value 1 or True
- HD
- SataDom
- Based on description file
- Performance
- 100 gig
- SCSI (0:1)
- Thin Provisioned
- Capacity
- 500 gig
- SCSI (0:2)
- Thin Provisioned
- SataDom
- Create a folder on your desktop called NutanixLab
- Download Nutanix CD from Nutanix website

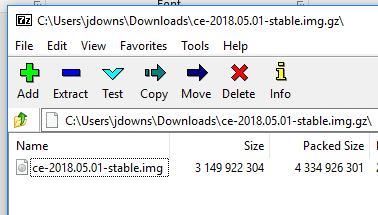
- Extract IMG File downloaded file using 7zip and
rename the file “Nutanix-flat.vmdk”.
Copy file to the folder you created on your desktop.
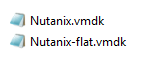
- Create a text file in the NutanixLab folder and
put in the following information and name the file “Nutanix.vmdk”
| # Disk DescriptorFile version=1 encoding=”UTF-8″ CID=a6fec276 parentCID=ffffffff isNativeSnapshot=”no” createType=”vmfs” # Extent description RW 14540800 VMFS “Nutanix-flat.vmdk” # The Disk Data Base #DDB ddb.adapterType = “lsilogic” ddb.geometry.cylinders = “905” ddb.geometry.heads = “255” ddb.geometry.sectors = “63” ddb.longContentID = “7cd3219978337481ae6b4edaa6fec276” ddb.uuid = “60 00 C2 94 64 30 98 a0-5d 85 e3 5b e8 b7 c5 e5” ddb.virtualHWVersion = “11” |
- Create a virtual machine within the console.
Currently with 6.7 update one choose virtual machine type Linux\CentOS 7.
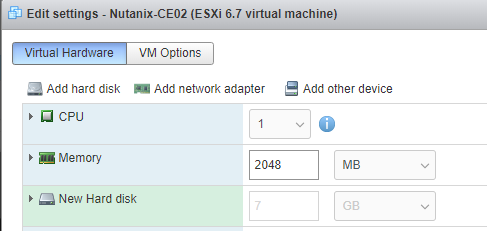
Settings for VM- CPU set accordingly to how much resources can handle

- CPU Hardware virtualization must be set
- Set memory accordingly to how much resources the lab can handle. Note. The CVM will initially require 12 gigs of ram but ram can be adjusted post install.
- Initially you will create the VM with no hard drives.
- Under VM Options > Advanced > Edit Configuration
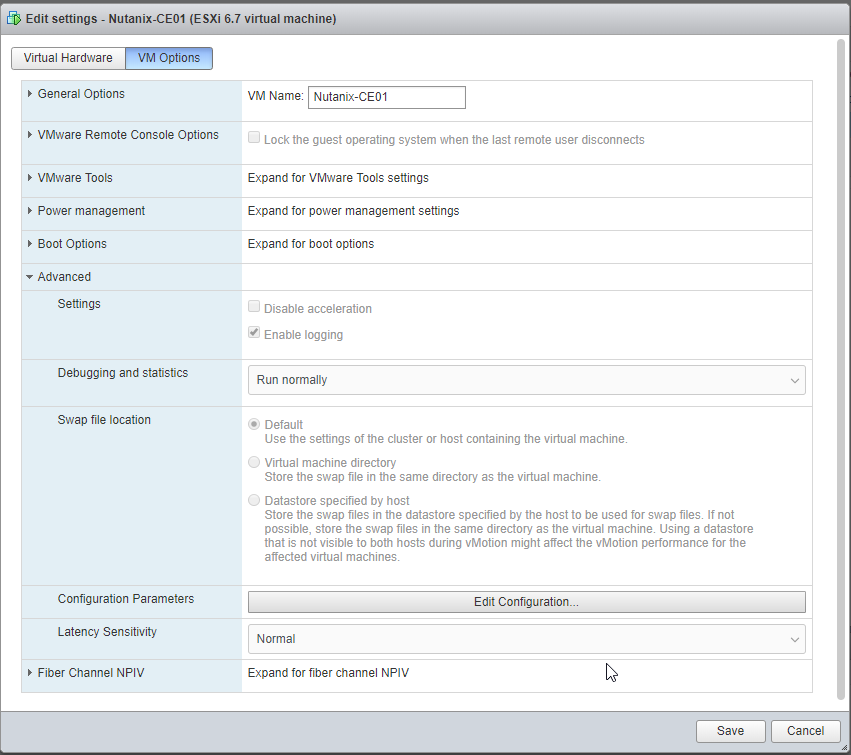
- Click on the Add parameter
(Note: this step is required. Nutanix needs one SSD drive to meet requirements.)
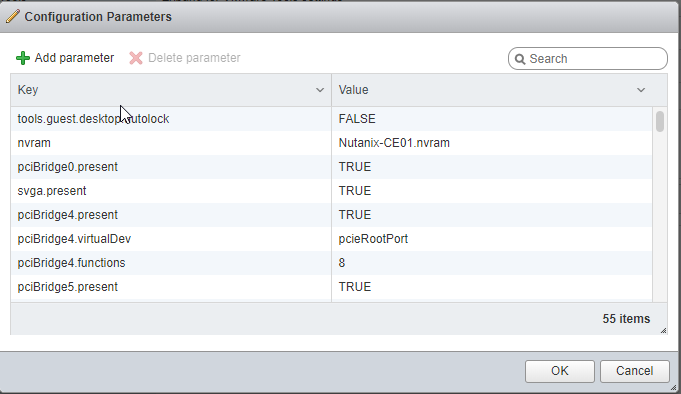
- Key scsi0:1.virtualSSD
Value True
Click OK
- Finish the install of the VM

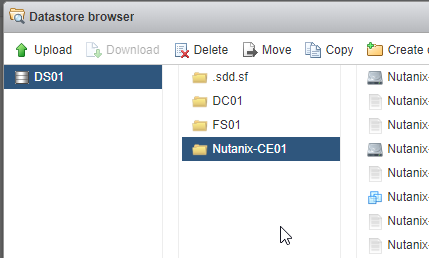
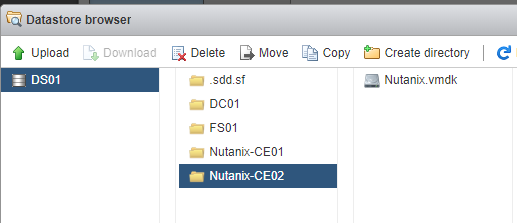
- Browse the datastore and upload the two VMDK’s into the folder of the VM that was just created
- Edit the settings to add the disk
- Click on Add Hard Disk
- Click on Existing Hard Disk
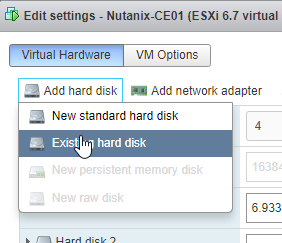
- Browse to the folder of the vm and pick the descriptor file that was uploaded
- Screen will look like this
- Add two more drives
- 200gb (Performance Disk, Thin Provisioned SCSI(0:1))
- 500gb (Capacity Disk, Thin Provisioned SCSI(0:2))
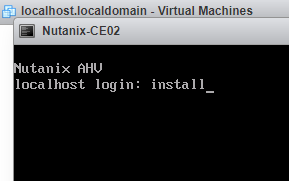
- Start VM
- At the prompt type the following command
install
- Select the correct country and tab to proceed and press enter
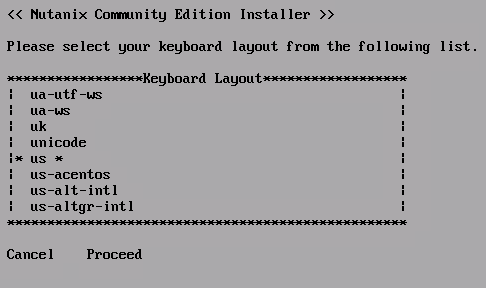
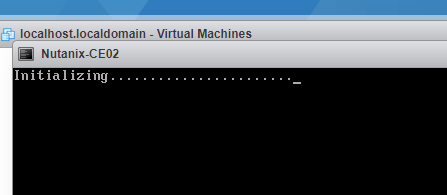
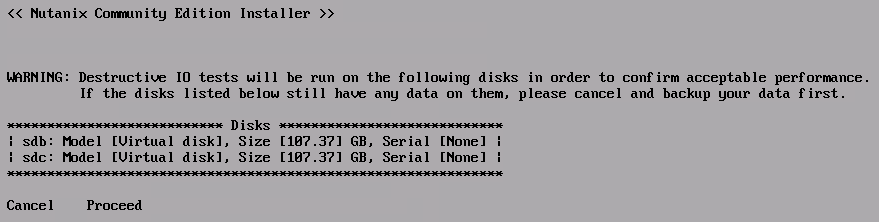
- Installation will start
- Screen will display the HD, tab to proceed and press enter
- Fill out the IP information.
(Note: The host and CVM must be on the same broadcast domain and cannot be on a 192.168.5.x network. This is the built in network for communication between the host and CVM.)

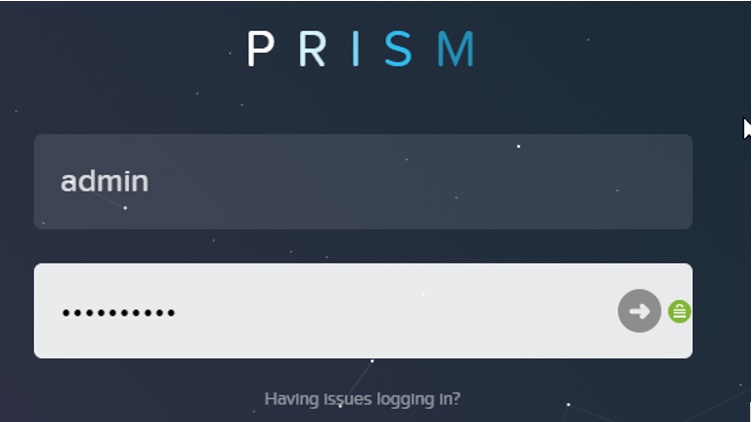
- Open up a browser and go to the IP of the CVM. You will be presented with a login screen. (Note: Will prompt for a new password)
 Username            nutanix
 Password            nutanix/4u
- You will be prompted for a new password
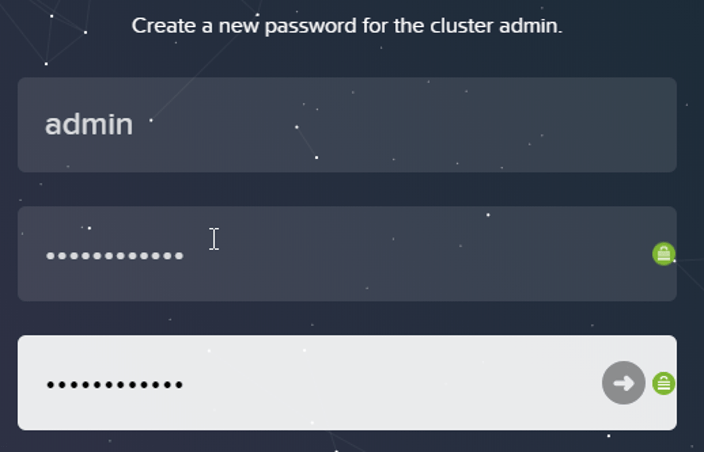
- Log in now with new password

- You will be prompted for your NEXT Credentials
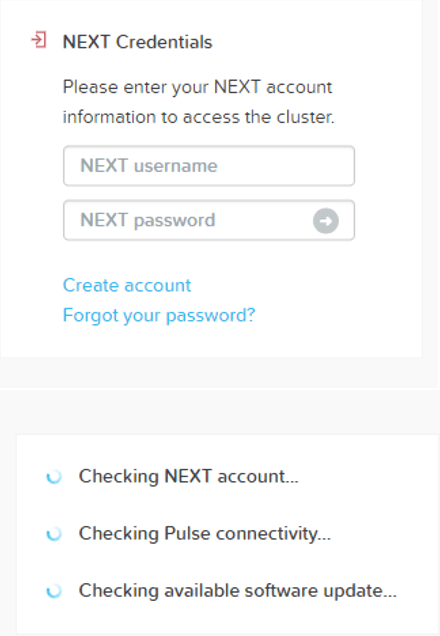
- You are now presented with the prism management console.

Adjusting the CVM
RAM
These steps are
done if your home lab does not have enough resources for the CVM to keep its 12
gigs of ram.
- SSH into the CVM
Username:         nutanix
Password:         nutanix/4u

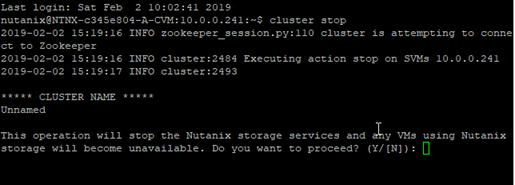
Issue the Following Command
Cluster Stop
Answer question Y
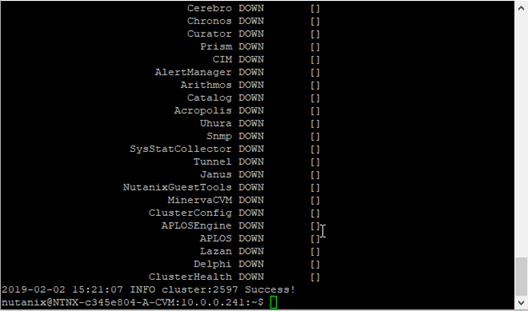
Wait for cluster to stop
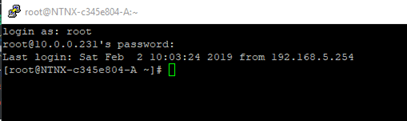
SSH Into one host
Username:         root
Password:         nutanix/4u
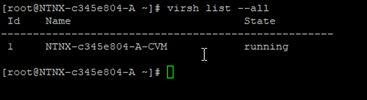
- Issue command to get CVM name
virsh list –all
- You can also run the following command
virsh dominfo <CVM NAME>
- Issue command to shutdown CVM
virsh shutdown <CVM NAME>

- You can run the following command to get status
virsh dominfo <CVM NAME>
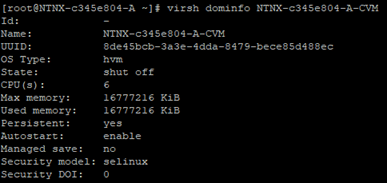
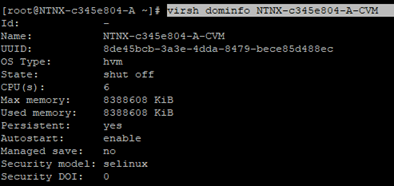
Reduce CVM memory to 8 gigs by using the following commands
 virsh setmem <cvm name> 8G –config
 virsh setmaxmem <cvm name> 8G-config
Issue command to see config change of memory
virsh dominfo <CVM NAME>
- Issue the following command to start the CVM
(Note: Wait a few minutes and SSH into CVM to start the cluster)
virsh start <CVM NAME>
Issue the following command to start cluster
Cluster start
