There are a couple of ways to install Adobe Reader DC but I wanted to share how it worked for me with Intune. I had one method that for some reason caused me issues, so I found another solution. Enough of me rambling on, let’s get into the tech.
Note: Good idea on the application that you are replacing to remove it as a required application for installation or ever how that application is setup for deployment.
First let’s download the AdobeDC version. Now that you have that it’s an EXE. We all know if you have been doing Intune long enough EXE are OK in Intune but doing it with an MSI is way easier. So, let’s extract the MSI
First step we need to create a series of folders.
c:\apps\ – Folder for the EXE File
c:\apps\ADobeDC\Extract – Folder for the extracted files
c:\apps\AdobeDC\Output – Folder where the Intune file will be located
Move the EXE to the c:\apps
Next run the following commmand, again adjust your path to your setup
c:\apps\AcroRdrDC2400420220_en_US.exe -sfx_o"C:\apps\AdobeDC\Extract" -sfx_ne
Once you run the command the following screen will come up,

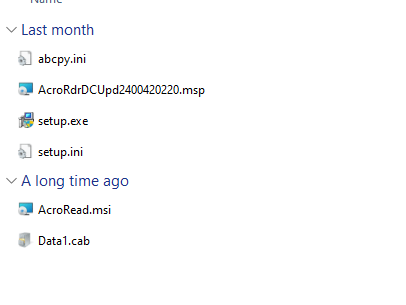
Once that is finished you will have all your files, including the MSI
Now for some, you might know the rest of the process, but I am still going to show it here.
Next if you do not have it already, go out and download the Win32 Prep Tool. Once you have that just copy that to the root of c:\apps
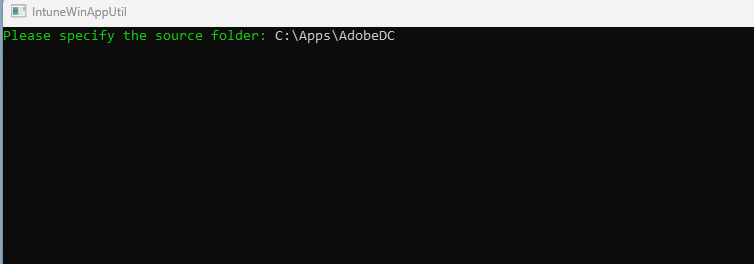
You will need to run the program as an administrator, I have had issues trying to run it as a normal user did not work.
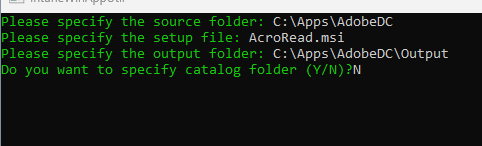
First prompt will want the path of the MSI, once you fill in the path just press enter
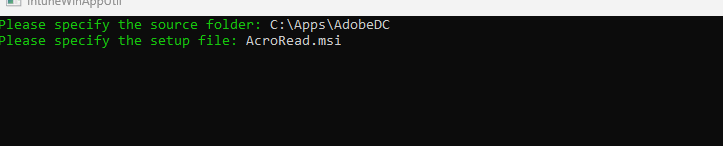
Next it will ask you for the MSI. Please note when you extracted the exe out it has multiple files all those files are required even though we are going to reference the MSI file.
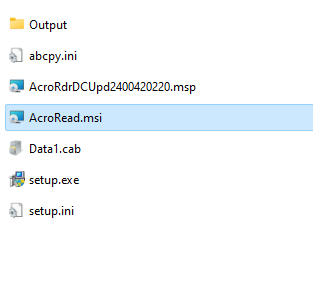
Next put in the name of the MSI file
Next put in the path of the extract folder

Type N
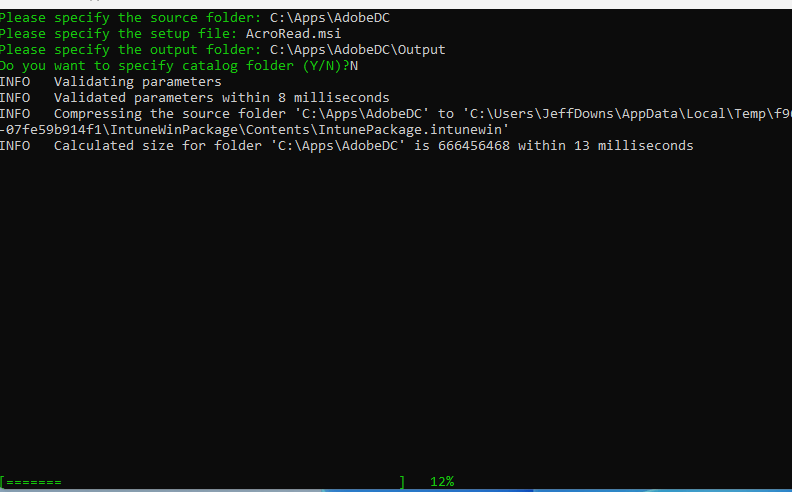
This will be creating the file so let it process and once it completes will it will exit.
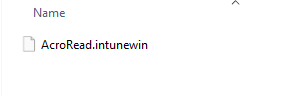
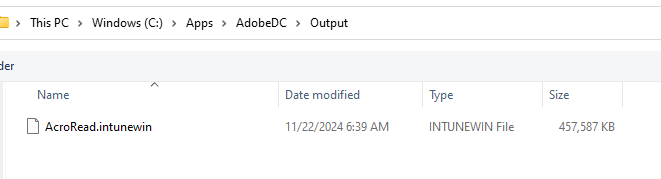
Once completed it will have in the output folder the .intunewin file
Next, we need to go to the Intune console and go into Apps > Windows
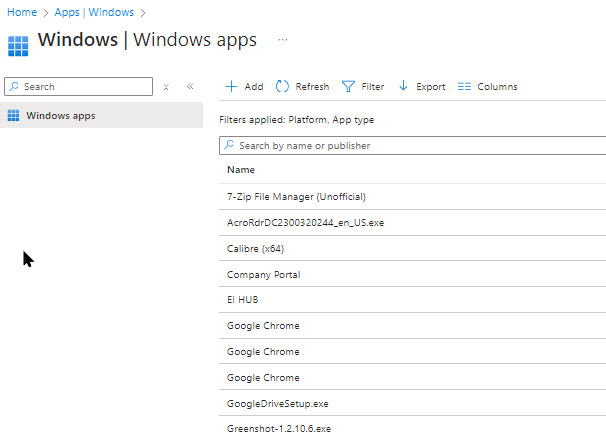
Click on Add, on the right side of the screen will pop out and ask you what type of app. For this application we are going to deploy a Win32 Application.
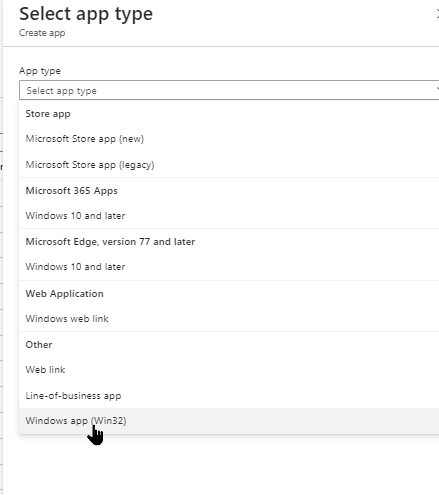
Click Select

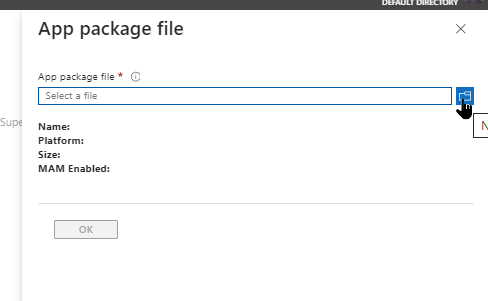
Select the “Select app package file” Link

Click on the Blue folder and start to browse to the file we just created
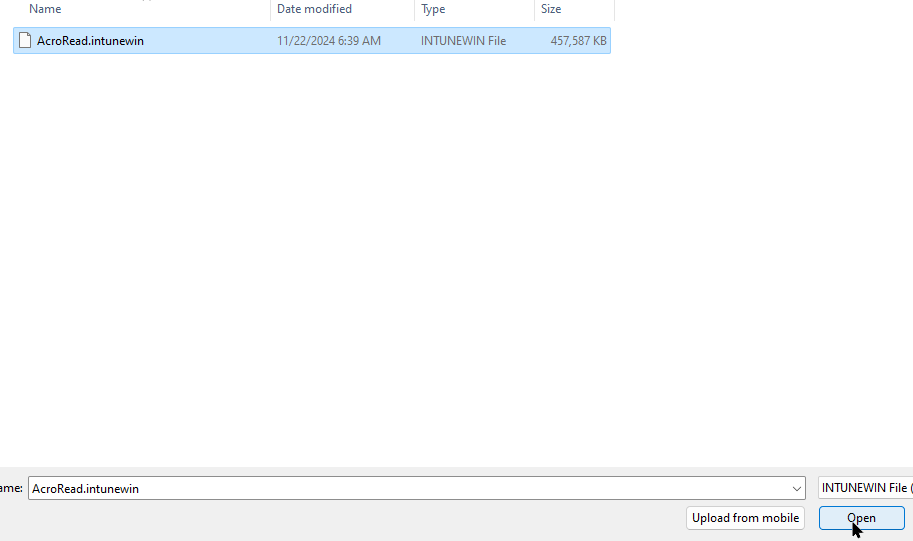
Select the file and click open
Click OK
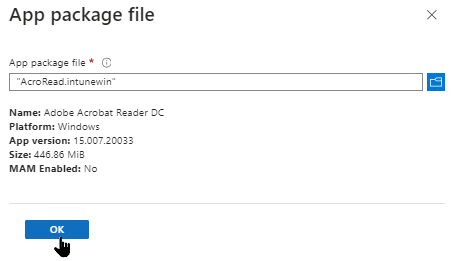
On the following screen you only need to fill in the Publisher, I just always put in the name of the company, but you could put your name, if you want. I do also have one suggestion, It will work to your advantage if you put the version number in the Name field, you will thank you me later.
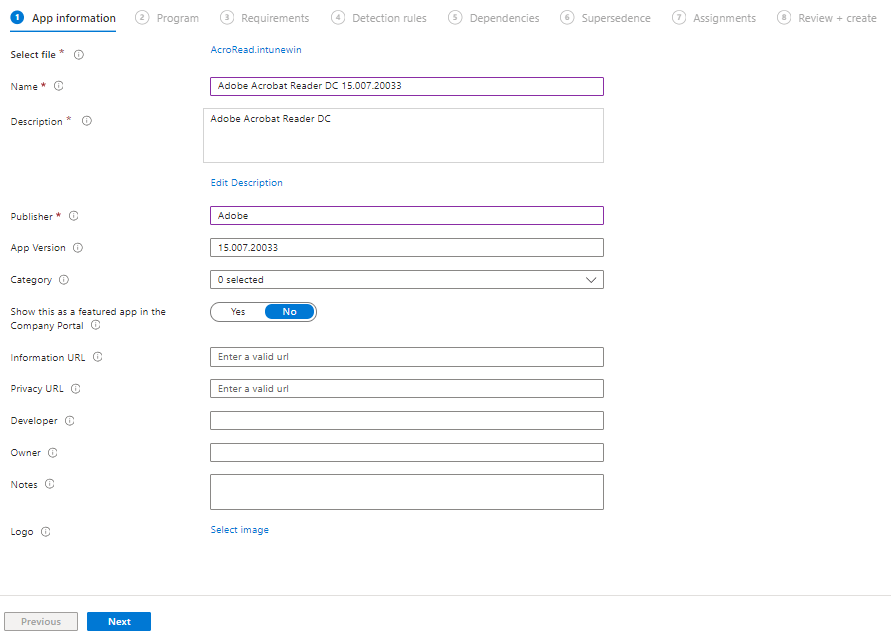
Click Next
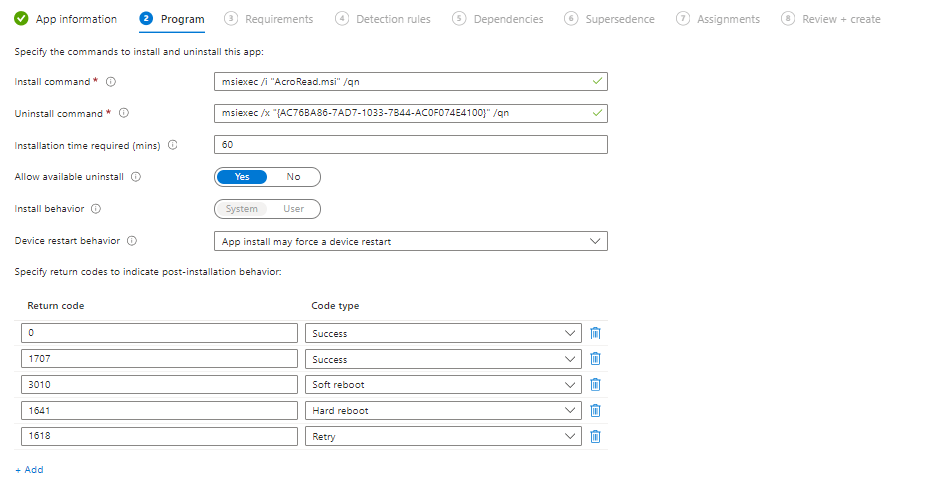
This is one of the main advantages of an MSI. It is smart enough to pull in the command line switches. I have a couple of instances where I added additional install command line switches but for the most part the defaults work pretty good.
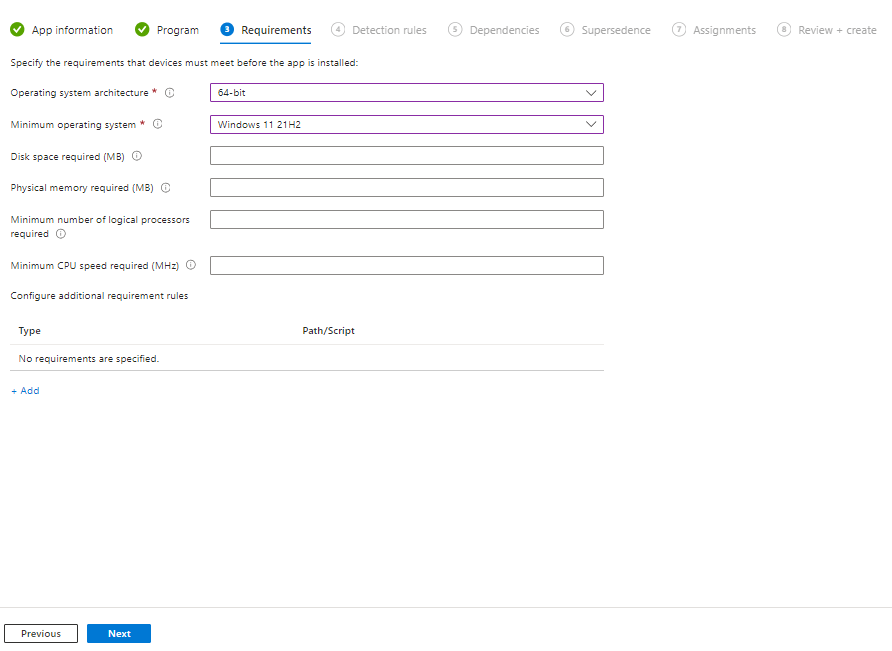
Click Next on the requirement screen this is where you can set the minimal install OS version that can get this update. Set according to your environment. and click next
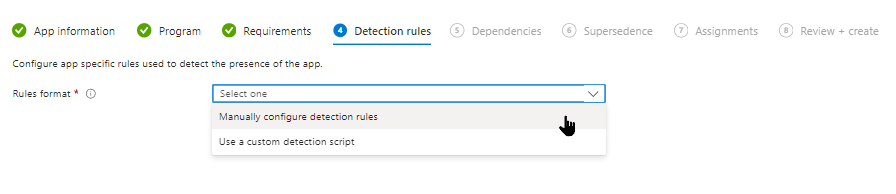
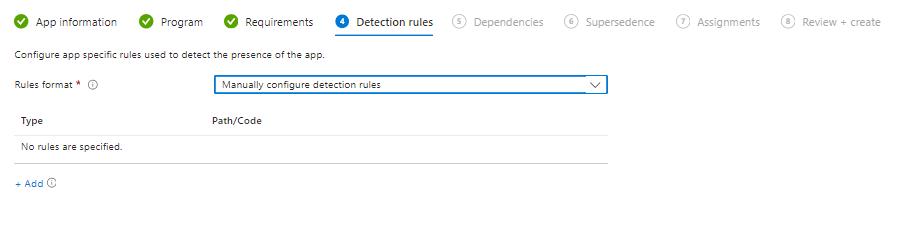
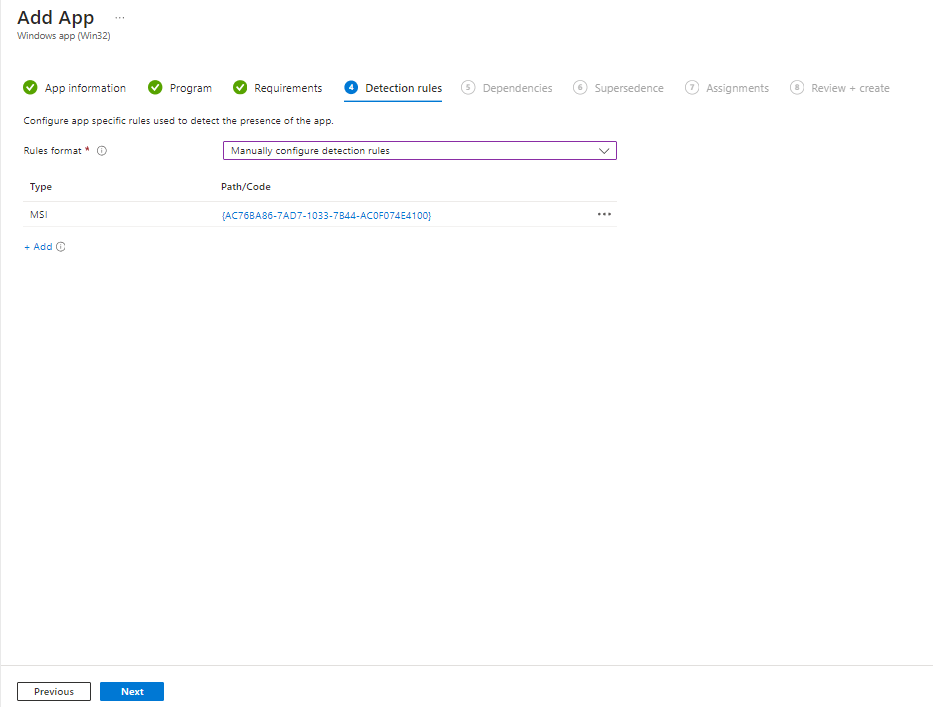
Detection rules are next, again another nice feature of MSI it makes this much easier, click on the down arrow and select “Manually configure detection rules”
Click on Add
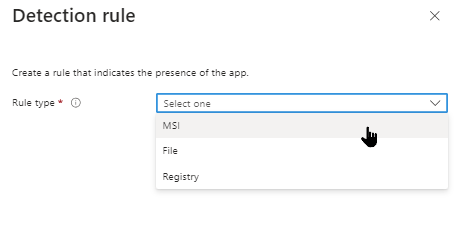
Menu will pop out on the side and click MSI
When you choose MSI, it looks like the following
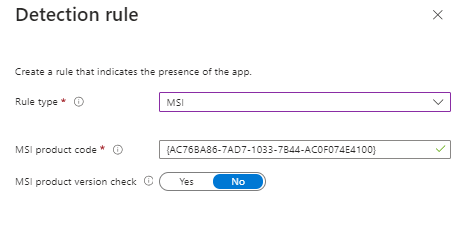
Use these and click OK and then click Next
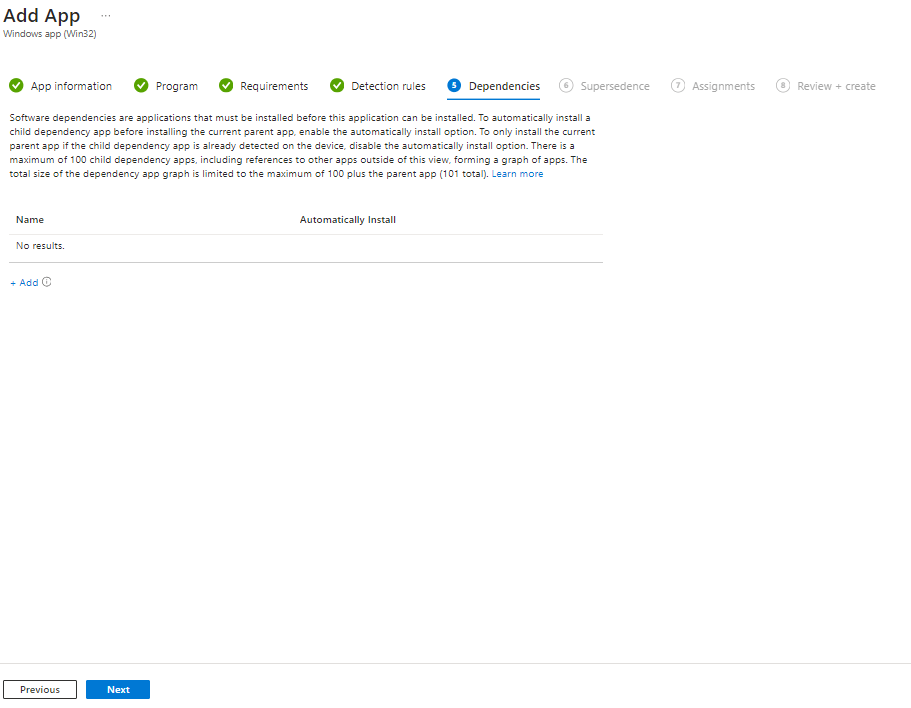
For Dependencies for this particular application there are none. This is a nice feature if another application needs installed before this one you can select that application here and require it to be installed before this application. Again for this example there are none, click next
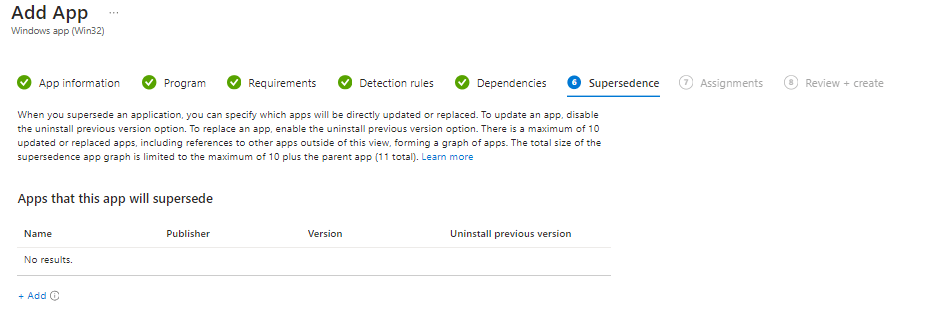
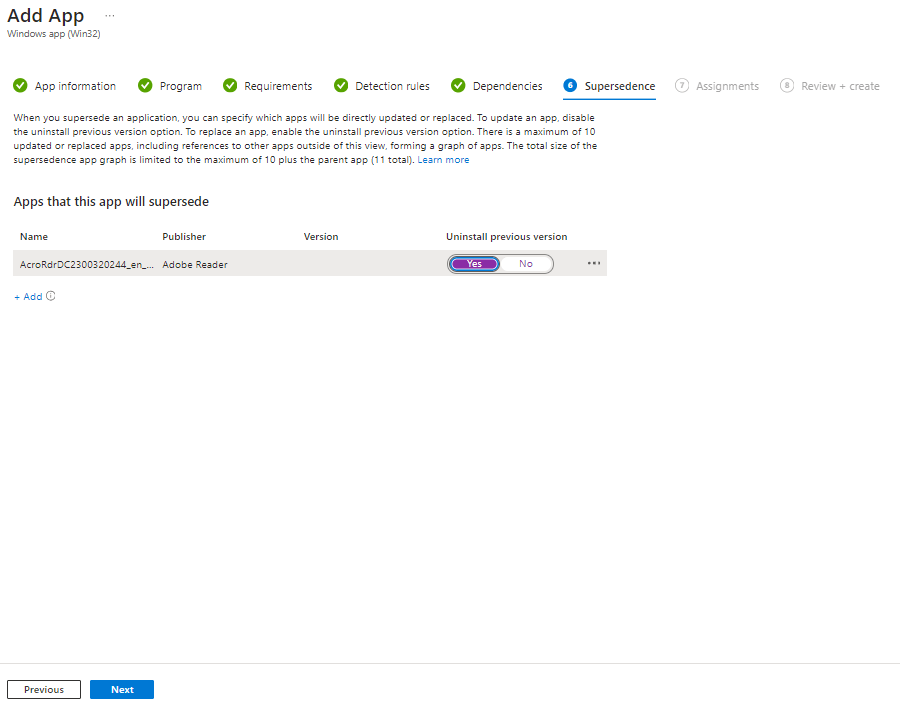
Supersedence, this is a great feature which will allow you to uninstall the previous version. If you want to do this click add. Remember when I said you would thank me later for putting in the version number?
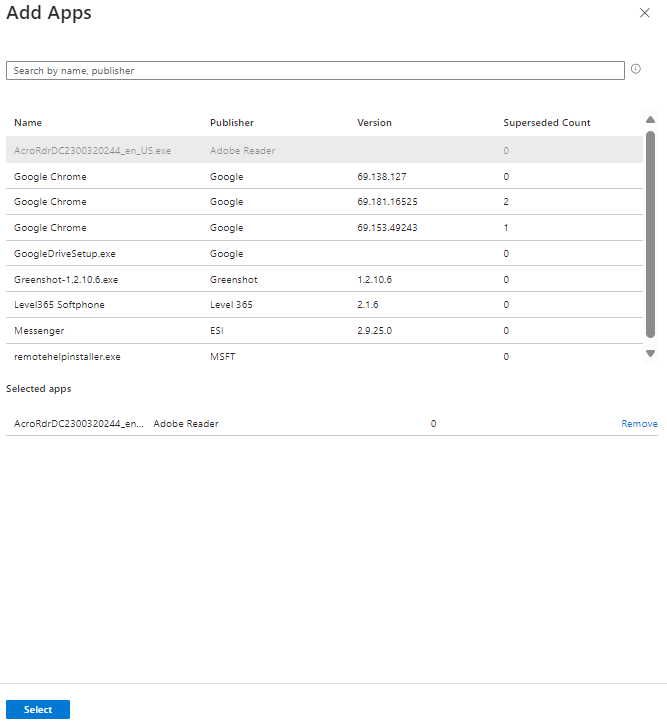
The following screen will pop out on the right side of the screen. Reason it’s nice to put the version it makes it really quick, and yes, I do know that they also do show the version number, but for me I like to see it in the Name of the application. My preference, and up to you on yours.
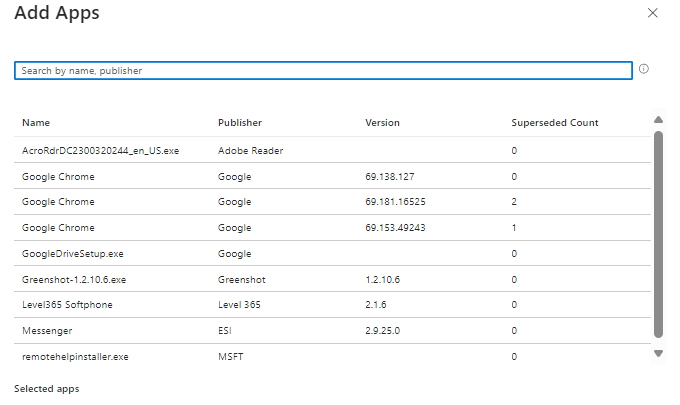
Select the app and click “Select”
After you select the app, the screen will look like this. Here you select to uninstall or not, I slide it over to YES and click next
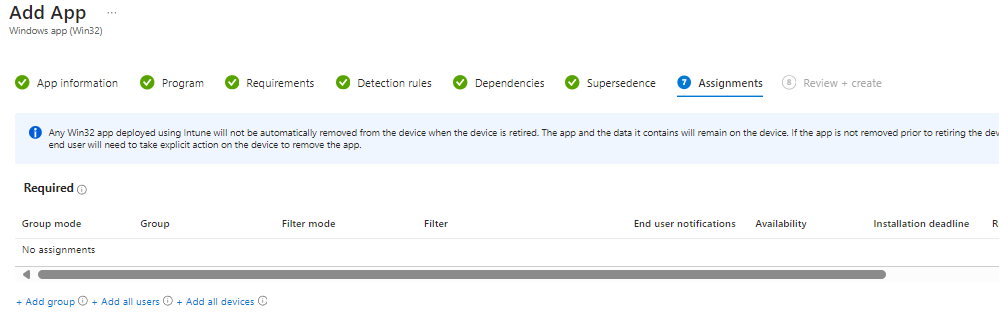
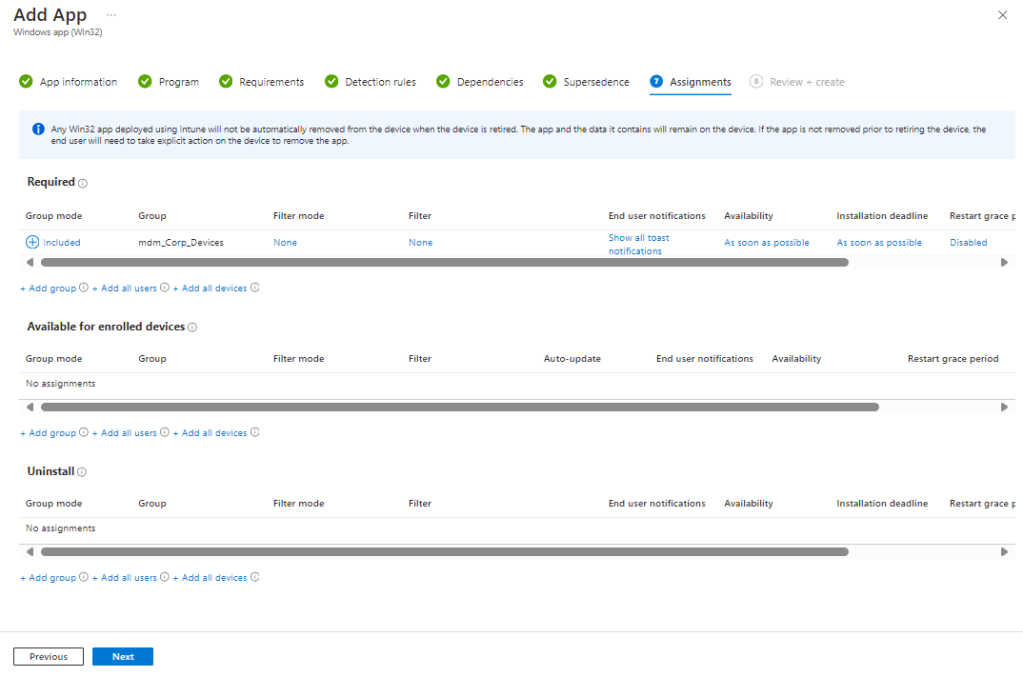
On the assignments page under required, for this example we are doing required. Click on Add Group
A new menu will pop up, find the group you want to install to either a user group or device group, which ever your preference, and click select
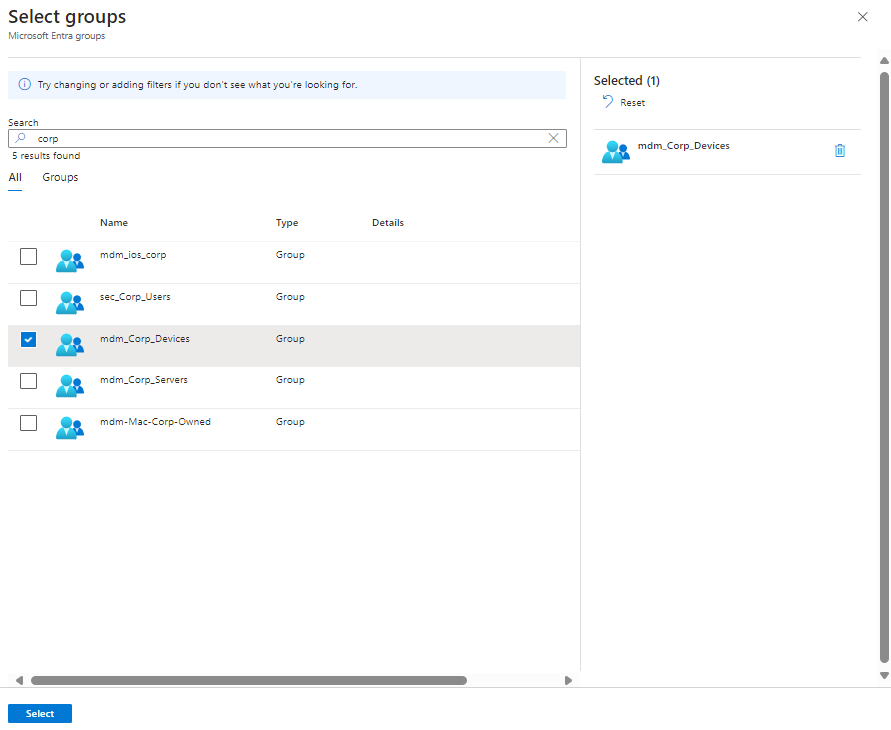
Click Next
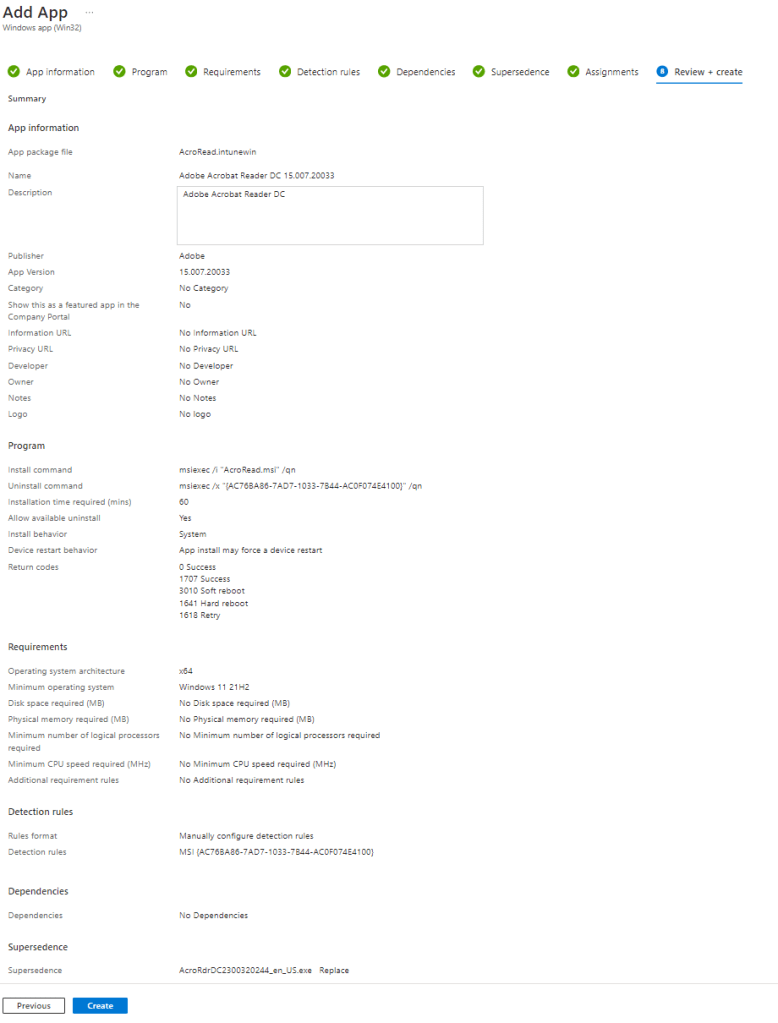
On the review and create once you verify that is what you want click create
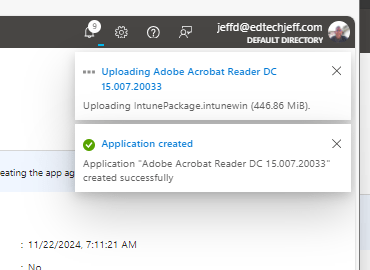
A couple of notifications will come up and until you see the finished it is not deployed yet.
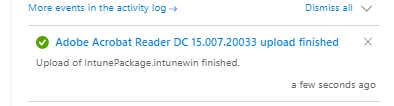
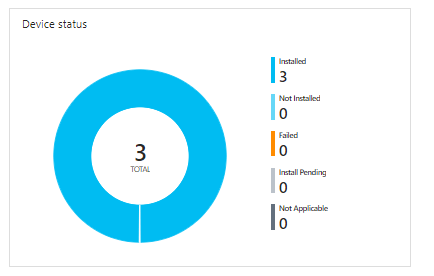
Once its deployed and finished you can check in on the progress of the installation by clicking on the application
Hope this was helpful.
