In this article we are going to discuss some basic commands you can do with DISM.
The first one we are going to create an image for deployment. One more item we need to download is a Windows 11 ISO. I usually get mine from Visual Studio Account, but feel free to download it from whatever method.
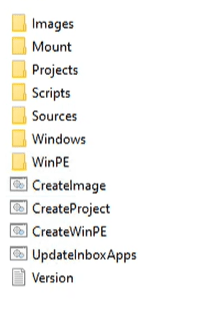
Once you get it downloaded in the images folder create a folder called sources.
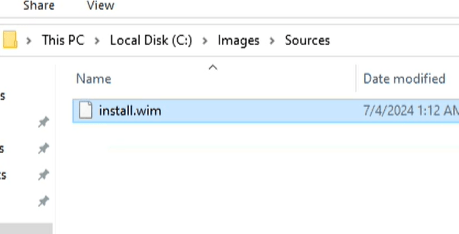
Mount the ISO you downloaded and open it up and copy the install.wim file to the images\sources folder. The WIM file on the mounted ISO is located under Sources

On your WDS server open backup the deployment tools as administrator. Our goal on this task is to extract the Windows 11 Enterprise WIM file from the install.wim. How do you do that, well with the following command. You will need to change the prompt to powershell, just type powershell and hit enter and it will look like the following

Run this command and it will output what are called Index’s
powershell Get-WindowsImage -ImagePath “C:\Images\sources\install.wim”
Here you can see all the different versions of Windows. Well for part of the deployment we want to be able to only do the Enterprise version.
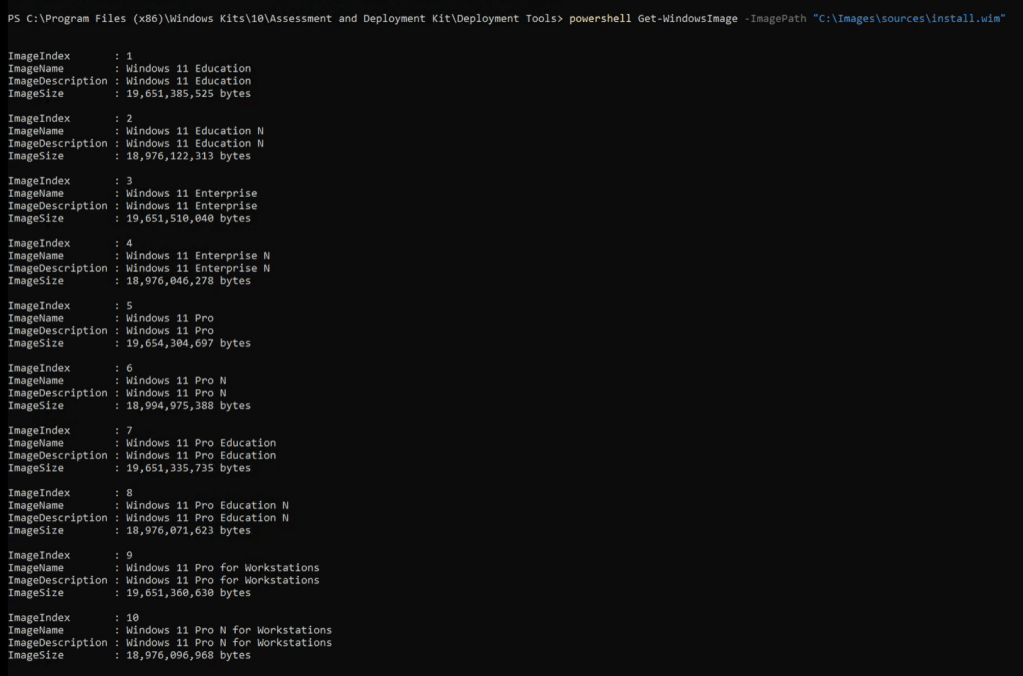
Now we have the Index number of 3 for Enterprise, lets run the following command.
Dism /export-image /sourceimagefile:C:\images\sources\install.wim /sourceindex:3 /destinationimagefile:C:\Images\Images\Enterprise.wim
As you can see from the command you are first pointing to the location of the install.wim file then telling it what index number of 3 for Enterprise then the last one is the location you want the WIM and the name. as you can see it has completed

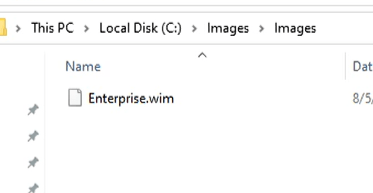
If we browse to the c:\images\images folder you now have the extracted version of Windows Enterprise
I am making this post shorter on purpose. The next post will be all about drivers. Which are important. So until next time. Have a great day.
