So far, we have built the server, installed the roles and installed ADK. What’s next? The scripts of course. What I have done in my environment is taken bits and pieces of the scripts and then changed things all the way around to work how I wanted to work. Feel free to do the same but I will show you some basic ways to use DISM. Let’s download the scripts.
Once you download them, copy them to what ever drive you are going to be using for your deployment drive. I prefer to have a separate OS folder versus my imaging drive. Next share out the IMAGES folder. Setup the permissions whatever is acceptable for your environment. I would suggest an account that is used just for imaging. I have gone to the extent to create a domain account and only allow logon rights to the imaging server alone. For the sake of the demo, server not on domain I am going to create a local user and give that user permissions only to that folder.
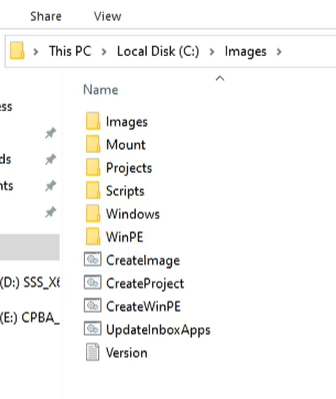
When you open up the Images folder you will have multiple folders. Feel free to explore all the different scripts and documentation about how this is supposed to work.
Now we need to get a custom Boot file created.
NOTE: This process does not have to be done more than once unless you need to add files to the boot file, or some other environment setting has changed. IE password, account used as part of the imaging process.
In order to do this, we need to have something to create that boot file to. I am doing this on a VM it makes its really easy. First step I need is to create an extra disk on the VM but only make it 4gb. Reason for this is we are going to use the CreateWinPE.cmd and it requires a 4gb to do this.
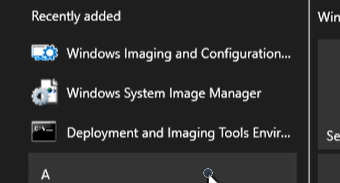
We need to launch the Deployment and Imaging Tools command line utility that was installed as part of the ADK install. You must also launch it as an administrator, or it will fail.

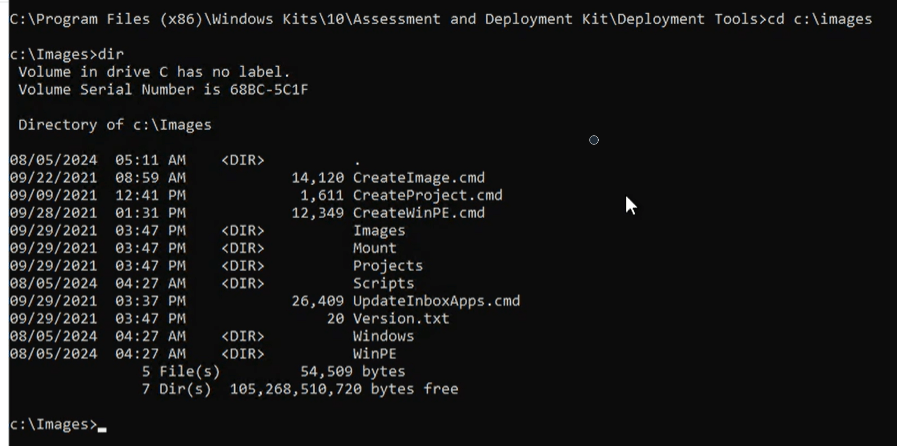
Change directories to the c:\images. You can see all the files.
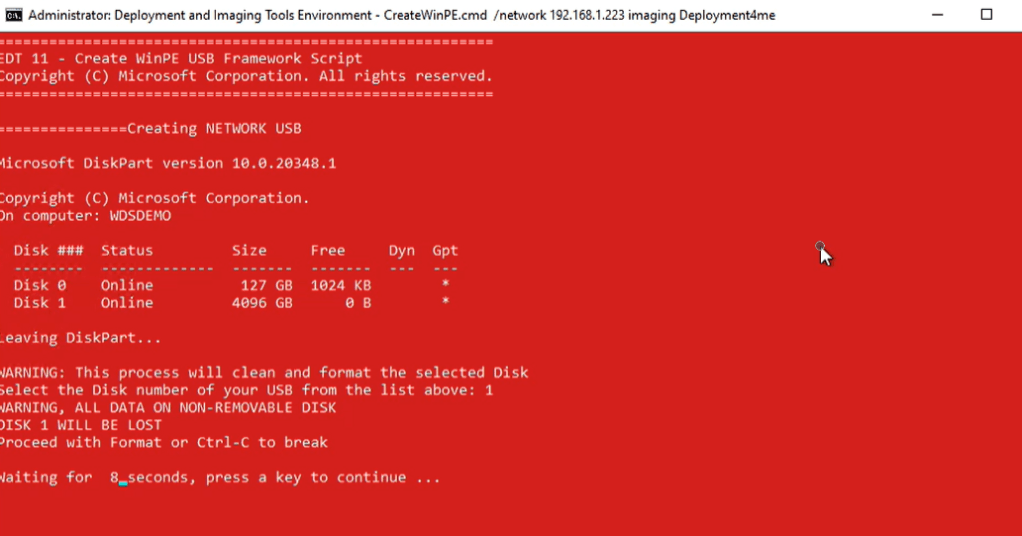
Run the CreateWinPE.cmd with the following switches for network

When you run that command you will be presented with the following menu items

Select Disk 1 in my example that is the 4gb HD I created. It will prompt you to let you know that it is going to delete the disk
Its going to run for a few minutes will multiple screens.

Once it is done, it just pops back to the command line.
Once the process is completed a new folder has been created at the root of the C Drive. winpe_amd64. Navigate to the following folder c:\winpe_amd64\media\sources. there is the custom boot file that you have created.
Now comes the fun part, you get to run a dism command, Remember to run the command line tool as administrator or it will not work correctly to mount the image and see what is in the boot.wim file. Run the following command
Dism /Mount-Image /ImageFile:”C:\winpe_amd64\media\sources\boot.wim” /index:1 /MountDir:”C:\images\mount”
To break down the command, /imagefile is the location of the image file which we pulled earlier and then the /MountDir is the location of the image we are mounting the image to.
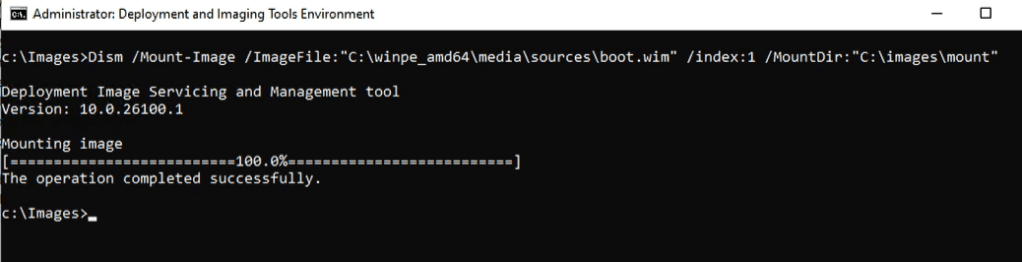
Once you see a success, then go to that c:\images\mount directory
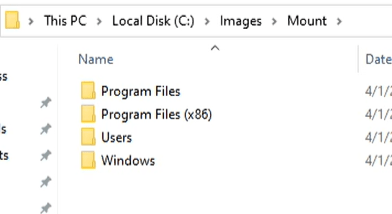
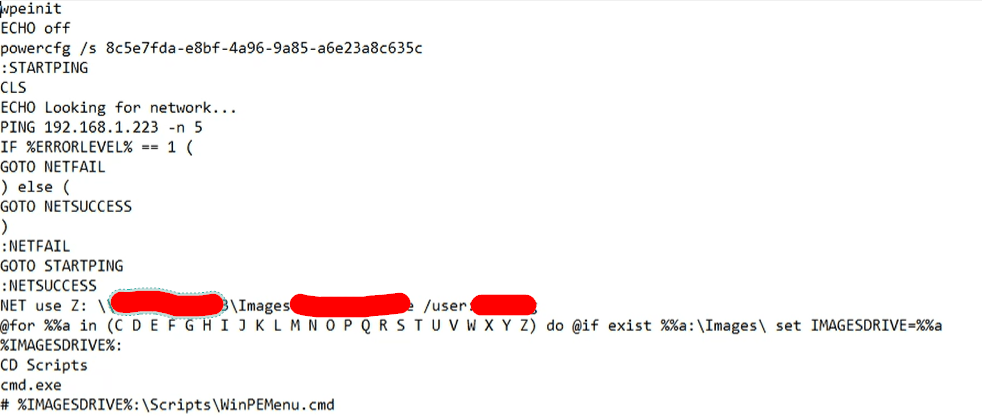
Now you have mounted that WIM file. Now lets browse to the Windows\System32 directory and open the file startnet.cmd As you can see this is the text that you filled in with your IP or name of the server and username and password. What happens is once you import this boot.wim into WDS, its first task is to run this file which then maps the image folder on the server and last command is to run the WinPEMenu.cmd.
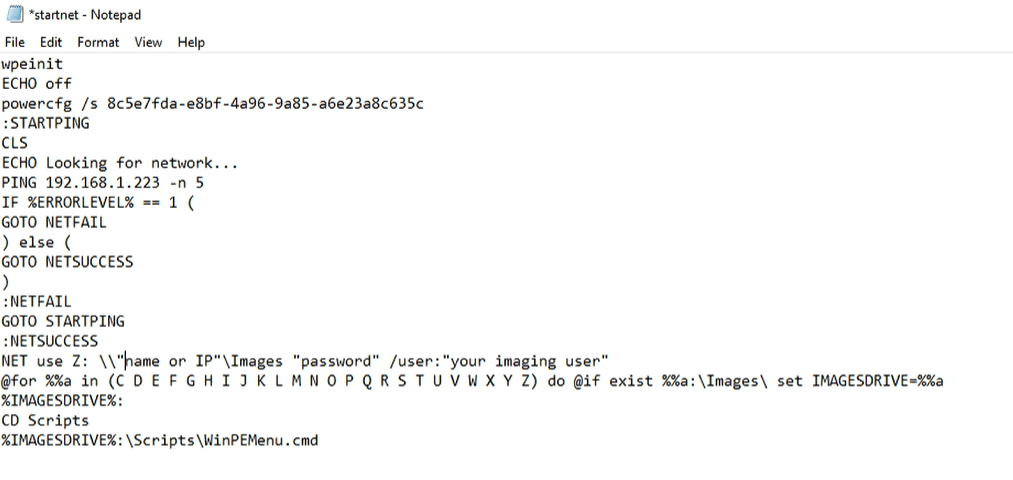
Lets edit this just a little bit. the last line put a # sign in order to comment out the running of that command right above it just add CMD.exe. That way it will just jump into a command line window to run some commands.
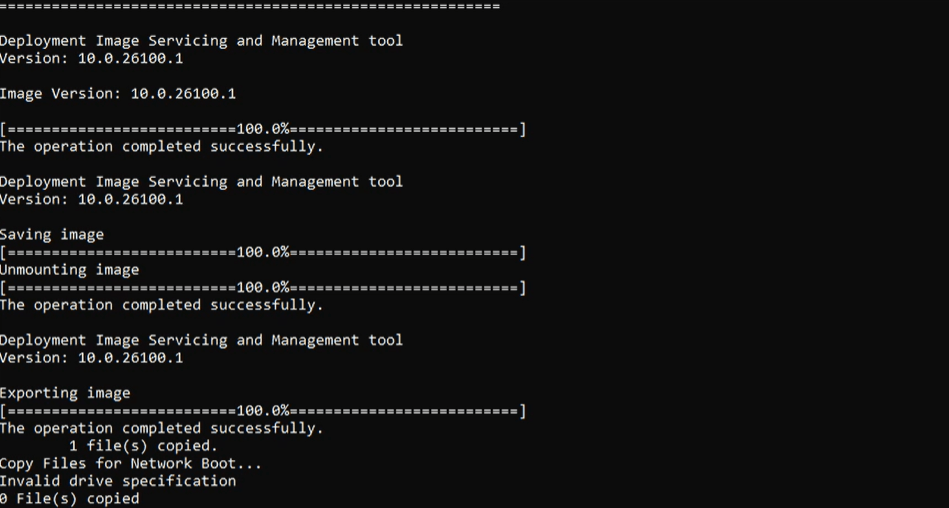
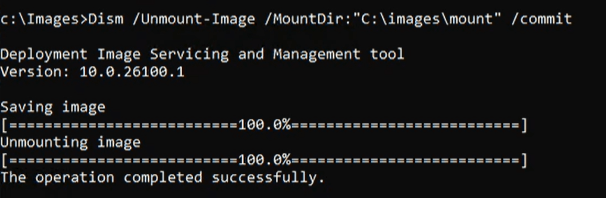
Once you do that jump back into the command line and type the following commands. Please note make sure you close all the windows and files to the mounted directory or it will fail to unmount.
Dism /Unmount-Image /MountDir:”C:\images\mount” /commit
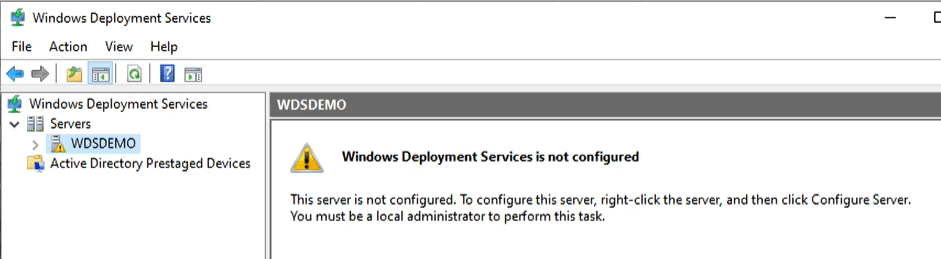
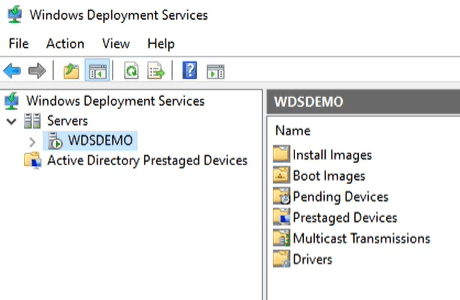
Lets import this Custom boot file into WDS. The first time you launch it, there are some steps to be configured. Here is what it looks like the fist time.
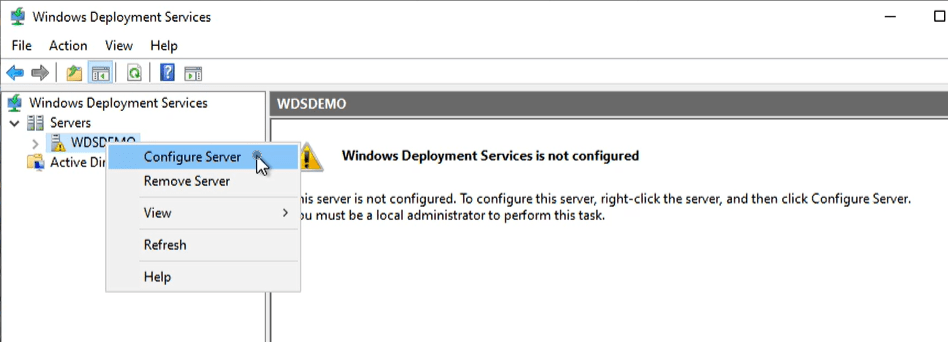
Right click on the server name and click on Configure Server
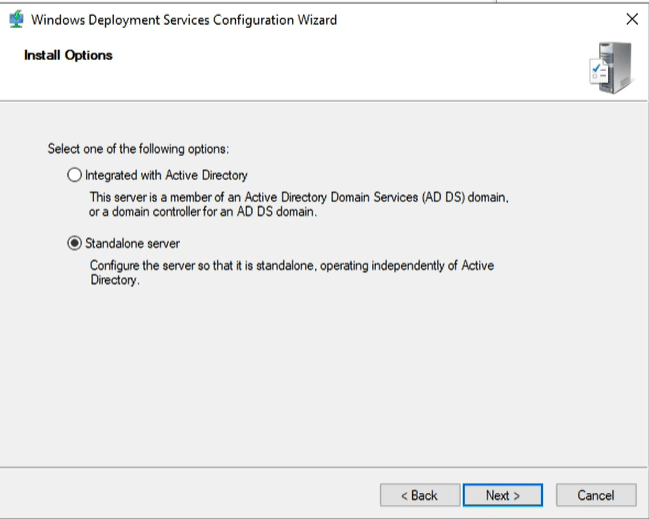
The next screen is one of choice. For the most part if the server is standalone of course you pick standalone but if it is joined to AD then there are some additional functionalities that you can utilize, but for the premise of this article we will be doing standalone and by the way, you can also check standalone even if it is joined to a domain, click next.
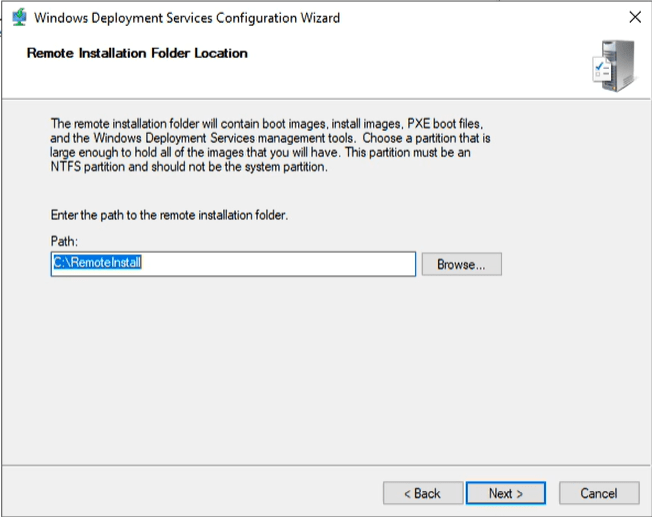
This screen if you have another drive its best practice to do so if not just click next.
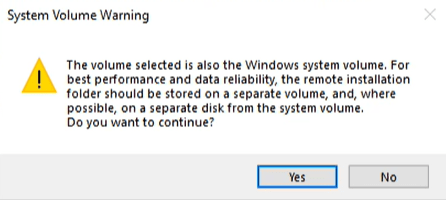
Don’t worry, just click YES
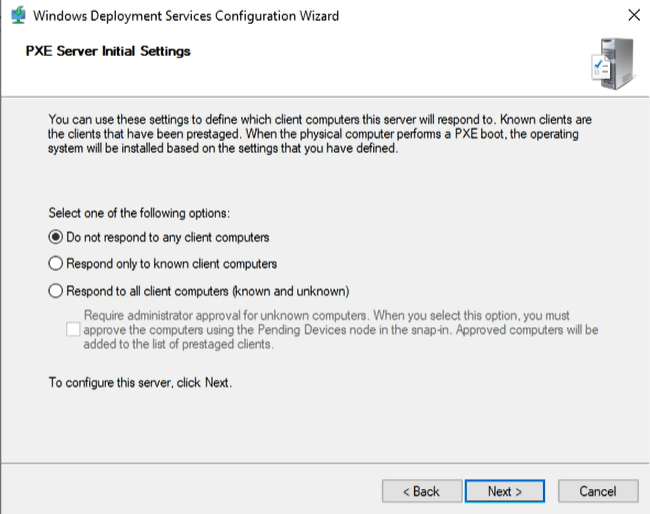
This screen you can go back and configure this again once its up , but for the most part I usually click on the 3rd option of Respond to all clients. Click Next
It will configure it based on your selections
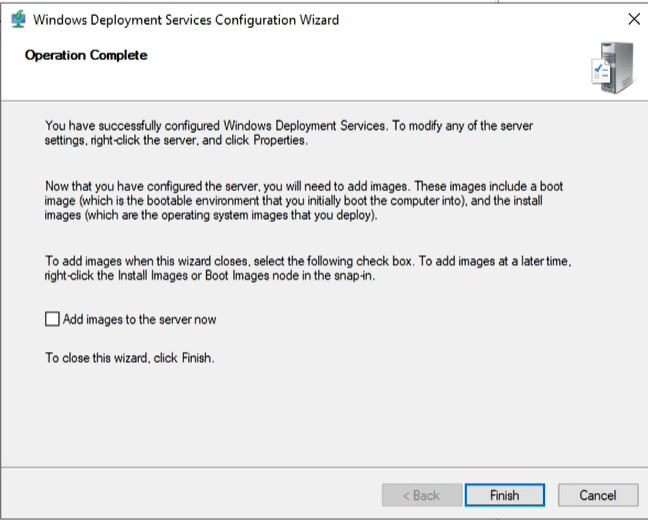
Uncheck the box to add images, we will do that next and click finish
Notice, all things are good and its time to load up the boot image
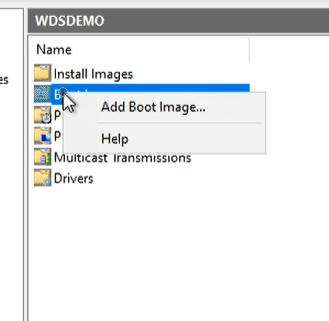
Right click on the folder called boot images. and Click on Add Boot Image
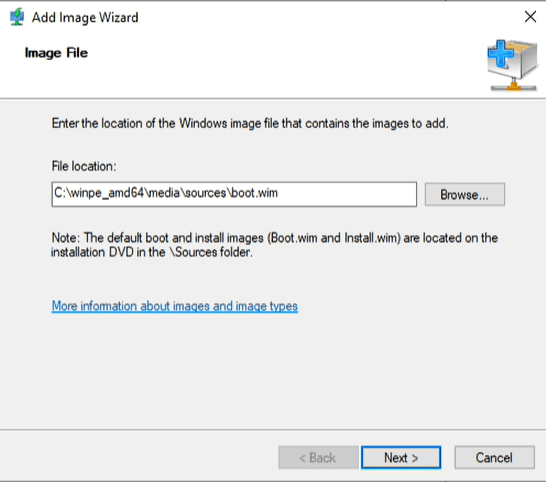
Browse to the WIM we created, its location is c:\winpe_amd64\media\sources\boot.wim and click next
Keep the default name or not, your choice.
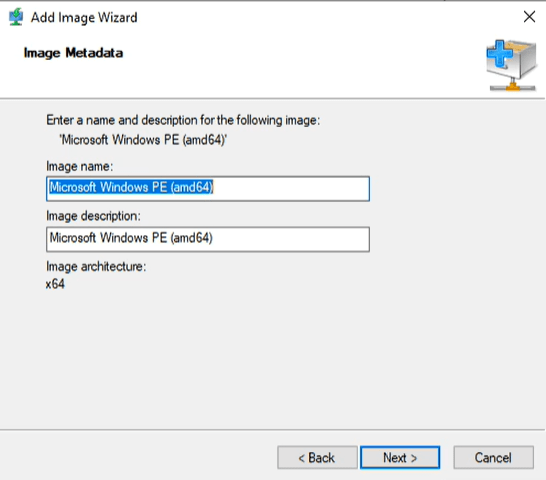
Click Next
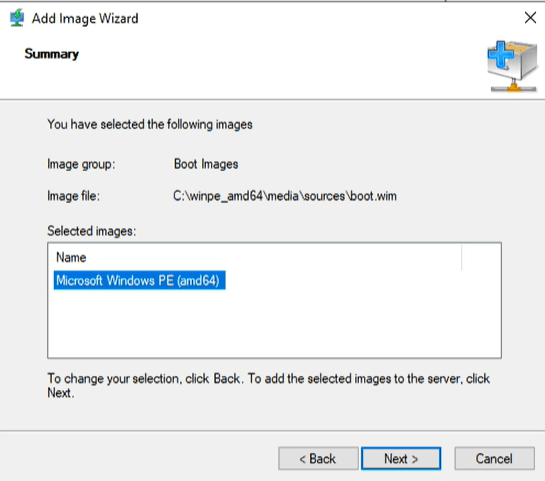
Click Finish when done.
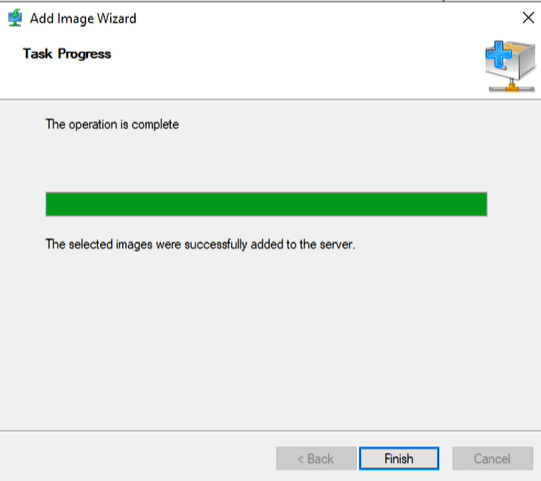
Now you have your custom boot image imported.
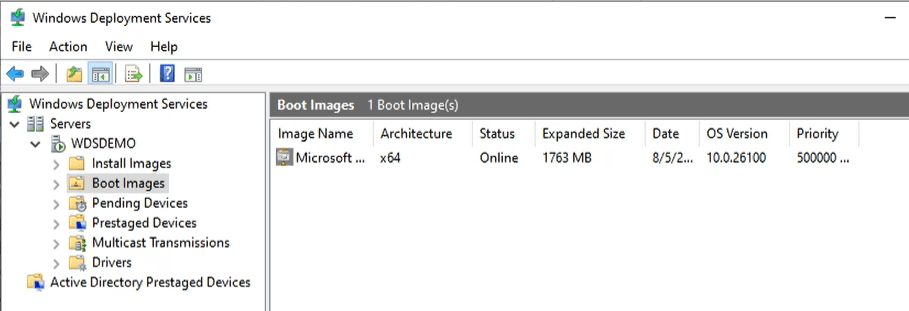
Finally, we can test this. I will be doing this on a HyperV box, and I will not go into details on how to create one, but here is the result once you PXE boot the VM
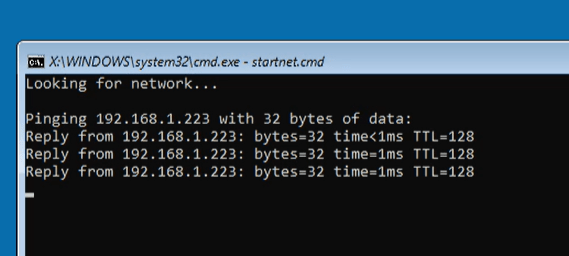
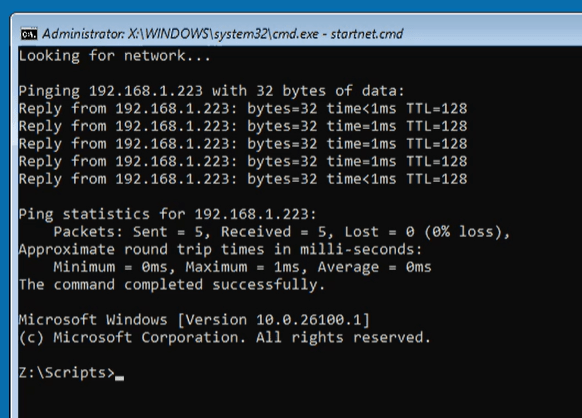
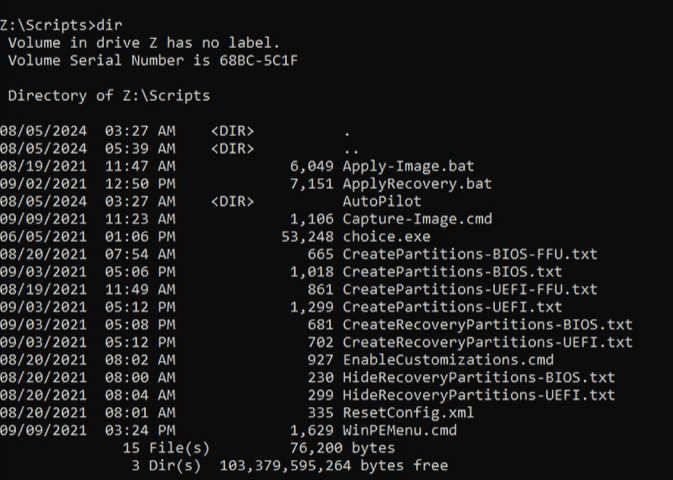
There you go, you are all booted up, on the network and ready to run some DISM commands. if you would type a DIR command you will notice you see all the scripts and folders of the image directory
In the next post we are going to talk about how to use DISM commands.
