The following will have multiple post due to the nature of the setup. I am going to go through the whole WDS setup and what I did to get imaging working with DISM. I have been struggling with the current imaging setup for Windows 11. I have always been a fan of MDT\WDS but as we all know it’s no longer supported for Windows 11, would like to say more here, but I won’t. :). I will also state that I did not come up with this idea, but it is a wonderful idea none the less. The following article is what I based my whole setup on. It’s a great collection of scripts from an OEM perspective that at scale works great, but even for the smallest shops this will work great.
Let’s first talk about what DISM is. DISM is a command line utility that has been around for since the Vista days, so its old, but it works like me! DISM stands for Deployment Image Servicing and Management. DISM is a command-line tool that can be used to service and prepare Windows images, including those used for Windows PE, Windows Recovery Environment (Windows RE) and Windows Setup. DISM can be used to service a Windows image (.wim) or a virtual hard disk (.vhd or .vhdx). In short, it’s one of those great tools that every admin should have in their toolbelt.
Well enough of the history of what I am doing but lets get into it.
First let’s talk about the “SERVER” itself. In this setup we will be using the following
- Server 2022
- WDS Role Install
- ADK for Windows
- ADK PE for Windows
- ISO of Windows 11
The specs of the server are up to you, I feel like from my experience as long as the “SERVER” has enough hard drive space and RAM that is all that matters. I have set this up on virtual and physical machines and both seem to perform just fine. Personally, I would do the setup on a physical machine and use some really fast NVE drives or something to get the maximum performance out of the system. In order for this to work you will be utilizing PXE or Pre-Execution Environment to network boot your devices. This gives the ability for your devices to boot up by pressing F12 or whatever key combination does that for your particular device type and boot into the scripts that will be used. I will say for what I am going to demonstrate I will be doing the commands one at a time.
From a networking perspective you will need DHCP running in your environment, which all do, but in some labs maybe not. Also, if your PXE boot server is on a different VLAN than your devices you will need to setup DHCP helper IP’s but again most environments will have this already setup if they have DHCP setup. Just wanted to state this for anyone that might be building this in a lab environment or whatever.
For my server I will state that I do not have it joined to the domain. In production I would typically join it to the domain for administration purposes.
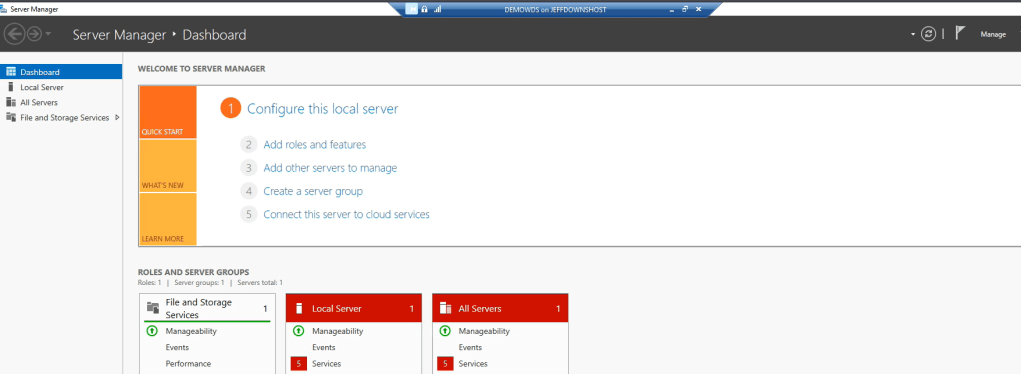
Now that you have your server built and OS installed let’s install the WDS Role. Bring up Server Manager and click on Manage
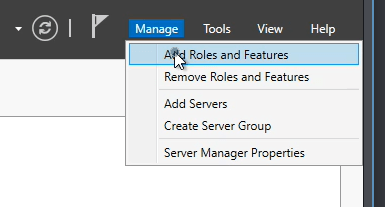
Click Add Roles and Features
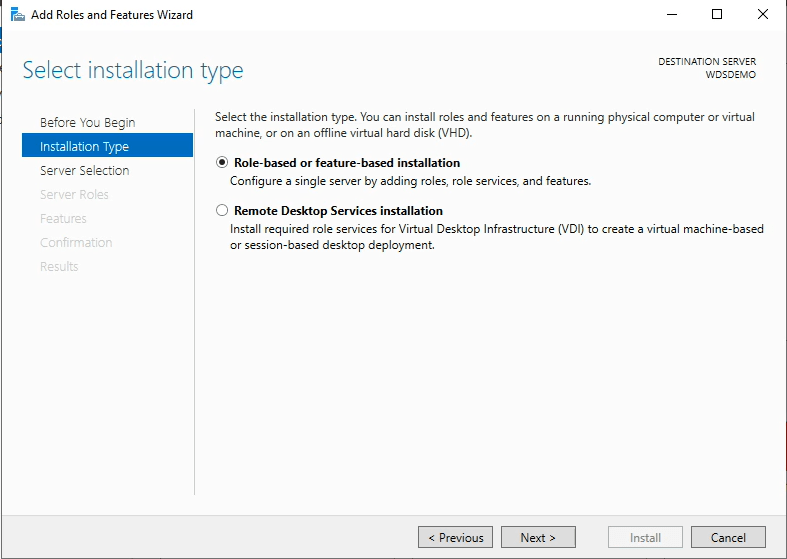
Click Next

Click Next
Click Next

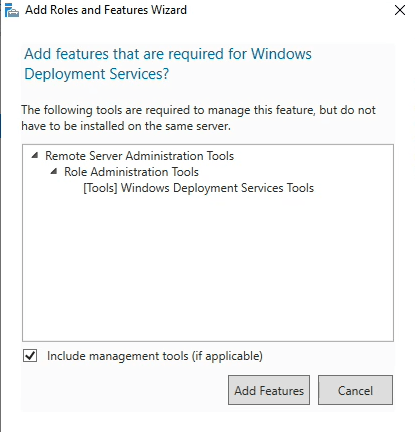
Check the box next to Windows Deployment Services
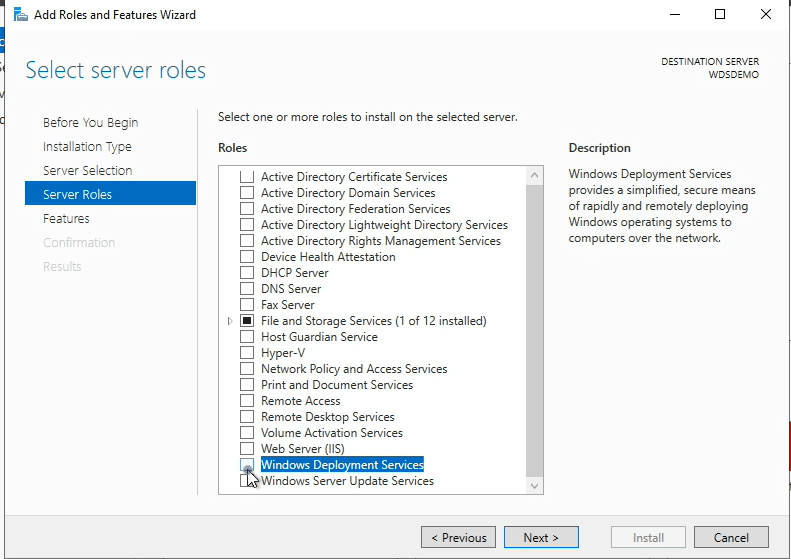
Click on Add Features
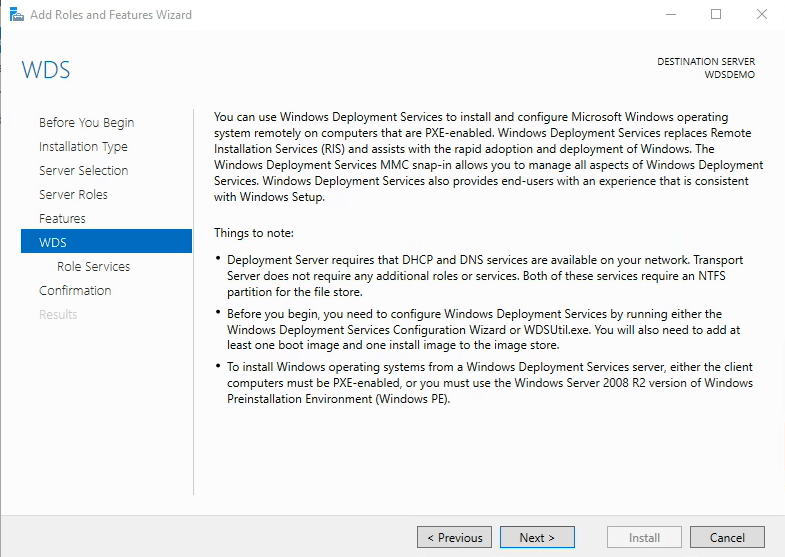
Click on Next

Click Next

Click Next
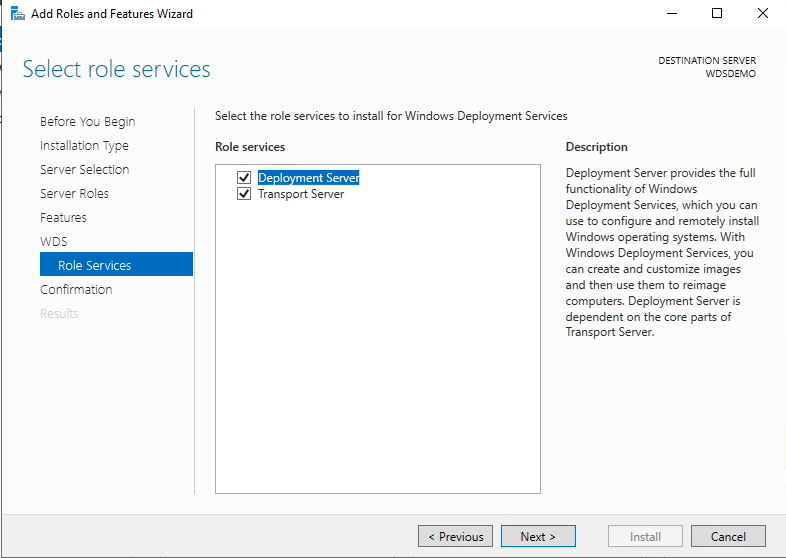
Click Next. Note I typically always leave both these checked
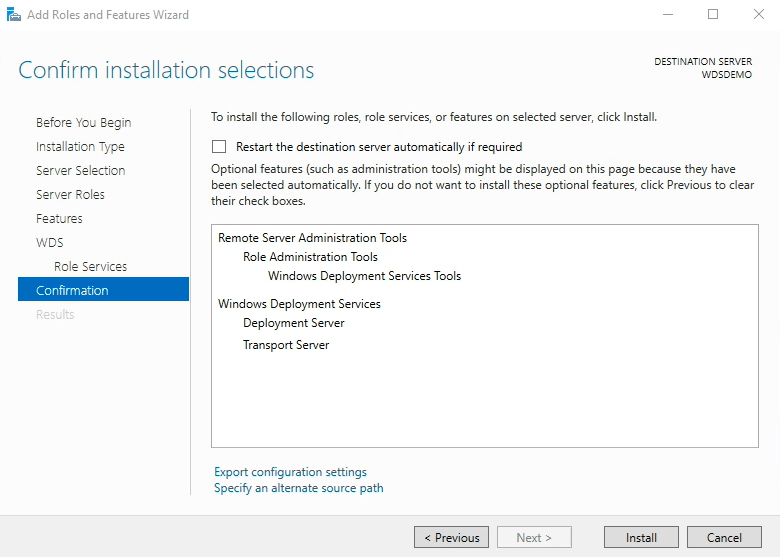
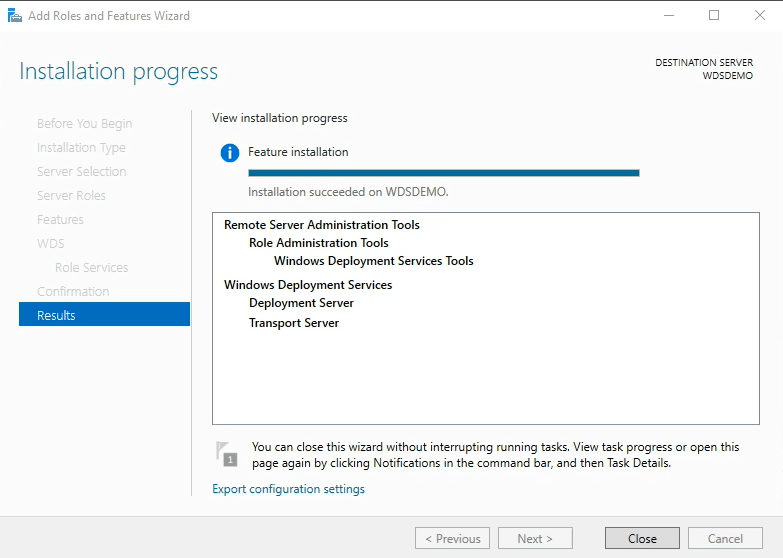
Click Install
Wait for it to install and finish and just click close.
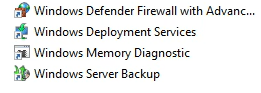
If you go into Administrative Tools and you will find now you have a new option Widows Deployment Services.
In the next article I will cover what’s next.

One thought on “DISM Imaging for Windows 11 – Part 1”