In the following posting I had a customer needing to create rooms to be checked out for meetings in Outlook.
I found this great video I used for some of the commands.
First step you need to create the boxes. I did some in the GUI and some via command. Do the following to create the resources via the GUI.
Open up Exchange Admin and open up Resources Note: you will need to the appropriate roles and or permissions to perform these actions.

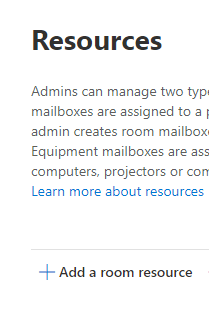
Click on Add a room resource
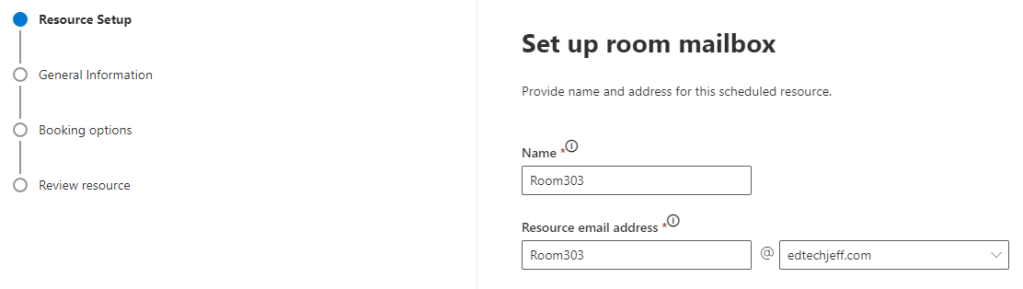
Fill in the mailbox information, Click Next
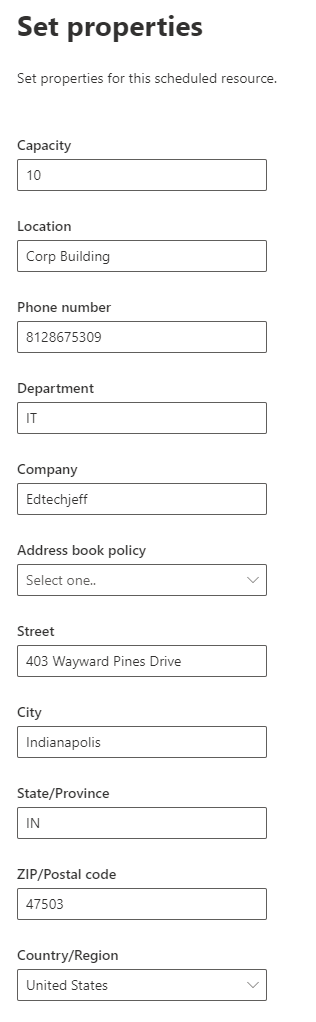
Fill in the Properties. Note not all need to be but more is better Click Next
Just leave by defaults or change what fits your environment. Click Next
Might take a few minutes to create

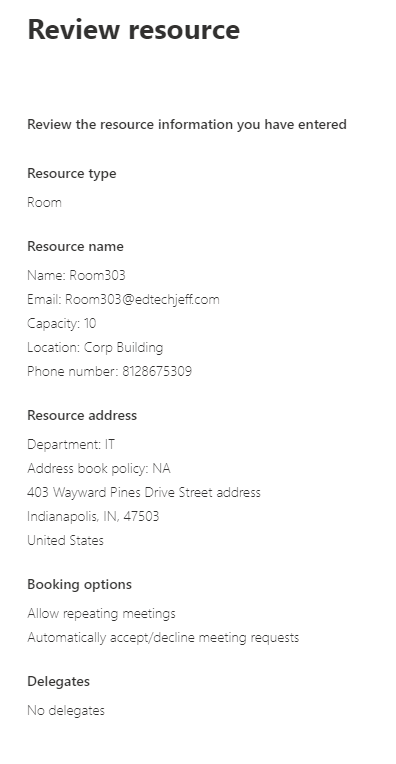
Review your settings and click Create
I used the following article to help me get logged into Azure.
Open Powershell as Admin, run the following commands to import exchange online modules and connect to exchange online
Import-Module ExchangeOnlineManagement
Connect-ExchangeOnline -UserPrincipalName navin@contoso.onmicrosoft.com

Once you get connected you now need to set some additional settings. I stated you can add more settings via command. here is an example of settings that you can set. This will help you setup the floors and the building. Depending on what all you list you have you will have to do this in multiple commands.
set-place room303@edtechjeff.com -CountryOrRegion "US" -State "Indiana" -City "Indianapolis" -Building Main -Floor 3 -FloorLabel "3rd Floor" -Capacity 200
List Mailboxes and verify information is correct
Get-EXOMailbox -RecipientTypeDetails RoomMailbox | Sort Displayname | Get-Place | Format-Table Identity, DisplayName, Building, Floor, City

Next you will need to create the distribution group for the conference rooms.
New-DistributionGroup -Name allconfrooms -DisplayName “All Conference Rooms” -PrimarySmtpAddress allconferencerooms@edtechjeff.com -RoomList

Now we need to add the mailboxes to the distribution list. You do that with the following command. You do have to do this command per mailbox.
Add-DistributionGroupMember -Identity "allconferencerooms@edtechjeff.com" -Member "IT@edtechjeff.com"
Add-DistributionGroupMember -Identity "allconferencerooms@edtechjeff.com" -Member "Room303@edtechjeff.com"
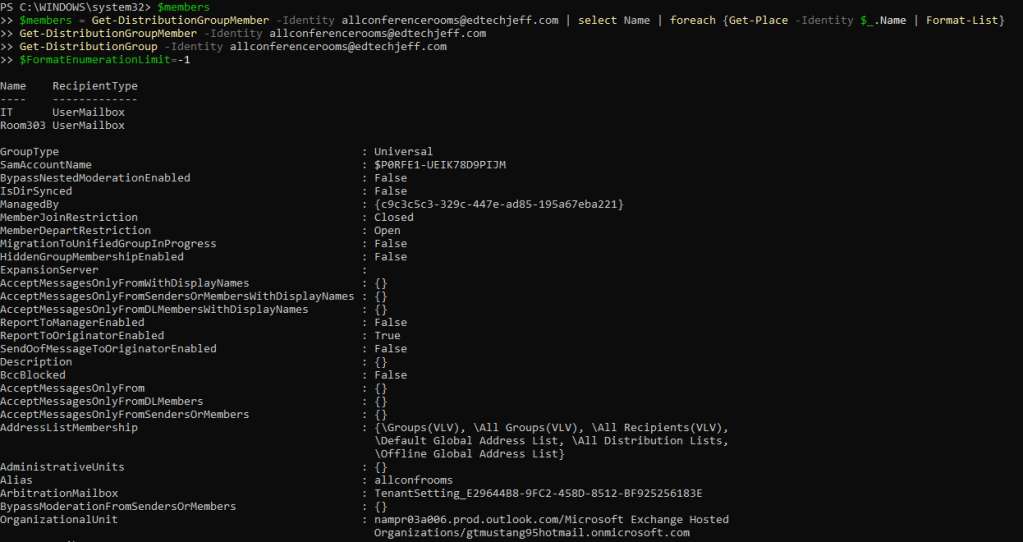
Verify that the groups are all configured correctly
$FormatEnumerationLimit=-1
Get-DistributionGroup -Identity allconferencerooms@edtechjeff.com
Get-DistributionGroupMember -Identity allconferencerooms@edtechjeff.com
$members = Get-DistributionGroupMember -Identity allconferencerooms@edtechjeff.com | select Name | foreach {Get-Place -Identity $_.Name | Format-List}
$members
For what ever reason this process to complete and get to your outlook takes about 24 Hours. After that period of time you should then be able to go into Outlook and book a room
#
24 Hours Later…..
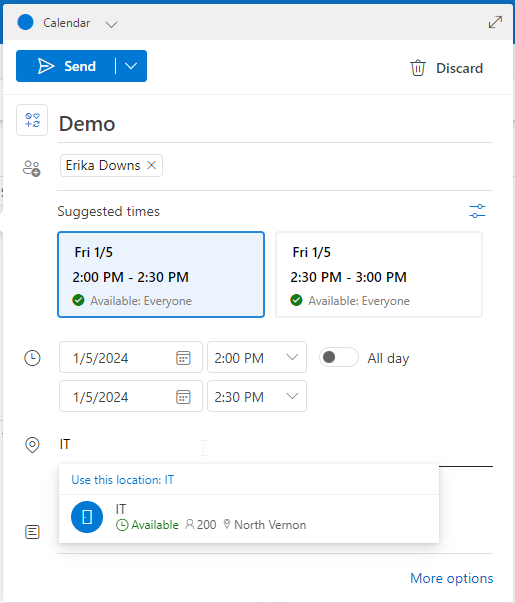
Now that you have waited, and I will say I did not have to wait 24 hours but I have seen where it did take 24 hours. Now go into Calendar and then create an event. You will see in the bottom part where you can search. Just start typing the name of the room and pick it. Thats pretty well it. Hope this helps.