App Packages
The following blog will be multi blogs. initially I wanted it to be one blog but as I started to fill it all in I realized that it needed to be broken up. Enjoy!
The purpose of this blog is to show you how to setup Config Manager just to image your end user compute devices. In the past I have used MDT\WDS to use as a basic imaging system for my EUC. As of this posting currently MDT. Per this documentation it states Windows 11 is not supported by MDT. Not for sure why, but it’s not. There are few blogs where individuals were able to get it working but not supported. Also there have been some changes in WDS and there has been some deprecation of what WDS supports. With that being said I had to find or in my case re-visit Config Manager. I will say I like the product but in recent times have migrated more to using InTune for client management. What I will be doing here is showing how to use Config manager only to image. I will not use the Config Manager client or doing co-management.
First you need to get Config Manager installed. I am not going to detail out how to do this but I have used SystemCenterDudes to help walk me through it.
Something else you need to configure are the Boundry Groups take a look at this documentation. It is pretty easy just do not forgot to do it.
Now you have completed a base install of Config Manager you are ready to get started. With my preferred setup to have my clients managed by Intune and also be Azure AD joined also there needs to be some extra stuff done to make it work that way. I found this great article on how to accomplish this. Here is what you are going to need. I am going to make this easy and provide here a link to what you need. I will be making some assumptions that you have some prior knowledge of Config Manager. I will add as much detail as possible. Now you have your files you need enough of this all, lets get into this.
You have your files downloaded that I provided make any changes that you may want but these base files will work for any environment. You will need to copy them to your share you created for your packages. For my install I created a share called packages and me being me created all kinds of folders. Its important in Config Manager to keep your files organized.
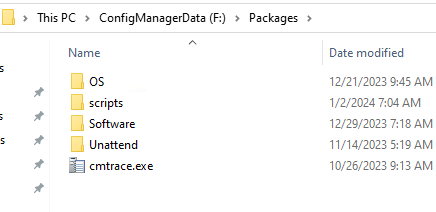
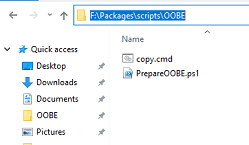
In the following steps we will be dealing with the files in scripts > OOBE
Also used is the file in unattend > SkippOOBE

We are going to first create the package that has the 2 files used to run a command to copy files from Config Manager to device during the imaging process.
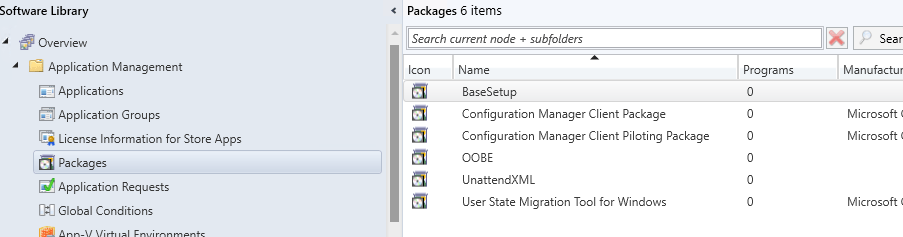
First lets open up the console of Config Manager and go into
Software Library > Application Management > Packages.
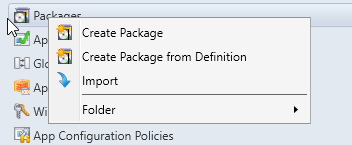
Next right click on Create Package
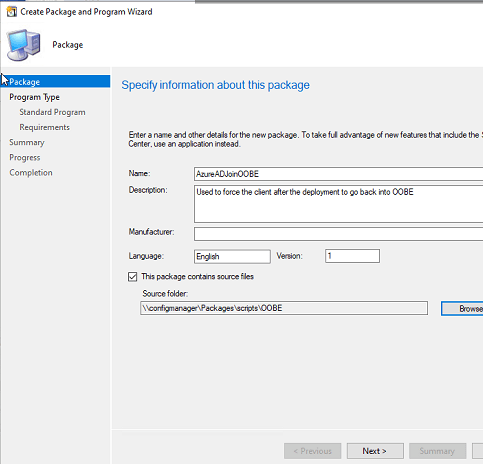
Fill in what you want

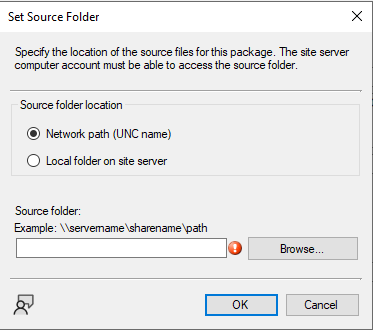
Next Click on the box that says “This package contains source files and click browse. The following dialog box will come up and click on Browse again. Make sure the Network UNC name is checked also.
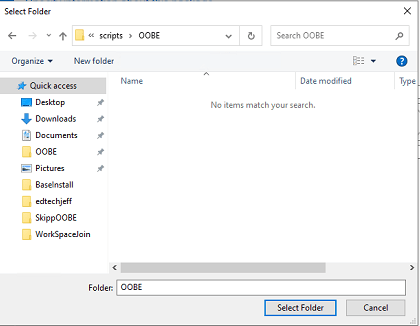
Now you need to browse to the directory where the files are and click on select folder
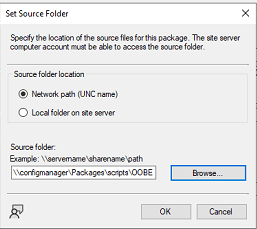
Now you see the path filled in and click OK
Click Next
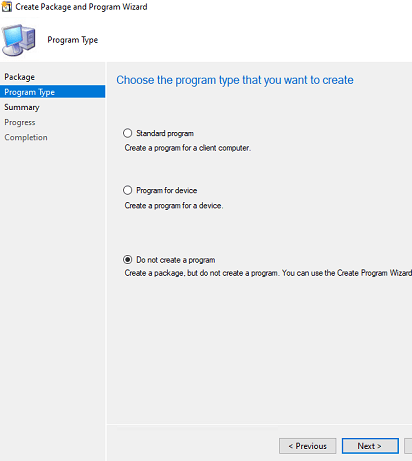
Click on the radio button that says Do no create a program, then click next and next to finish the program.
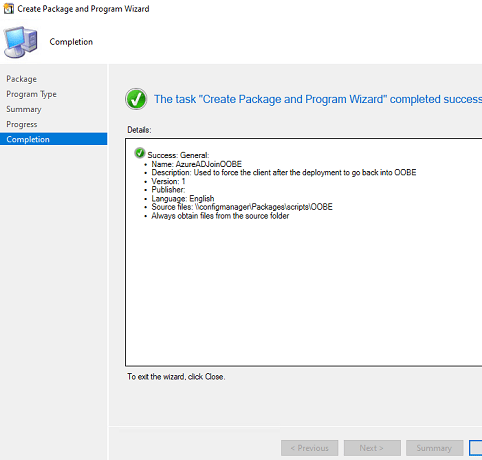
Click Close
Now lets repeat the process for the Unattend.xml file. Not going to detail this, same process just the other folder with the source files for the unattended file.
Don’t forget to distribute the content. If you do not know or what that means, here is a great article on that.
With this post you were able to create two packages needed to complete this process. In the next post we will be setting up the task sequence.
