In this posting we are going to setup Azure Files and map a network drive from an Azure Domain Joined Device using Hybrid Identity. There are many use cases for companies to migrate their file shares to Azure. I did use this article from Micrsoft and a few others to build this guide. I Also had to setup a P2S VPN from my home networks and also utilize Azure Private links because my ISP blocks 445. I also do have an on-prem Active Directory server. Enough of that, lets get into this.
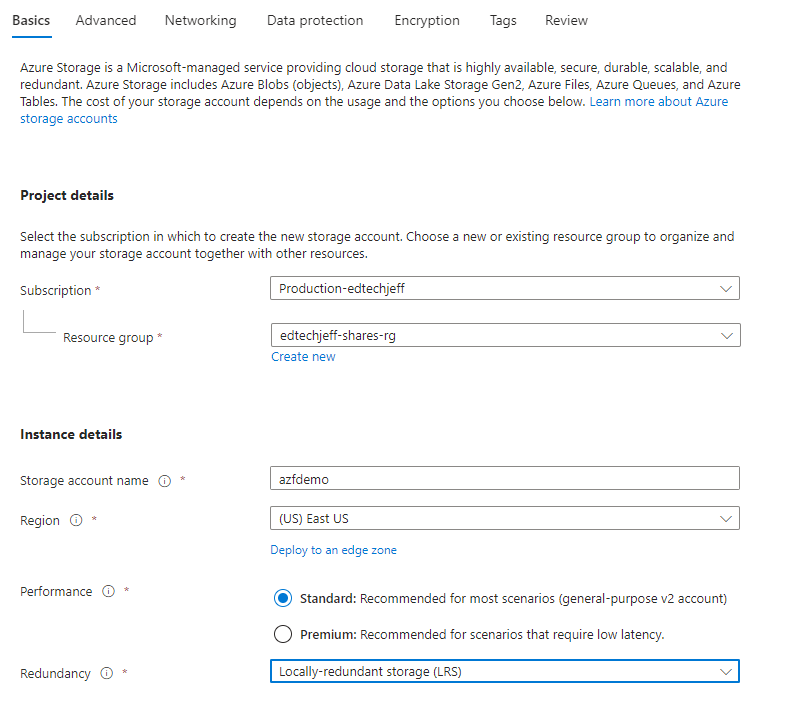
Step 1
First we need to setup the Storage account. I am being cheap here and utilizing Standard and LRS. Configure per your requirements. Click Next
Step 2
Set the settings that are appropriate for your setup, and click next.

Step 3
Set the settings that are appropriate for your setup, and click next.

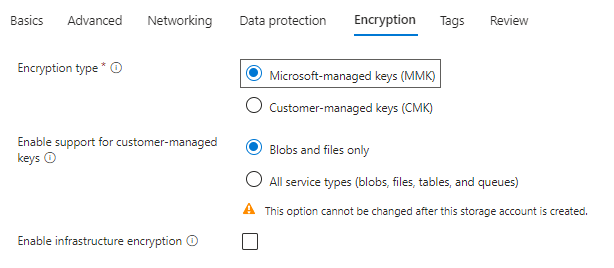
Step 4
Set the settings that are appropriate for your setup, and click next.

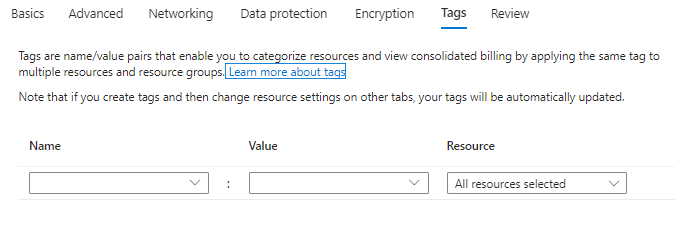
Step 5
Set the settings that are appropriate for your setup, and click next.
Step 6
Set the settings that are appropriate for your setup, and click next.
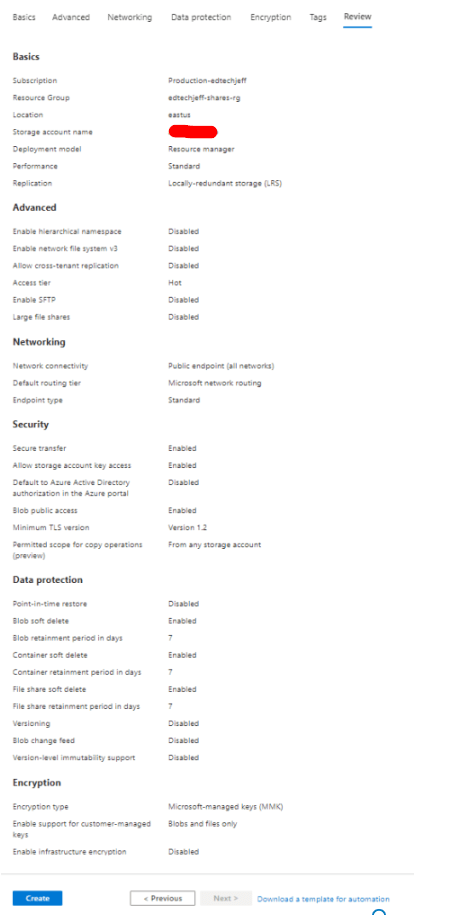
Step 7
Click Create
Step 8
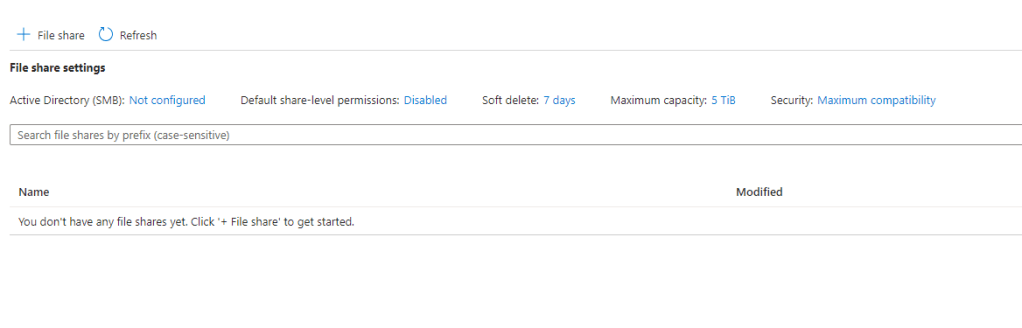
Once the storage account is created, open up the storage account and go to shares. Click on the plus sign and create.
Step 9
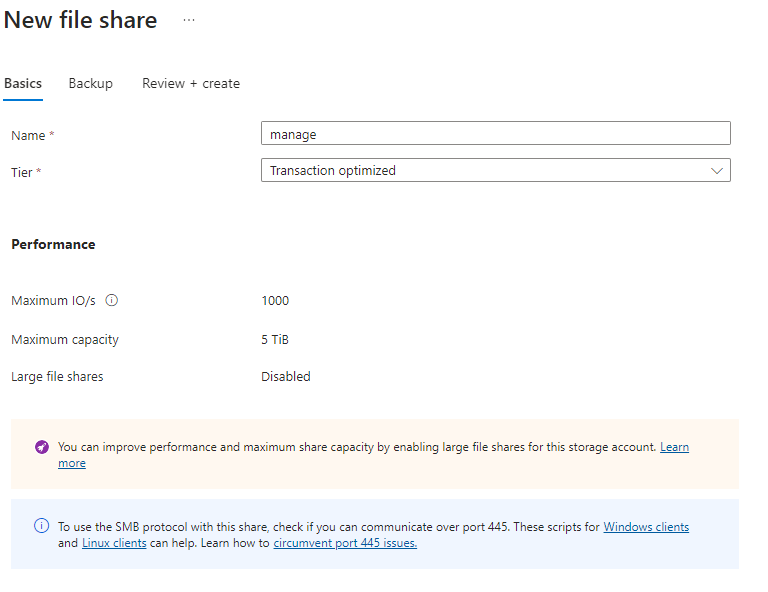
Give the share a name
Step 10
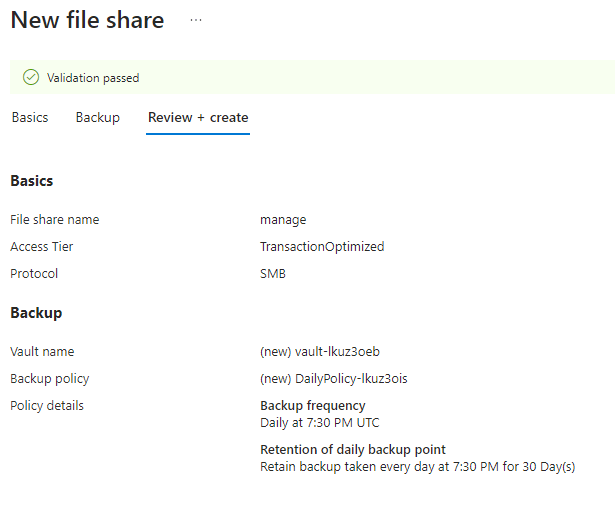
Click Create
Step 11
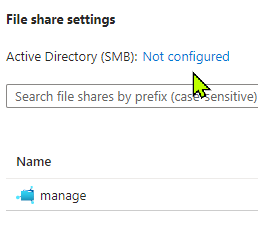
Open up the share under Storage Accounts and click on the link that says Not Configured for Active Directory (SMB)
Step 12
Click on Setup under Azure AD Kerberos
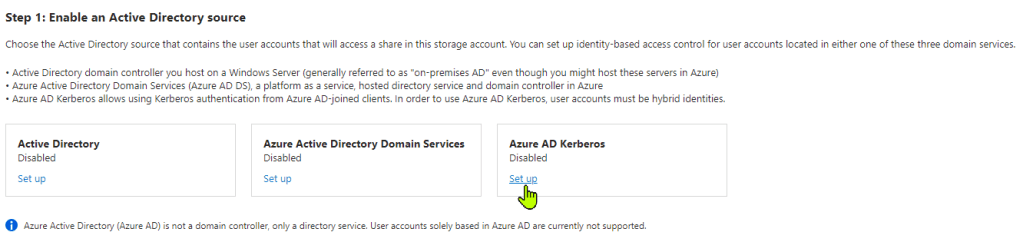
Step 13
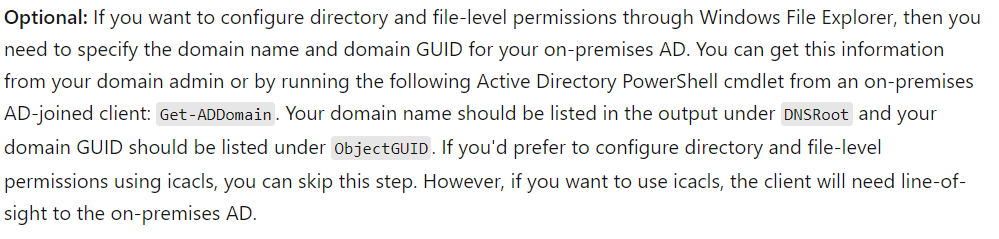
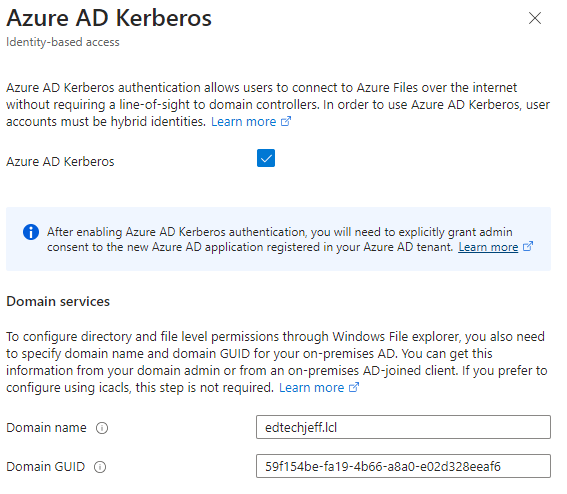
When the next screen opens up you will need some information . In order to set file and folder permissions you will need to know your on-prem domain name and also your Domain GUID. The below information explains how to get that information. Not required if you are going to set share permissions only
Step 14
Click the box and optional Domain Name and Domain GUID, click save
Step 15
From a permissions you have some options. After you have setup the Kerberos there is a step 2. If you setup the below screenshot you can enable access here. There are 3 roles that can be used. Here is a great article that explains permissions. Below are the three roles you can use. If you set it here this is the permissions that everyone will get. If that is not appropriate for your setup then leave this disabled.
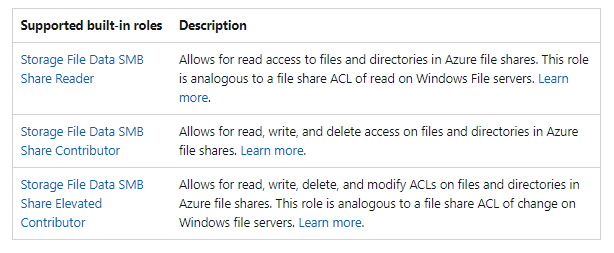
If you want to setup the share different permissions with Azure AD groups you can go into the share under access control and use your replicated Azure AD Groups to assign the different permissions to different groups. I am just going to assign at the storage account level. See below screenshot.

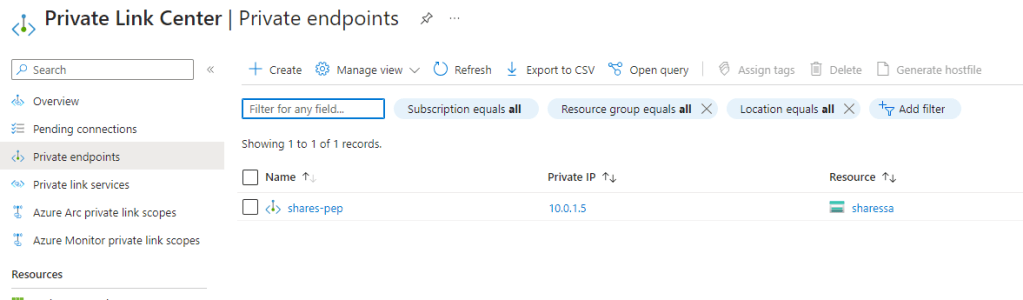
Step 16
Next we need to setup the private link.Again reason I had to do this because my ISP does not allow port 445 and also this does improve my security by routing all SMB traffic over my P2S VPN. Find Private Links in the Aure Portal and then click on Private Endpoints, Click Create
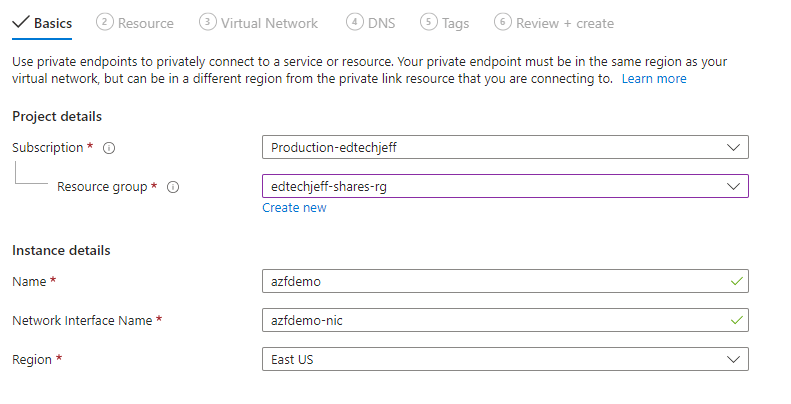
Step 17
Fill out the first screen and click next
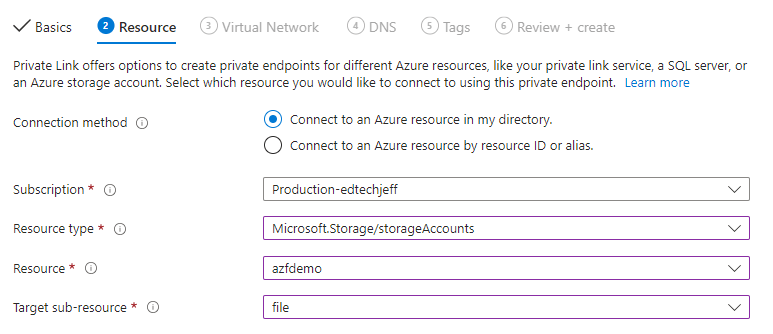
Step 18
The resource type is Microsoft.Storage/storageAccounts
For the resource click on the down arrow and find the Azure Storage Account you created
Target is File, click next
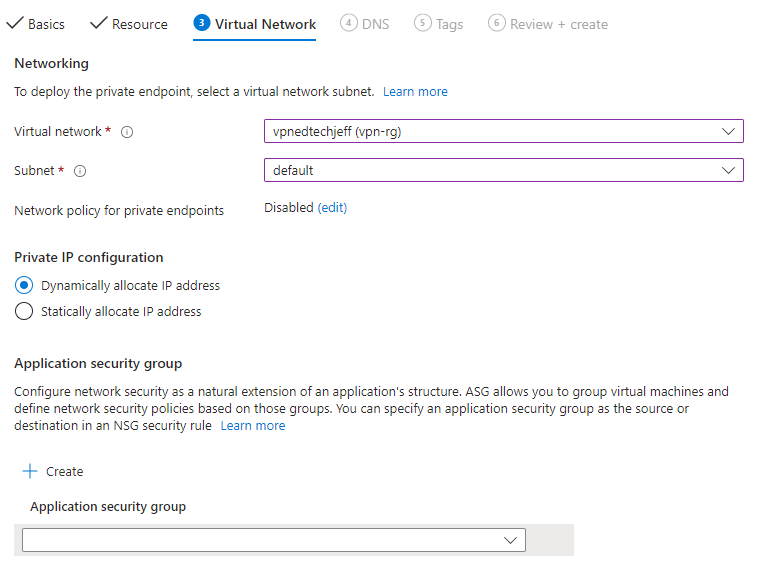
Step 19
Virtual network I chose the same network as my VPN. I also used the same subnet. Click next
Step 20
DNS, click next
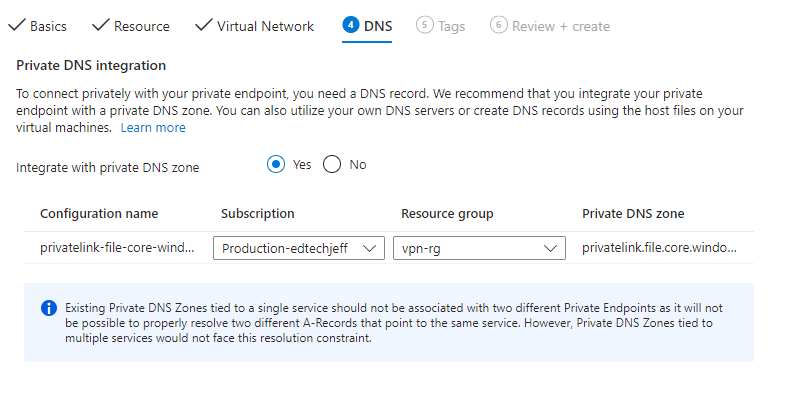
Step 21
Click Create
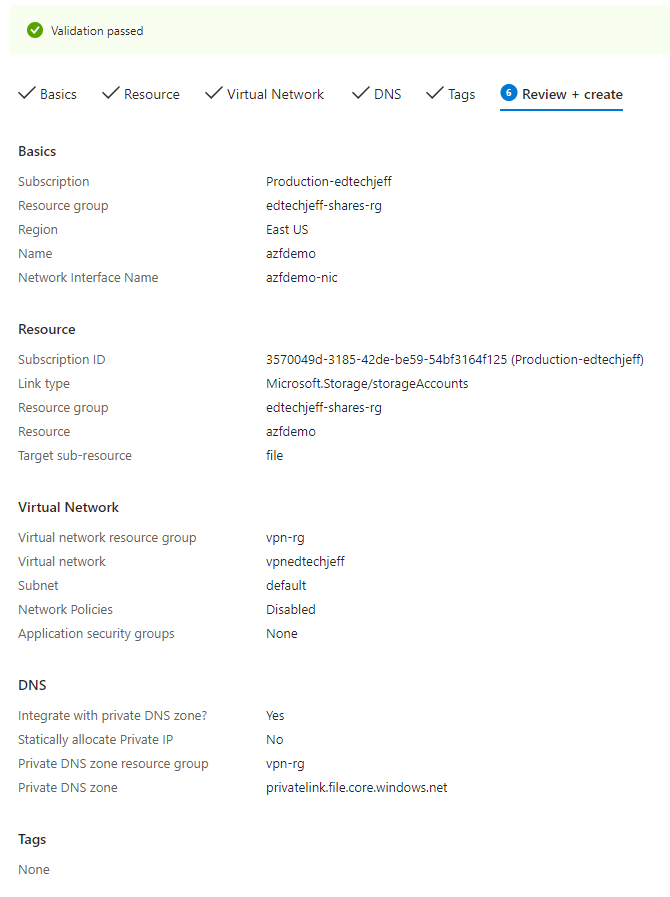
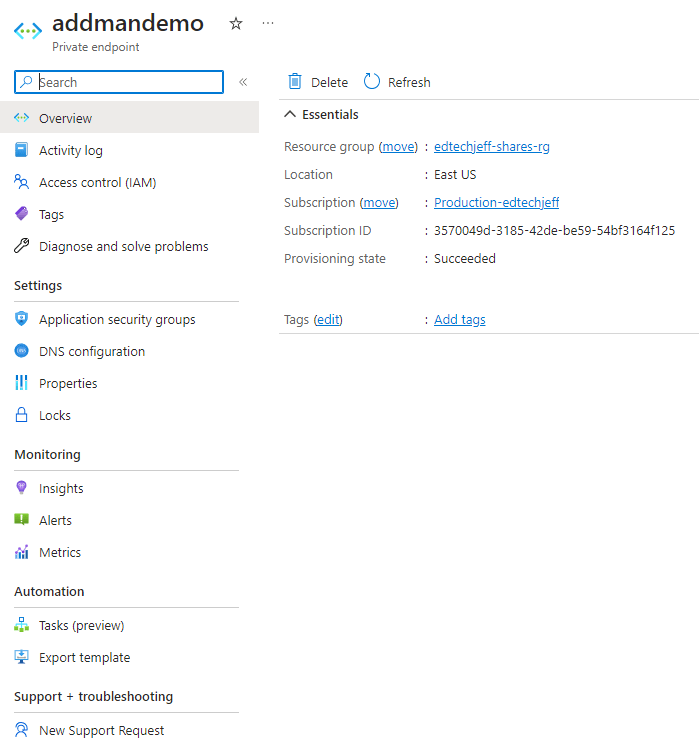
Step 22
Once created open up the newly created Private Endpoint and click on DNS Configuration.
Step 23
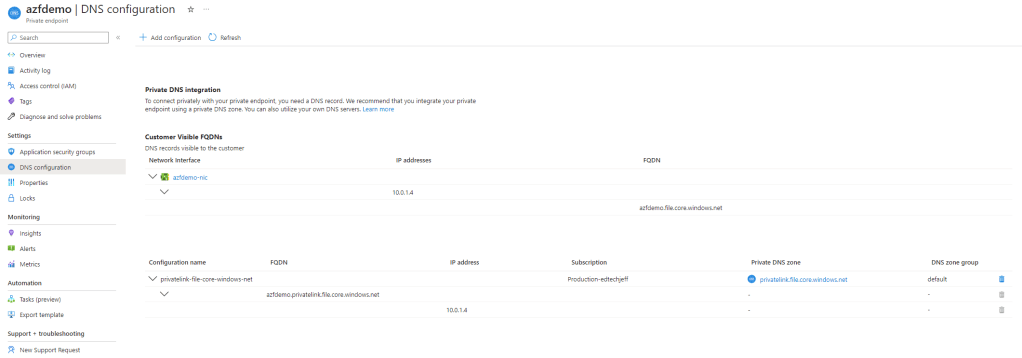
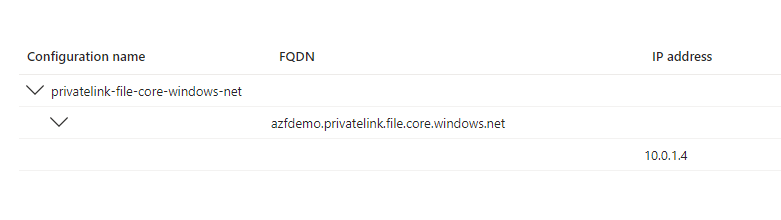
Step 24
Please note the FQDN and the IP. You will need to put this in your DNS server
Step 25
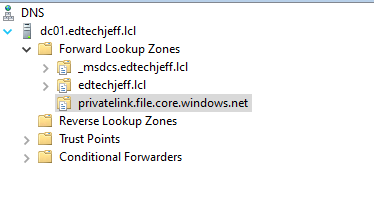
Open up your DNS server and under Forward Lookup Zones create a new Forward Lookup Zones similar to the screenshot below. After you have created the Zone continue on and create an A Record
Step 26
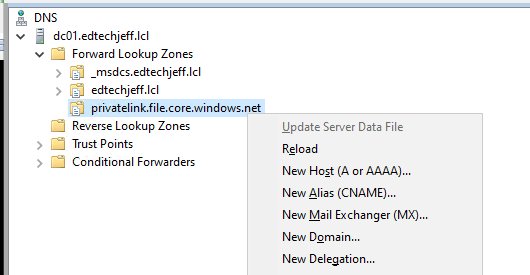
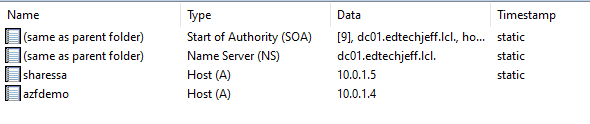
Create a new A Record recorded earlier
Step 27
Step 28
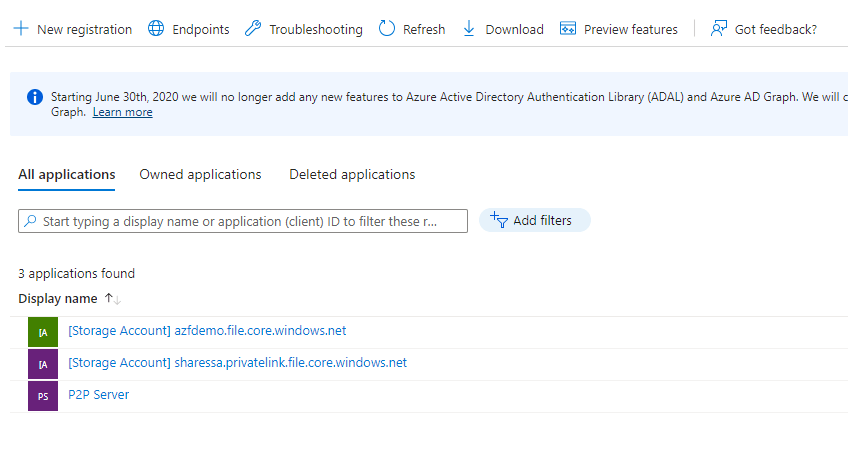
Next go into EntryID (Azure Active Directory) and click on App Registrations

Step 29
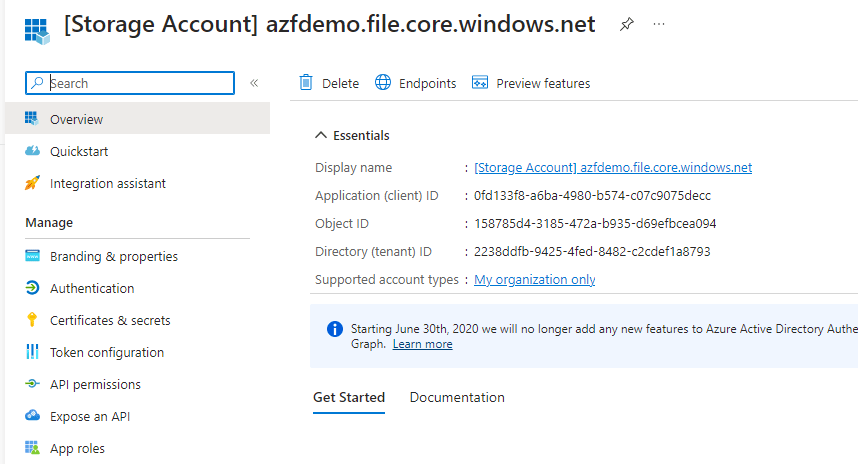
Click on the storage account you just created
Step 30
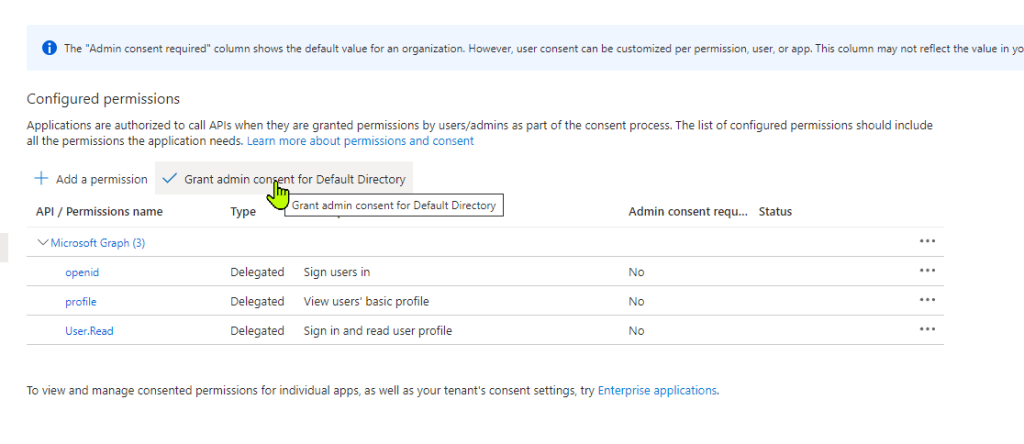
Click on API Permissions
Step 31
Click on Grant Admin Consent. Note: You must be Global Admin to apply this permissions
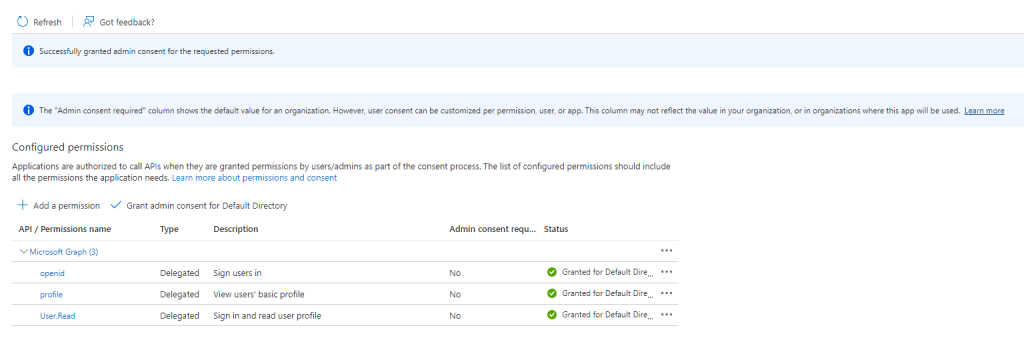
Step 32
Click Yes

Step 33
Step 34
Since we are using a privatelink we need to edit the Manifest file. Sill in the App Registration under the Storage Account, Click on Manifest.
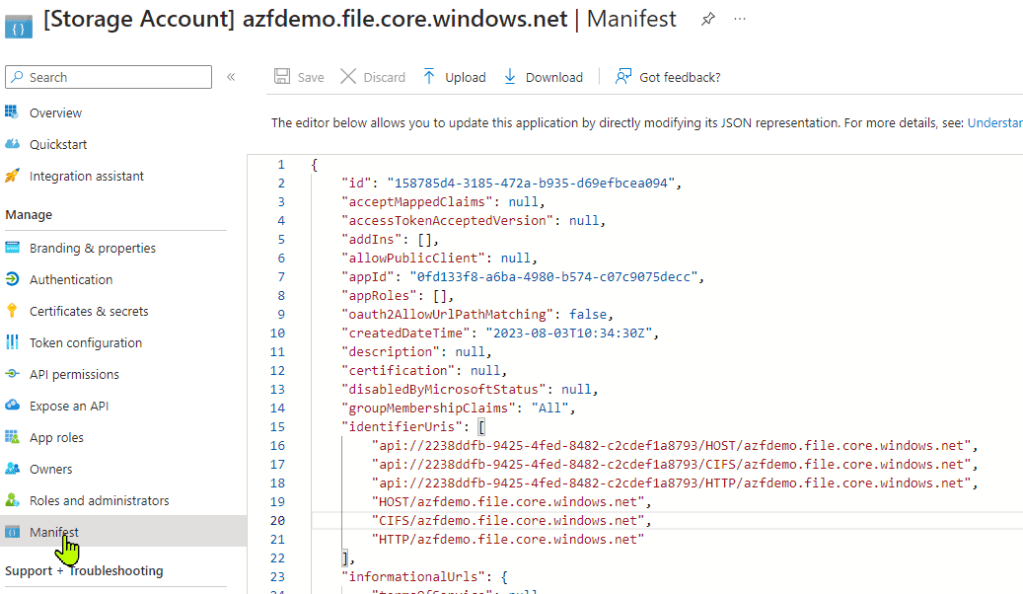
Step 35
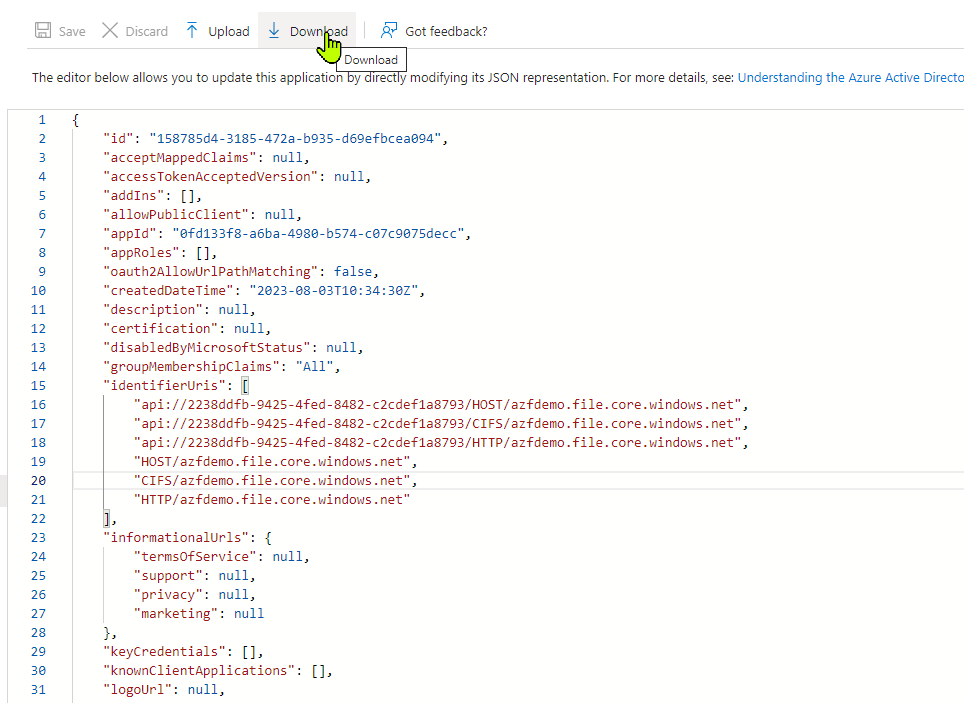
I would suggest to download the file before you make changes
Step 36
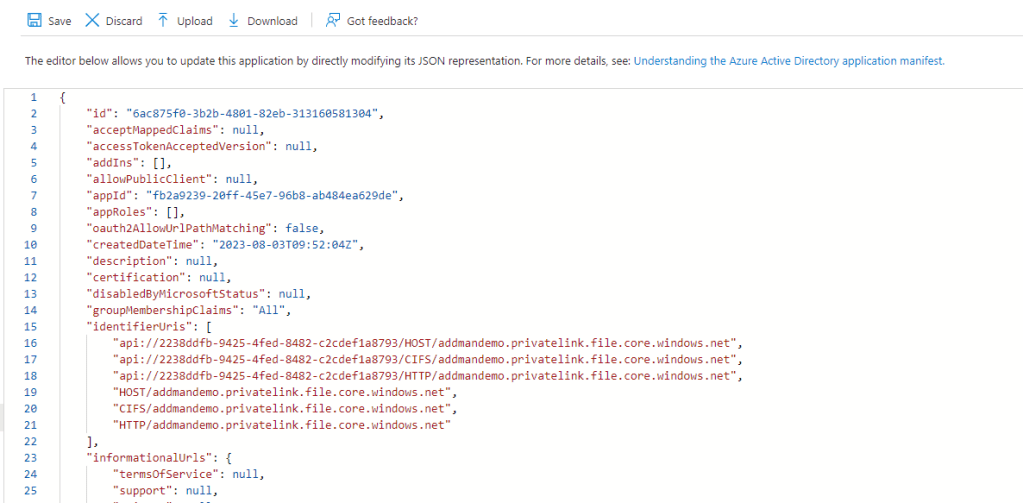
Any reference to the share replace it with the full FQDN.
Before azfdemo.file.core.windows.net
After azfdemo.privatelink.file.core.windows.net
Click Save
Step 37
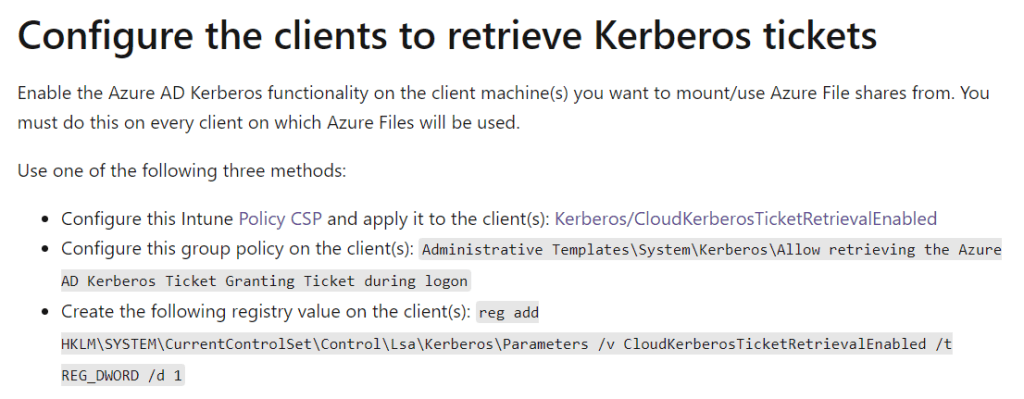
From a basic setup that is all you need to do to your infrastructure so now lets switch over to the client. In order for you clients to get a kerberos ticket you need to configure the client. Below are three examples of how you can do this.
Step 38
Lets first ping the FQDN and see if the client resolves correctly

Step 39
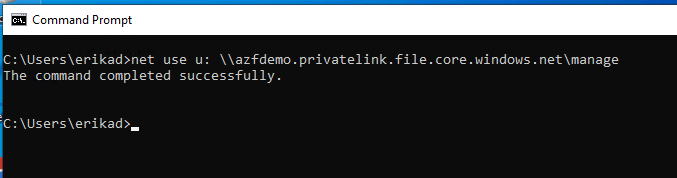
Issue a net use command
Step 40
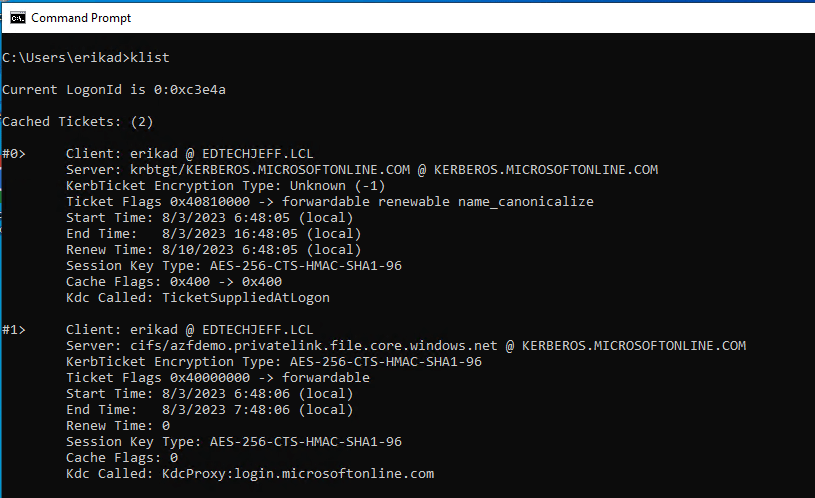
Lets check for the Kerberos ticket, type KLIST to see if you are getting a cloud ticket. You will notice the key will be @kerberos.microsoftonline.com
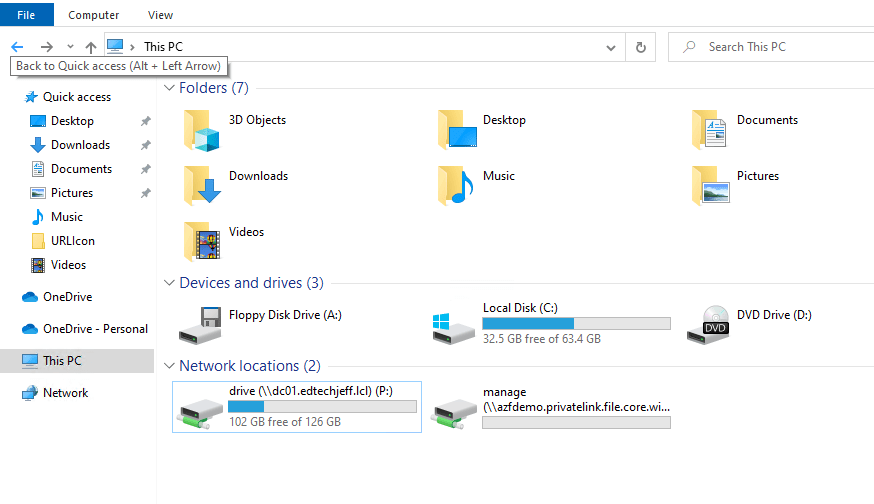
Now you see the mapped drive
I love this feature because it allow you to start to migrate from on-prem to Azure. There are many applications for this, now you know… why don’t you try this.
