I am starting to learn some InTune goodness in my role. I have spent many years doing desktop administration and used many different products to accomplish my goals. I believe that InTune is really bringing all those tools into one nice console to use. In my first post I wanted to share how to put shortcuts on the desktops. I am not the first to do this and I this is the original post that I used to accomplish this. Enough of that and lets get into this.
As with many of my post they are short and to the point, and this one will not be any different.
Step 1 you will need an ICON file. The extension needs to be .ICO. Now its very easy to do this. I went to my favorite search engine and found an image of it, downloaded it and then go over to this great site https://www.xiconeditor.com/. You upload the image, set the size and download it, easy, now Step 2
Step 2, you need a script to do the work for you.
#Variables creating local folder and download .ico file

#I used Azure Blob to store my ICO file
$LocalIconFolderPath = "C:\URLIcon"
$SourceIcon = "https://sourcelocationofICO/ico/Azure.ico"
$DestinationIcon = "C:\URLIcon\Azure.ico"


#Step 1 - Create a folder to place the URL icon
New-Item $LocalIconFolderPath -Type Directory

#Step 2 - Download a ICO file from a website into previous created folder
curl $SourceIcon -o $DestinationIcon

#Step 3 - Add the custom URL shortcut to your Desktop with custom icon
$new_object = New-Object -ComObject WScript.Shell
$destination = $new_object.SpecialFolders.Item('AllUsersDesktop')
$source_path = Join-Path -Path $destination -ChildPath '\\AzurePortal.lnk'
$source = $new_object.CreateShortcut($source_path)
$source.TargetPath = 'https://portal.azure.com'
$source.IconLocation = "C:\URLIcon\Azure.ico"
$source.Save()
Step 3 This is where the fun begins, get into the InTune administration portal.
Step 4, Go into Devices > Scripts

Step 5, Click Add, and select which type of client, in this example we are doing Windows.

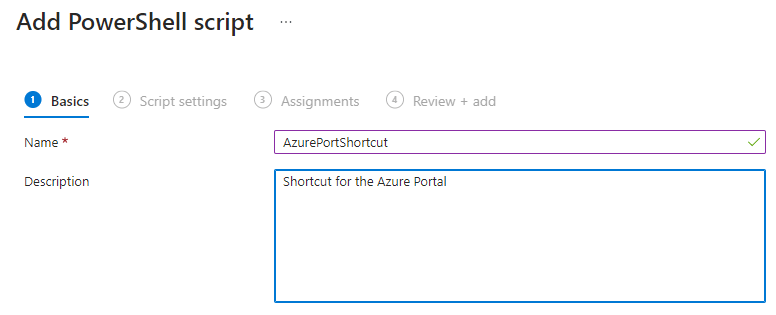
Step 6, Type in the Name and Description and click Next.
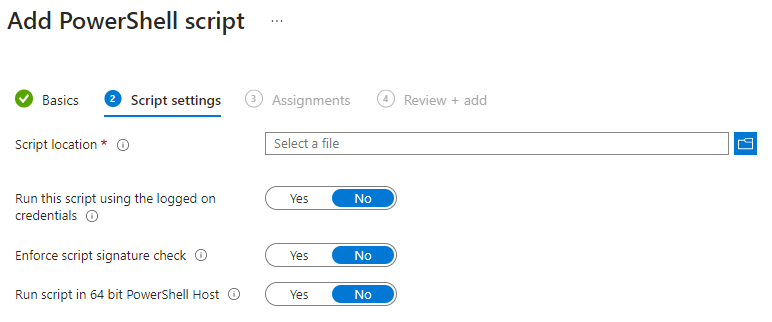
Step 7, Browse to the script by clicking the folder
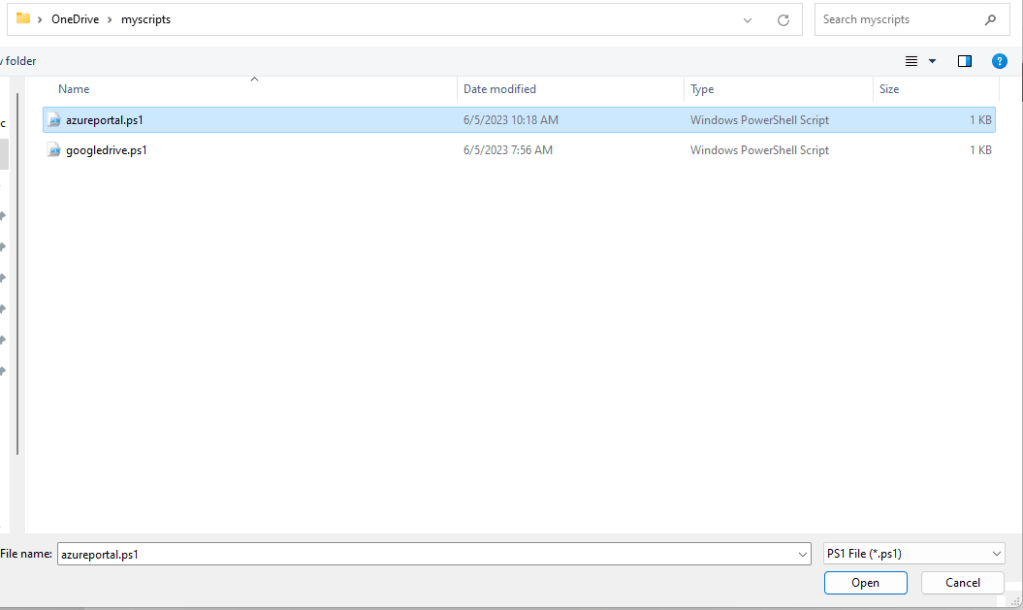
Step 8, Select the file and Click Open and click Next.
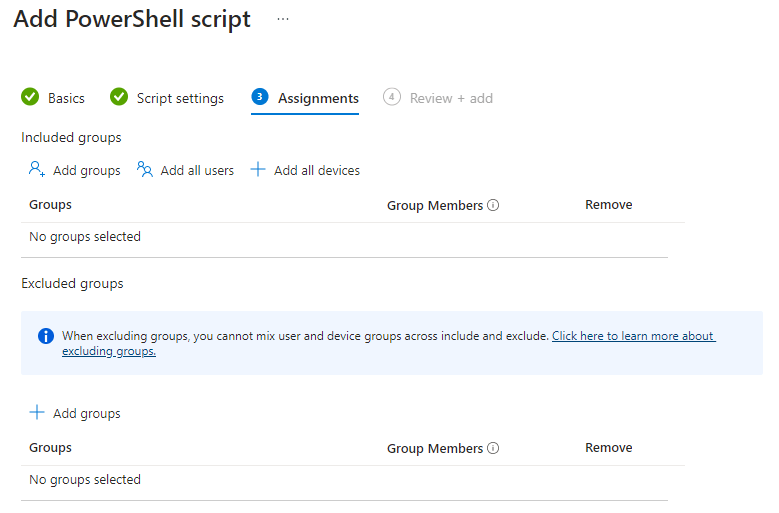
Step 9, here you have some options of which groups you would like to add to this deployment or just simply add to All Users or All Devices. In this example we are going to option of Add Groups.
Step 10, Select the group that has the devices you want to deploy to and click select and next

Step 11, Here is the final confirmation screen , review and click add

Step 12, Now you have the list of your scripts you have deployed

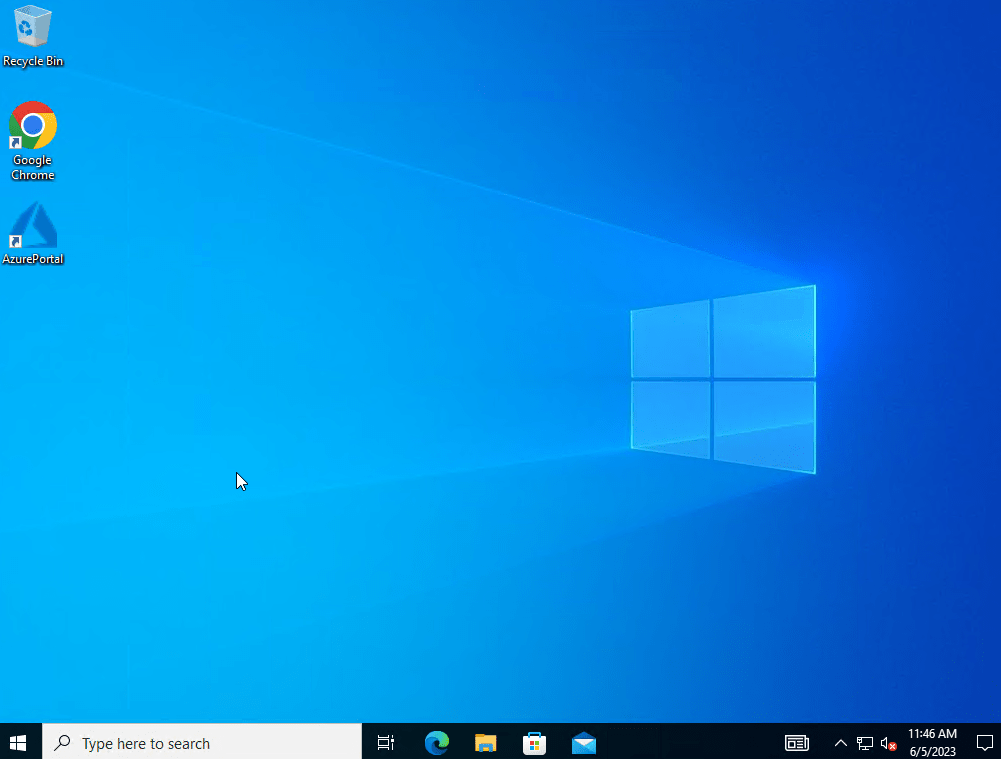
Once the sync has happened you should have the desktop icon and with the correct icon.
I hope this quick walkthrough was as helpful for you as much as it was for me, till my next post.
